
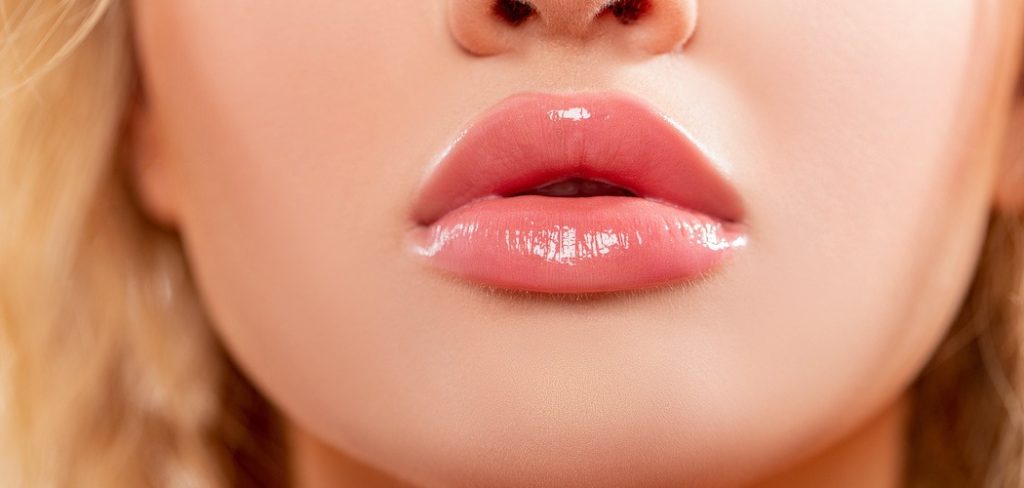
Full, voluminous lips have become one of the most sought-after beauty trends, but not everyone wants to commit to expensive fillers or invasive injections. Fortunately, there is a fantastic alternative that delivers instant results right at home. Lip plumpers are specially formulated glosses or balms designed to temporarily swell the lips by stimulating blood flow, giving you that enviable bee-stung look in minutes. However, achieving the best results isn’t just about swiping the product on and hoping for the best; technique matters significantly.
If you have ever wondered exactly how to apply lip plumper for maximum effect without discomfort, this guide is for you. We will walk you through the essential preparation and application techniques that beauty experts swear by. From exfoliation to precise layering, mastering these steps ensures you get a smooth, even finish and the longest-lasting volume possible. Whether you are getting ready for a night out or just want a little extra confidence boost during the day, following this routine will help you achieve a perfectly plump pout safely and effectively.
9 Step-by-Step Guide on How To Apply Lip Plumper
Step 1: Cleanse Your Lips Thoroughly
Before you reach for any volumizing product, you must start with a completely clean canvas. Your lips often hold onto residue from skincare products, foundation, or leftover lip balm, which can create a barrier that prevents the plumping ingredients from penetrating effectively. Use a gentle makeup remover or micellar water on a cotton pad to wipe away any oils or debris. It is crucial to be thorough but gentle, as the skin on your lips is delicate. Ensuring your lips are bare allows the active ingredients, such as peppermint, cinnamon, or capsicum, to interact directly with the skin, maximizing the tingling sensation and subsequent swelling effect that creates volume.
Step 2: Exfoliate to Remove Dead Skin
Once your lips are clean, the next vital phase is exfoliation. Dead skin cells can make your lips look flaky and uneven, which ruins the sleek finish you want to achieve. More importantly, dry patches can absorb product unevenly, leading to patchy results. You can use a dedicated lip scrub or simply a soft toothbrush to gently buff your lips in circular motions. This process not only smoothes the surface but also kickstarts circulation, bringing a natural flush to your pout before you even apply the product. By removing that dead layer, you ensure that the plumping formula glides on seamlessly and works more efficiently to boost volume.

Step 3: Hydrate With a Light Balm
After exfoliating, your lips might feel slightly raw or sensitive, so it is important to add a layer of hydration. However, you need to be strategic about the type of moisturizer you use. Avoid heavy, waxy balms that seal the lips completely, as this will block the plumping agents from working. Instead, opt for a lightweight, fast-absorbing lip conditioner or a thin layer of hydrating serum. Allow it to sink in for a minute or two, then blot away any excess with a tissue. This step ensures your lips remain soft and healthy without compromising the efficacy of the volumizing product you are about to use.
Step 4: Outline Your Lips With Liner
Defining your lip shape before applying the plumper can significantly enhance the final look. Choose a lip liner that matches your natural lip shade or the lipstick color you plan to wear. Carefully trace your natural lip line to create a crisp boundary. This step is particularly helpful because lip plumpers are often glossy and can sometimes bleed into the fine lines around the mouth. By creating a barrier with a waxy liner, you help contain the product where it belongs. Additionally, overlining slightly at the cupid’s bow can create an illusion of even more height and fullness, complementing the physical effects of the plumper.
Step 5: Master Plumper to the Center
Now it is time for the main event. When applying the product, do not just swipe it all over like a regular gloss. Focus the application on the center of your bottom and top lips first. This technique highlights the fullest part of your mouth, reflecting light and creating a dimension that makes lips look rounder. Use the applicator wand to dab the product onto the center, then gently press your lips together to distribute it slightly outward. Concentrating the formula in the middle intensifies the blood flow in the area that naturally has the most volume, enhancing that pouty, 3D effect that everyone desires.
Step 6: Spread the Formula to the Edges
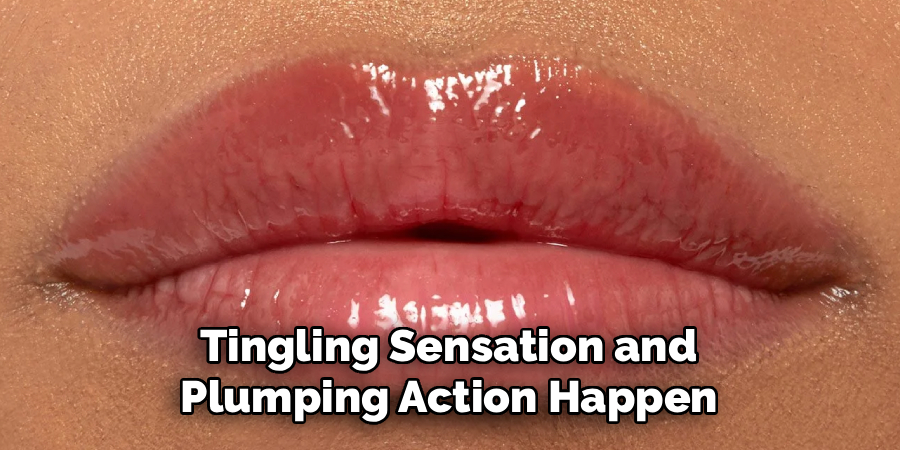
After focusing on the center, use the tip of the applicator to carefully spread the product toward the corners of your mouth. Be extremely precise during this step. You want to cover the entire surface of the pink part of your lip, but you must avoid getting the formula on the surrounding skin. The active ingredients that cause swelling on the lips can cause redness and irritation if they touch the regular skin of your face. Work slowly and use a clean cotton bud to immediately wipe away any mistakes. An even coat ensures that the tingling sensation and plumping action happen uniformly across your entire smile.
Step 7: Wait for the Tingle to Activate
Patience is a virtue when using volumizing products. Unlike regular gloss, these formulas need time to activate. Once applied, you will likely feel a tingling, cooling, or slight burning sensation—this is normal and indicates the product is stimulating blood flow to the area. Allow the product to sit undisturbed for at least five to ten minutes. Do not eat, drink, or rub your lips excessively during this activation period. Letting the ingredients work their magic without interference ensures you get the maximum swell and color payoff. You will notice your lips deepening in color and appearing smoother as the circulation increases.
Step 8: Blot and Layer for Intensity
If you want an even more dramatic result, you can layer the product. After the initial tingle has subsided and the first layer has absorbed slightly, you can gently blot the excess shine with a tissue and apply a second coat. This reinforces the plumping effect and adds extra shine. However, be cautious not to overdo it, as applying too much product at once can lead to a sticky, uncomfortable feeling or excessive stinging. Layering is best done gradually. This technique is perfect for special occasions where you want your lips to be the focal point of your makeup look, providing a glass-like finish that lasts.
Step 9: Final Touches and Maintenance
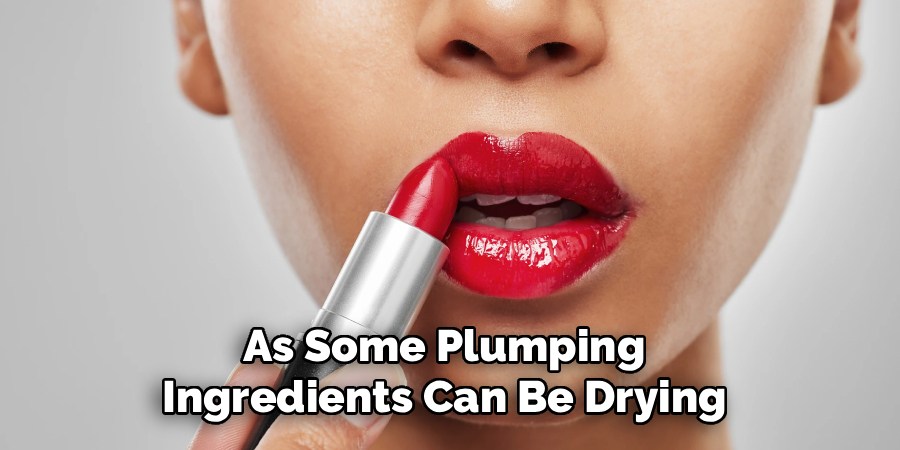
Once you are satisfied with the volume, check your look in the mirror one last time. If the gloss looks too heavy, you can lightly dab it to reduce the shine while keeping the plumpness. If you plan to wear lipstick, you can now apply it over the plumper, although many people prefer the natural, rosy tint the plumper provides on its own. Throughout the day or night, the effect will gradually wear off. To maintain the look, you can reapply the product every few hours. Just remember to keep your lips hydrated in between applications, as some plumping ingredients can be drying with frequent use over time.
Frequently Asked Questions
Is It Safe To Use Lip Plumpers Every Day?
Generally, it is safe to use lip plumpers daily, provided your lips are healthy. However, because they rely on irritants like cinnamon or capsicum to cause temporary swelling, overuse can sometimes lead to dryness, peeling, or irritation. It is best to alternate with a hydrating lip balm to maintain moisture.
How Long Does The Plumping Effect Last?
The duration of the effect varies depending on the product’s strength and your individual reaction to the ingredients. Typically, the visible volume lasts anywhere from one to four hours. You will likely need to reapply the product throughout the day if you want to maintain the maximum fullness.
Can I Put Lipstick On Top Of My Lip Plumper?
Yes, you can absolutely wear lipstick with plumper. For the best results, apply the plumper first and let it activate for about ten minutes. Then, blot off the excess gloss and apply your lipstick. Alternatively, apply lipstick first and use the plumper as a glossy topcoat for extra shine.
Why Does My Lip Plumper Sting So Much?
The stinging sensation is completely normal and is actually how the product works. Ingredients like peppermint, ginger, and bee venom are mild irritants designed to rush blood to the surface of the skin, causing swelling. If the pain is severe or unbearable, remove it immediately, as you may be allergic.
Does Lip Plumper Work On Thin Lips?
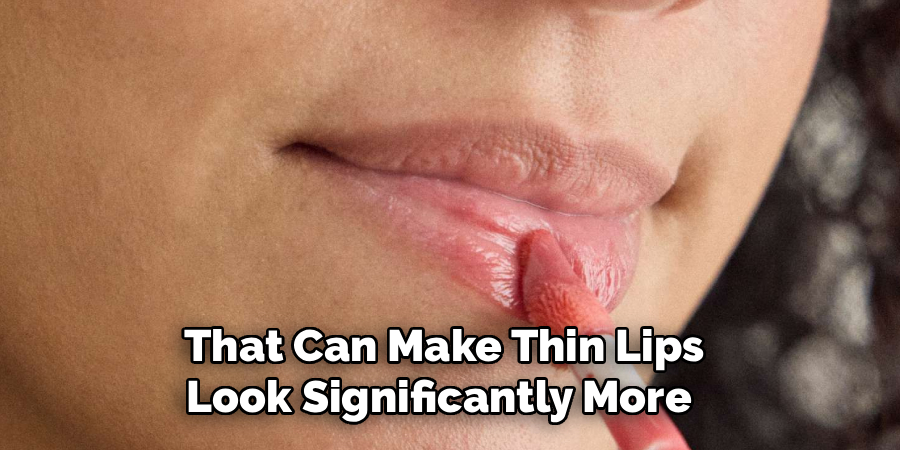
Yes, lip plumpers are effective on thin lips. While they won’t change your genetic lip shape like fillers would, they can enhance what you have by boosting blood flow and smoothing out lip lines. This creates a temporarily fuller, more defined appearance that can make thin lips look significantly more voluminous.
Conclusion
Achieving a fuller, more glamorous smile doesn’t require invasive procedures or expensive salon visits. By mastering the proper techniques for preparation and application, you can unlock the full potential of volumizing products right from your makeup bag. Remember that the key to success lies in the details—starting with a clean, exfoliated base, hydrating appropriately, and applying the product with precision to avoid irritation.
We hope this guide has given you the confidence to experiment with your look. Whether you prefer a subtle enhancement or a bold, high-gloss finish, understanding the nuances of these products ensures you get the best results every time. Now that you know how to apply lip plumper like a pro, you are ready to enjoy that beautiful, confidence-boosting volume whenever you desire. Give these steps a try, and get ready to love your new, fuller look!
About the Author
Jane Hubbard is a passionate beauty expert with a wealth of experience in makeup, hair, and overall beauty techniques. After years of working as a hairdresser specialist, she followed her entrepreneurial spirit and started her own consultancy business.
Jane has always been driven by her desire to help others feel confident in their own skin, and she does this by sharing her knowledge, experiences, and practical beauty tips. Through her consultancy, she empowers individuals to embrace their unique beauty, offering tailored guidance that boosts both self-esteem and personal style.
Professional Focus
Specializes in makeup, hairstyling, and beauty consulting.
Provides personalized beauty advice, tips, and techniques to help individuals feel confident in their appearance.
Dedicated to staying up-to-date with the latest industry trends and developments.
Passionate about creating a comfortable and empowering experience for every client.
Education History
University of Craft and Design – Bachelor of Fine Arts (BFA) in Woodworking and Furniture Design
Woodworking Apprenticeships – Extensive hands-on training with skilled craftsmen to refine carpentry and furniture making techniques
Online Courses & Masterclasses – Continued education in advanced woodworking techniques, design principles, and specialized tools
Expertise:
Makeup artistry, hairstyling, and beauty consulting.
Personalized beauty techniques to enhance confidence and self-expression.
Educating clients on how to maintain their beauty routines at home.