

There’s a small ritual most of us love: the cool press of a gua sha stone gliding along the jaw at the end of a long day. It feels almost meditative.
But here’s the question nobody really wants to sit with. Is that pretty little tool actually clean?

Your stone touches your face daily. It picks up oil, leftover serum, sunscreen, and a fair amount of bacteria along the way. And most people never think about it until a breakout shows up.
The good news is that cleaning it takes only a few minutes. Once you learn how to disinfect a gua sha stone properly, it becomes second nature, like flossing or charging your phone. This guide walks you through the why, the how, and the small mistakes that quietly undo your effort.
Why Cleaning Your Gua Sha Stone Matters
It’s easy to treat a gua sha stone as decor. Something that lives on the vanity and gets used when the mood strikes. Yet the reasons to clean it go deeper than aesthetics.
Bacteria and Breakouts
Each time you use your stone, it collects facial oils and dead skin cells. Left alone, that residue becomes a comfortable home for bacteria.
Then you press it back onto your face the next morning. That transfer may explain a good number of mystery breakouts along the cheeks and jaw.
Protecting Your Skin Barrier
A clean tool supports your skin instead of fighting it. Dirty stones, on the other hand, can introduce irritation that your barrier really doesn’t need.
This matters more for sensitive or acne-prone skin, where even small triggers tend to escalate. A quick wipe could save you a frustrating flare-up later.
Preserving the Stone Itself
There’s also the tool to think about. Crystals like jade and rose quartz stay smooth and lovely when you care for them gently.
Neglect them, and buildup dulls the surface over time. A little maintenance keeps your stone working beautifully for years, not months.
Cleaning Versus Disinfecting: Know the Difference
People use these two words interchangeably. They aren’t the same thing, and confusing them could leave your stone looking clean while still harboring germs.
What Everyday Cleaning Removes
Basic cleaning handles the visible stuff. Warm water and a little soap lift away oils, product residue, and surface grime after each session.
Think of it as tidying up. It’s the daily reset that keeps things from piling on.
What Disinfecting Actually Does
Disinfecting goes a step further. It targets the bacteria and germs that cleaning alone may leave behind, giving you a genuinely hygienic tool.
This is the part most routines skip. And it’s arguably the part that protects your skin the most.
How Often You Should Do Each
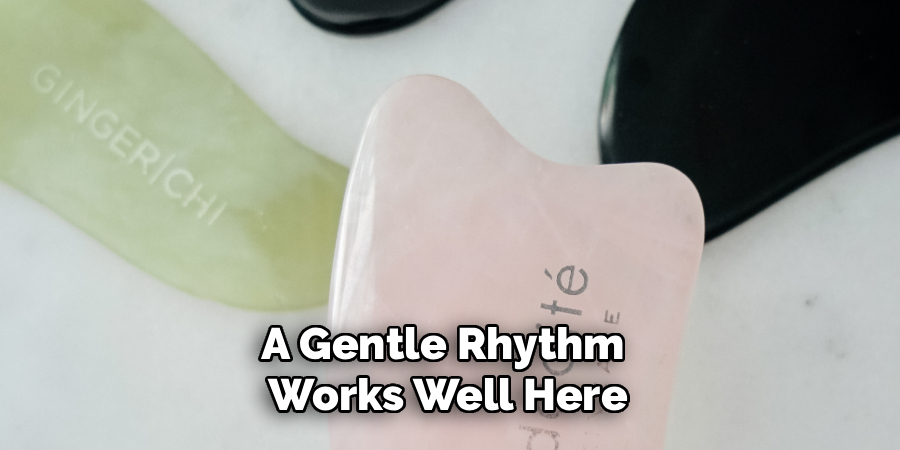
A gentle rhythm works well here. Light cleaning after every use, then a deeper disinfectant roughly once a week.
If you’re breaking out or getting over an illness, lean toward more frequent disinfecting. Your skin will likely thank you.
What You Need Before You Begin
You almost certainly own everything already. No specialty products required.
Gentle Cleansing Essentials
Start with the basics: mild soap, warm water, and a soft cloth. That trio handles the everyday cleaning without any fuss.
A microfiber cloth is a nice touch, since it won’t scratch the surface. But any soft fabric works.
Safe Disinfecting Agents
For disinfecting, diluted rubbing alcohol or a gentle, skin-safe disinfectant does the job. A cotton pad makes application easy.
One caveat worth noting. Not every stone loves alcohol, so check your specific crystal before you commit, especially with more porous or dyed pieces.
Materials to Avoid
Some things do more harm than good. Skip harsh chemicals, boiling water, and abrasive scrubbers.
Extreme heat can crack certain crystals. Rough scrubbing dulls the finish. When in doubt, gentler is safer.
Step-by-Step Guide on How to Disinfect a Gua Sha Stone
This is the part that matters most. Take it slowly the first time, and you’ll move faster on every clean after that. None of it is complicated.
Step 1: Rinse Away Surface Residue
Hold the stone under lukewarm running water for a few seconds. This loosens the oils and product buildup sitting on the surface.
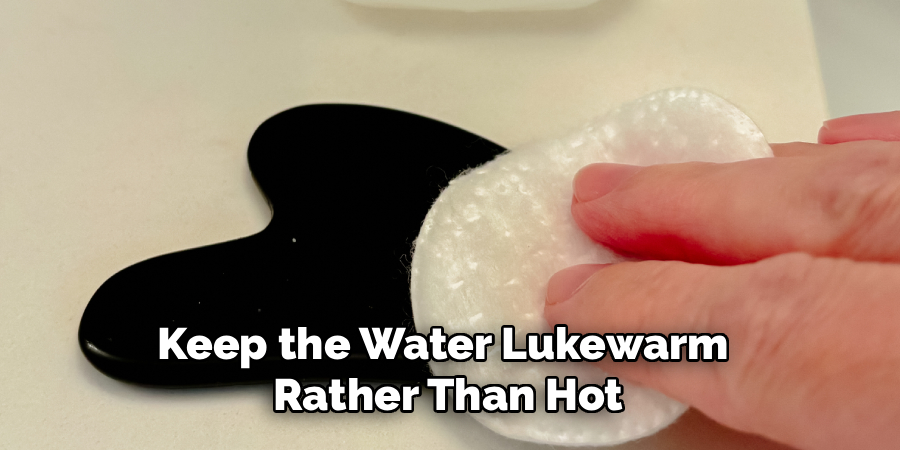
Keep the water lukewarm rather than hot. A rinse first makes everything that follows easier, since you’re not scrubbing dried-on grime.
Step 2: Wash With Gentle Soap
Add a small amount of mild soap to your fingers or a soft cloth. Work it gently over the whole stone, paying attention to the curved edges and any grooves where residue likes to hide.
Don’t rush this part. A slow, thorough pass tends to clean better than aggressive scrubbing, and it treats the stone more kindly too.
Step 3: Apply a Skin-Safe Disinfectant
Now for the step that separates a clean stone from a truly hygienic one. Dampen a cotton pad with diluted alcohol or your chosen disinfectant.
Wipe every side of the stone, reaching the edges and any narrow curves. Full coverage matters here, so take your time and don’t skip the awkward angles.
Step 4: Let It Sit Briefly
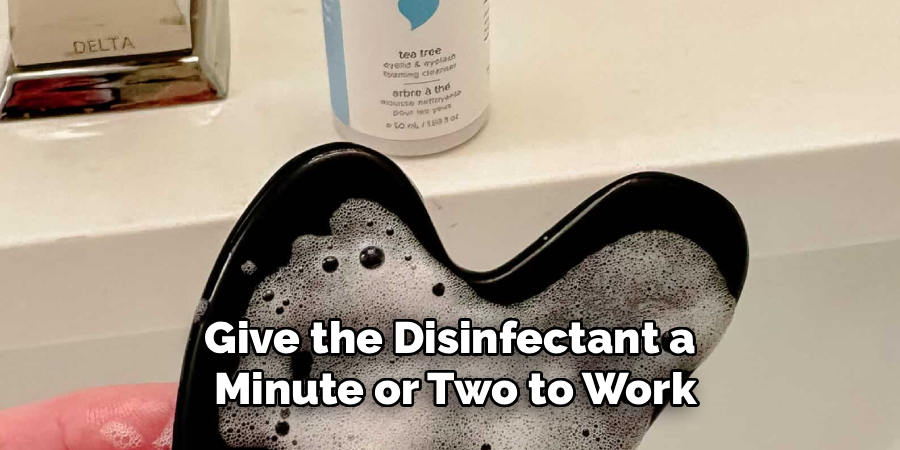
Give the disinfectant a minute or two to work. This short pause is what actually lets it kill lingering bacteria.
It feels almost too simple to matter. But skipping it may undercut the whole point of disinfecting, so resist the urge to move on immediately.
Step 5: Rinse and Remove Any Residue
Once the stone has rested, rinse it under lukewarm water again. You want to remove any leftover cleaning agents before the stone touches your skin.
Nobody wants alcohol residue near delicate facial tissue. A quick, final rinse keeps things comfortable and safe.
Step 6: Dry Completely and Store Safely
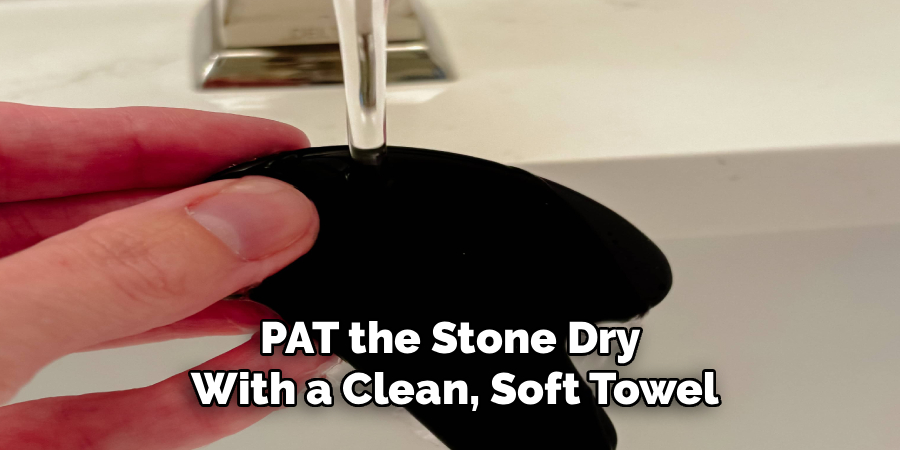
Pat the stone dry with a clean, soft towel. Then let it air dry fully before putting it away.
This last step gets overlooked constantly, and it may be the most important of all. Trapped moisture invites bacteria right back, so tuck the stone into a protective pouch only once it’s completely dry.
Special Care for Different Stone Types
Not every crystal behaves the same way. What suits one stone could quietly damage another, so matching your method to your material is worth a moment of thought.
Jade and Rose Quartz
These two are the crowd favorites, and both prefer a gentle approach. Quick cleaning, lukewarm water, and no lengthy soaking.
Heat and prolonged moisture are their main enemies. Keep it brief and mild, and they’ll hold up beautifully.
Amethyst and Obsidian
Amethyst can fade in harsh sunlight, so avoid drying it on a sunny windowsill. Obsidian, being a smooth volcanic glass, dislikes aggressive chemicals that could affect its finish.
Neither is fragile, exactly. They simply appreciate a lighter hand than you might assume.
Metal and Stainless Steel Tools
Non-stone tools play by different rules. Stainless steel, for instance, often tolerates stronger disinfecting without complaint.
You can be a bit more thorough here. Just dry them well afterward to keep any spotting or dullness at bay.
Common Mistakes to Avoid
Small missteps happen to everyone. Knowing the usual ones helps you protect both your skin and your stone.
Using Boiling Water or High Heat
It seems logical. Hot water kills germs, right? The trouble is that sudden temperature swings can crack certain crystals.
A stone that survives one boil may split on the next. Lukewarm is the sweet spot, and it still gets the job done.
Skipping the Drying Step
This one’s sneaky. You clean everything perfectly, then store the stone slightly damp.
That leftover moisture undoes your work by inviting bacteria to settle right back in. Drying fully isn’t optional if you want the disinfecting to hold.
Relying on Harsh Chemicals
Stronger doesn’t mean better. Harsh cleaners can strip the smooth surface and dull the finish over time.
Gentle products protect the stone while still keeping it safe for your face. There’s rarely a reason to reach for anything aggressive.
Building a Simple Cleaning Routine You Will Actually Follow
Knowing how to clean is one thing. Actually doing it, consistently, is another. The trick is making the habit small enough that you never dread it.
A Quick After-Use Ritual
Keep it painless. A fast wipe-down right after your gua sha session clears fresh oils before they harden.
Ten seconds, honestly. That tiny effort keeps the stone fresh between deeper cleans and makes the weekly disinfect far quicker.
A Weekly Deep Clean
Pick a day and stick to it. Sunday resets work nicely for a lot of people, but any consistent slot will do.
Run through the full disinfecting steps once a week. Framed as a small self-care moment rather than a chore, it rarely feels like a burden.
Storage Habits That Keep It Cleaner
Where you keep your stone shapes how clean it stays. A dedicated pouch or a specific spot on the shelf reduces dust and stray contamination.
Leaving it loose in a bathroom drawer, meanwhile, invites all sorts of grime. A little intention here goes a surprisingly long way.
Conclusion
Learning how to disinfect a gua sha stone turns out to be a small habit with an outsized payoff for your skin. It’s less about perfection and more about showing up with a bit of patience.
There’s a genuine comfort in reaching for a fresh, clean tool. You glide it across your face knowing it’s supporting your glow rather than hiding a week’s worth of bacteria.
The path itself is simple. Gentle cleaning, proper disinfecting, careful drying, then mindful storage, repeated on a rhythm that fits your life.
So treat this as care rather than obligation. Clean your stone today, and your next facial ritual could feel a little more like the calm, restorative moment it was always meant to be.

About the Author
Jane Hubbard is a passionate beauty expert with a wealth of experience in makeup, hair, and overall beauty techniques. After years of working as a hairdresser specialist, she followed her entrepreneurial spirit and started her own consultancy business.
Jane has always been driven by her desire to help others feel confident in their own skin, and she does this by sharing her knowledge, experiences, and practical beauty tips. Through her consultancy, she empowers individuals to embrace their unique beauty, offering tailored guidance that boosts both self-esteem and personal style.
Professional Focus
Specializes in makeup, hairstyling, and beauty consulting.
Provides personalized beauty advice, tips, and techniques to help individuals feel confident in their appearance.
Dedicated to staying up-to-date with the latest industry trends and developments.
Passionate about creating a comfortable and empowering experience for every client.
Education History
University of Craft and Design – Bachelor of Fine Arts (BFA) in Woodworking and Furniture Design
Woodworking Apprenticeships – Extensive hands-on training with skilled craftsmen to refine carpentry and furniture making techniques
Online Courses & Masterclasses – Continued education in advanced woodworking techniques, design principles, and specialized tools
Expertise:
Makeup artistry, hairstyling, and beauty consulting.
Personalized beauty techniques to enhance confidence and self-expression.
Educating clients on how to maintain their beauty routines at home.