

You smooth on a hydrating serum, settle in, and then watch half of it vanish into the air before your skin gets a fair shot at it. Frustrating, isn’t it?
Or maybe it’s the guilt. Another single-use sheet crumpled into the bin, another small tug of waste.
A reusable silicone face mask happens to solve both problems at once. That’s the quiet appeal of it.
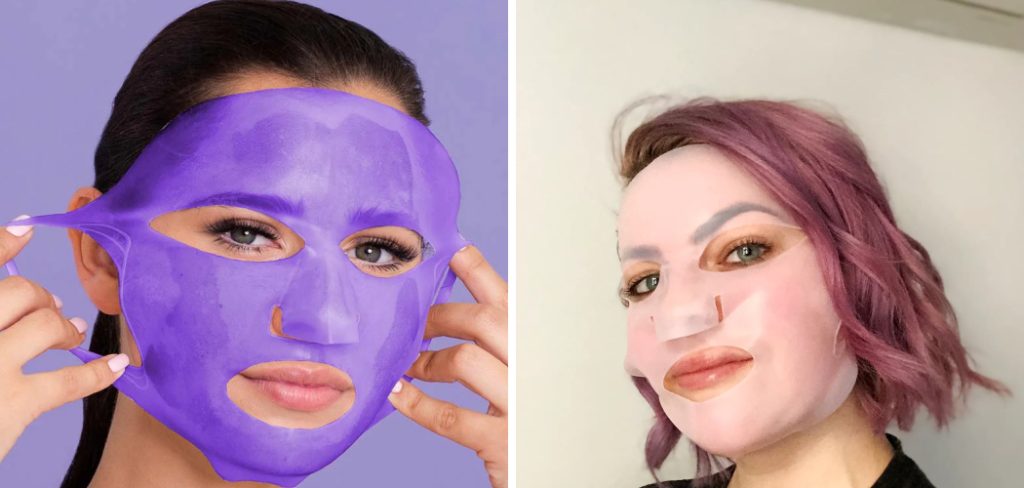
Learning how to use reusable silicone face mask well helps you lock in your favorite serums, push absorption higher, and trim the pile of disposables you’d otherwise toss. It saves money too, steadily, over months of use.
This walkthrough covers the whole thing. What these masks actually are, why they work, how to choose one, the prep that matters, and a simple five-step routine to get you glowing. The payoff is dewy skin and a self-care ritual you’ll genuinely look forward to.
What a Reusable Silicone Face Mask Is
A reusable silicone face mask is a soft, flexible cover you lay over serum or a sheet mask to seal everything against your skin. Nothing more complicated than that.
People sometimes assume the silicone itself is treating the face. It isn’t.
Its real job is humbler and, frankly, cleverer. It traps moisture and warmth so the products underneath absorb far better than they would left exposed to the open air.
How the Mask Actually Works
Picture a warm bowl of soup with a lid pressed on top. The steam stays in, the heat lingers, nothing escapes to the ceiling.
The silicone mask does much the same for your face. It forms a gentle barrier that stops serum from evaporating and holds a little warmth against the skin.
That warmth appears to help your pores relax and take in the actives more readily. So instead of drying on the surface, the serum stays put and works.
The Different Styles Available
Not every mask looks the same, and it helps to know yours. Full-face covers are the most common, wrapping from forehead to chin in one piece.
Then there are targeted styles. Small pieces made just for the under-eye area or the chin, plus strap-secured designs that hook behind the ears or head.
Knowing which style you own shapes how you use it. A snug, correct fit is what makes the difference between a relaxing session and a fiddly one.
Why Use a Reusable Silicone Face Mask
Adding one small tool to your routine sounds minor. The rewards, though, tend to punch above their weight.
There are two worth dwelling on. One shows up on your skin; the other shows up in your wallet and, a little, in the world around you.
Better Absorption and Skincare Results
Here’s the reward most people notice first. Serums soak in more deeply, because far less of the product drifts off into the air before your skin can use it.
That trapped warmth adds a spa-like feeling too, the kind that makes ten minutes feel indulgent rather than routine. It’s a small luxury, honestly.
Sealing in those active ingredients means every treatment works a bit harder. Softer, better-hydrated skin tends to follow, and you’re getting more from products you already own.
Saving Money and Reducing Waste
Now the practical side. One reusable mask stands in for countless disposable sheets, which quietly adds up over a year.
Fewer purchases, less spending. And a good deal less single-use packaging heading to the bin.
This eco-friendly swap feels good in the moment, but its real value shows over time. Months of pampering without the recurring cost or the recurring guilt, which is a pleasant combination.
Choosing the Right Silicone Mask for You
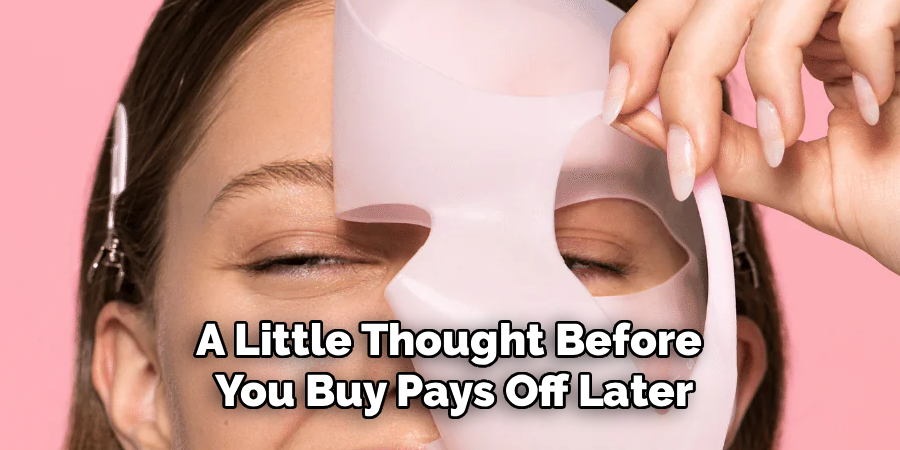
A little thought before you buy pays off later. The best mask, after all, is the one you’ll actually reach for.
Get the fit and material right, and the whole experience turns relaxing instead of fussy. Two things deserve your attention here.
Fit, Size, and Coverage
Look for a mask that covers the areas you treat most. If your concerns sit around the cheeks and forehead, a full-face style makes sense.
It should sit snugly without pinching. Adjustable straps or loops help enormously, letting you tune the fit to your own face rather than hoping a one-size design cooperates.
A good fit seals the serum evenly across the skin. Skip that, and you may find product pooling in one spot while another goes dry.
Quality and Material Safety
Material matters more than the price tag might suggest. Reach for food-grade or medical-grade silicone, free from questionable additives and easy to rinse clean.
Cheaper alternatives can feel stiff or hold onto odors, which rather defeats the purpose. A quality mask stays gentle against the skin.
Spend a touch more here, and you get a tool that lasts. Years of regular use from a single mask isn’t unusual, so it earns back its cost quickly.
What You Will Need Before You Start
Gather everything first. There’s little worse than lying back with serum on your face, only to realize the towel is across the room.
Most of this already lives in your bathroom. Nothing here demands a special shopping trip.
Essential Skincare Products
Start with a gentle cleanser to prep the skin. Then your favorite serum or sheet mask, whichever you’d normally use.
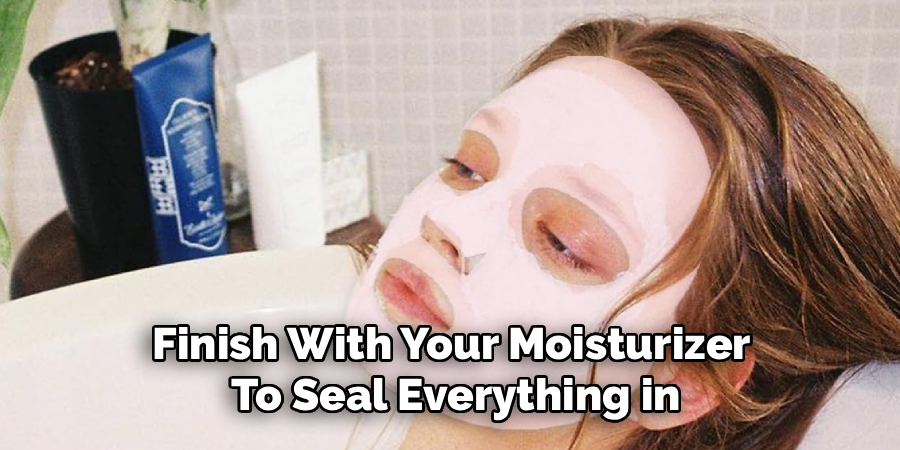
Finish with a moisturizer to seal everything in once you’re done. That last step locks the hydration where you want it.
The lovely part is that the silicone mask works with products you already love. No need to overhaul your whole routine; you’re simply adding a tool that makes the existing one work harder.
Cleaning and Comfort Supplies
A few small extras smooth the experience. Mild soap for washing the mask, a clean towel, and a headband to keep stray hair off your face.
None of these are strictly essential. But they nudge the session from “fine” toward genuinely spa-worthy.
Having them within reach also keeps things hygienic and comfortable. A stray lock of hair caught under the mask, for instance, is a small annoyance easily avoided.
Prep and Hygiene Basics
A little preparation makes each session cleaner, safer, and more effective. It’s tempting to skip, and I’d gently advise against it.
A fresh mask and clean skin work hand in hand. Together they deliver the best results without inviting irritation.
Cleaning Your Mask Before Use
Wash the silicone mask with mild soap and warm water before you apply it. Then let it air dry fully.
This matters more than it seems. A clean mask prevents old product and bacteria from building up against your skin.
Starting fresh keeps each use feeling hygienic and pleasant. Think of it the way you’d think about a clean pillowcase; a small habit that quietly protects your face.
Prepping Your Skin
Cleanse gently, then pat the skin dry rather than rubbing it raw. Now apply your serum or lay your sheet mask evenly across the face.
Clean skin welcomes serum far more readily than a face still carrying the day’s grime and sunscreen. The products simply sink in better.
This quick prep sets the stage for a glowing, well-nourished finish. Skip it, and you’re sealing yesterday’s residue against your pores, which no one wants.
How to Use Reusable Silicone Face Mask: Step-by-Step Guide
Here’s the part you came for. Work through it slowly, one step at a time, and treat it as a chance to unwind.
Each step builds on the last. No rush, no pressure, just a gentle sequence toward softer skin.
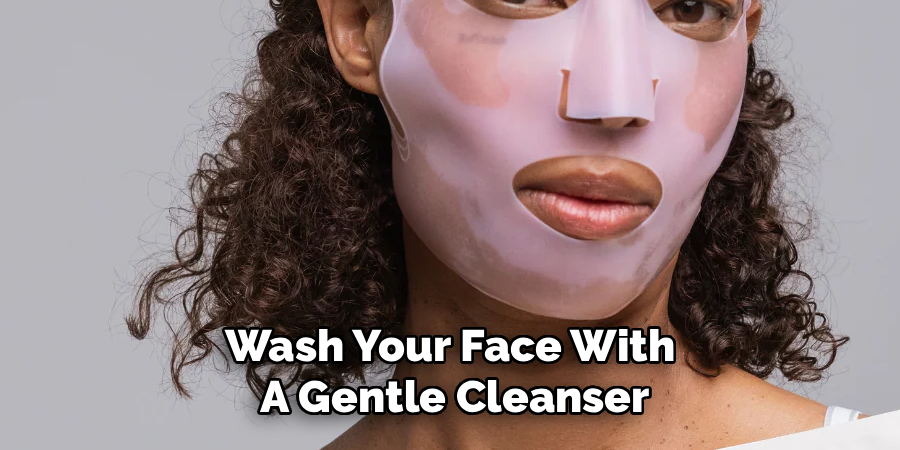
Step 1: Cleanse and Prep Your Skin
Wash your face with a gentle cleanser, then pat it dry. Leave the skin very slightly damp, since clean, faintly moist skin tends to welcome serum more readily.
This calm first step clears away the day. Makeup, oil, whatever’s been sitting there since morning, all gone.
It creates the perfect base for everything that follows. Take a breath here; you’re transitioning from doing into relaxing.
Step 2: Apply Your Serum or Sheet Mask
Smooth a generous layer of serum across your face. Or, if you prefer, lay a soaked sheet mask evenly over the skin, pressing out the obvious wrinkles.
The silicone will seal all this in next, so don’t be shy with the amount. A thin, mean layer rather undercuts the point.
Applying enough now is the real secret to that deeply hydrated, dewy finish. Be a little generous; the mask keeps it from going to waste.
Step 3: Place the Silicone Mask Over the Top
Position the silicone mask gently over the serum or sheet. Start from the center of your face and smooth outward, pushing air pockets toward the edges as you go.
That snug, even placement is what locks in the warmth and moisture. It’s the whole mechanism, really.
A comfortable fit is all it takes for the magic to begin. If it feels like it’s sliding or gaping, just lift a corner and resettle it; no drama required.

Step 4: Relax and Let It Work
Secure any straps, then settle in for ten to twenty minutes. This is the easy part.
While you rest, the trapped warmth quietly boosts absorption underneath. Your serum keeps working instead of evaporating away.
Honestly, this restful pause may be both the most enjoyable and the most effective stretch of the whole ritual. Read a few pages, close your eyes, let the mask do its thing.
Step 5: Remove, Massage, and Moisturize
When the time’s up, lift the silicone mask off gently. Discard the sheet mask if you used one, or simply set the silicone aside to clean later.
Any serum left on the skin? Massage it in with your fingertips rather than wiping it away. It’s good product, so don’t waste it.
Finish with your moisturizer to seal everything in. Then meet the soft, glowing skin in the mirror, which is a rather satisfying reward for twenty minutes of doing very little.
Common Mistakes to Avoid
Everyone fumbles a bit at first. The reassuring part is that the usual slip-ups are easy to sidestep once you know them.
Neither of these is a failure. Just a lesson worth learning ahead of time.
Using Too Little Product
The most common mistake is being stingy with serum. A thin layer leaves the skin undernourished and the mask with little to actually seal in.
Apply generously instead. The silicone holds everything against your face, so a fuller layer won’t feel wasteful or drip everywhere.
That’s the beauty of the seal, really. It lets you be generous without the usual mess, and your skin drinks up the difference.
Skipping the Cleaning Step
The other frequent slip is reusing a dirty mask. Old serum and bacteria left clinging to the silicone can invite breakouts, which rather undoes all your careful pampering.
A quick wash before and after each use handles it entirely. Mild soap, warm water, done.
Turn it into an automatic habit, and you’ll never think about it again. Clean mask, clean skin, no unwelcome surprises.
Caring for Your Silicone Mask Long-Term
One great session is lovely. A little upkeep turns that into years of use from a single mask, which is where the real value hides.
Simple care is the whole secret. It takes moments, and it keeps the tool working like new.
Cleaning and Drying After Each Use
Wash the mask with mild soap and warm water after every session. Then let it air dry completely before you tuck it away.
This quick routine prevents buildup from settling into the silicone. Rushing it, or storing the mask damp, tends to breed the very problems you’re trying to avoid.
Kept clean and dry, the silicone stays soft and ready for the next treat. It’s an easy habit that pays off every single time.
Smart Storage and Replacement
Store the mask flat in a clean, dry spot, away from heat and direct sunlight. Both can degrade silicone over time.
A drawer or a small pouch works nicely. Nothing fancy required.
Replace it once it tears or stops sealing properly, since a damaged mask can’t do its job. Until then, a little care keeps it hygienic and effective for a genuinely long stretch.
Frequently Asked Questions
A few questions come up again and again. Here are honest, direct answers to the ones people search for most.
Quick Answers to Popular Questions
How often can you use a silicone mask? Most people manage two or three times a week comfortably, though it depends more on your serum than the mask itself.
Does it work over a sheet mask? Yes, beautifully; it seals the sheet against your skin and slows it from drying out. As for timing, ten to twenty minutes is the sweet spot. And sensitive skin? The silicone is generally gentle, so the mask is usually fine, though your serum is the thing to watch.
Troubleshooting Common Issues
Small hiccups are easy to fix. If the mask keeps slipping, check that your straps are snug and that you haven’t applied so much serum it’s turned slippery underneath.
Trapping too much air? Lift an edge and smooth it out again from the center. And if it feels tight, loosen the straps a notch.
Gentle adjustments and a snug, even placement solve nearly everything. A comfortable session is the goal, so don’t hesitate to fuss with the fit until it feels right.
Conclusion
So there it is. Knowing how to use reusable silicone face mask turns out to be far simpler than that first evaporating serum might have suggested.
You’ve seen what the mask does, why it works, and how to move through each step without any fuss. Along the way, you’ve deepened your hydration, saved a little money, and cut down on waste, which is a rare combination of practical wins.
That’s a small skill with a lovely payoff. Softer skin and a smarter, greener ritual you can lean on for months.
Cleanse, apply your favorite serum, seal it in, and let the mask do its quiet work. Then enjoy the glow of skin you nurtured with a routine that’s genuinely your own.

About the Author
Jane Hubbard is a passionate beauty expert with a wealth of experience in makeup, hair, and overall beauty techniques. After years of working as a hairdresser specialist, she followed her entrepreneurial spirit and started her own consultancy business.
Jane has always been driven by her desire to help others feel confident in their own skin, and she does this by sharing her knowledge, experiences, and practical beauty tips. Through her consultancy, she empowers individuals to embrace their unique beauty, offering tailored guidance that boosts both self-esteem and personal style.
Professional Focus
Specializes in makeup, hairstyling, and beauty consulting.
Provides personalized beauty advice, tips, and techniques to help individuals feel confident in their appearance.
Dedicated to staying up-to-date with the latest industry trends and developments.
Passionate about creating a comfortable and empowering experience for every client.
Education History
University of Craft and Design – Bachelor of Fine Arts (BFA) in Woodworking and Furniture Design
Woodworking Apprenticeships – Extensive hands-on training with skilled craftsmen to refine carpentry and furniture making techniques
Online Courses & Masterclasses – Continued education in advanced woodworking techniques, design principles, and specialized tools
Expertise:
Makeup artistry, hairstyling, and beauty consulting.
Personalized beauty techniques to enhance confidence and self-expression.
Educating clients on how to maintain their beauty routines at home.