
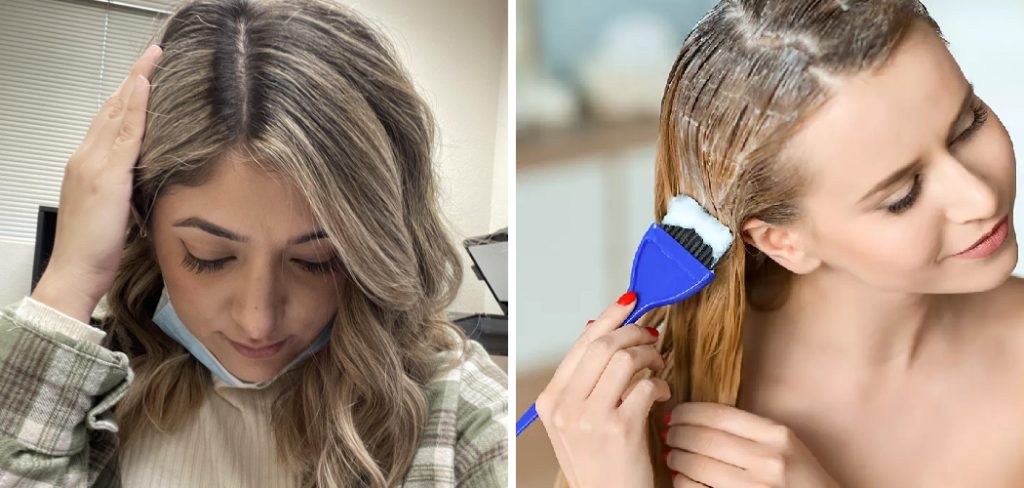
Are you tired of paying high prices to get your roots smudged at a salon? With the right tools and techniques, you can achieve a perfect root smudge at home. In this guide, we will walk you through the steps on how to do a root smudge at home.
Root smudging is a popular hair coloring technique that seamlessly blends the roots with the rest of the hair, creating a natural, low-maintenance look. This method is perfect for those who want to soften the harsh lines of regrowth and extend the life of their color. Doing a root smudge at home can save you time and money while achieving salon-quality results.
In this guide, we’ll walk you through the steps and provide tips to help you master the art of root smudging from the comfort of your own home.
What Will You Need?
Before we start, ensure you have all the necessary tools and products to achieve a successful root smudge. Here’s a list of what you’ll need:
- Hair Golor Kit: For a natural-looking result, choose a hair color kit that is 1-2 shades darker than your current hair color.
- Developer: The developer is an essential component in any hair coloring process. Choose the correct volume based on your desired results and hair type.
- Mixing Bowl and Brush: These tools will help you mix the hair color and apply it evenly onto your roots.
- Barrier Cream or Petroleum Jelly: These products protect your skin from staining.
- Gloves: To avoid getting hair color on your hands, wear gloves throughout the process.
- Timer: This will help you keep track of the processing time and ensure that you don’t overdo it.
- Sectioning Clips: These clips will help you divide your hair into manageable sections for easier application.
- Old Towel or Cape: Protect your clothes by using an old towel or cape to cover your shoulders.
Once you have all the necessary tools and products, it’s time to get started on your root smudge!
10 Easy Steps on How to Do a Root Smudge at Home
Step 1: Prepare Your Hair
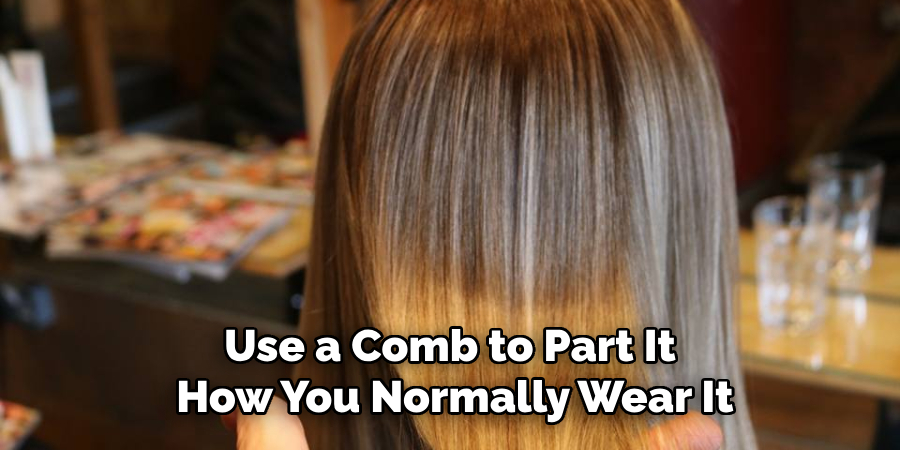
Start by washing and drying your hair thoroughly. Working with clean hair is best to ensure that the color adheres properly. Shampoo your hair to remove any oils or product build-up and then dry it thoroughly. Once your hair is dry, use a comb to part it how you normally wear it. This will give you a clear view of your roots and help you apply the color more precisely.
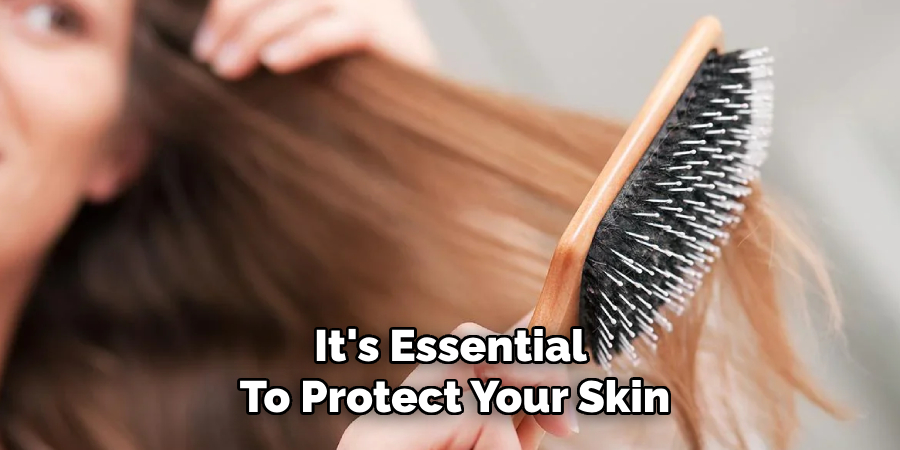
Step 2: Protect Your Skin and Clothes
Before applying the color, it’s essential to protect your skin and clothes from potential stains. Apply a barrier cream or petroleum jelly around your hairline, ears, and neck. This will prevent the hair color from staining your skin. Additionally, drape an old towel or cape over your shoulders to protect your clothing. Secure the towel or cape with a clip to keep it in place throughout the application process.
Step 3: Section Your Hair
Using sectioning clips, divide your hair into four manageable sections: two at the front and two at the back. This will make it easier to apply the color evenly and ensure you don’t miss any spots. Begin by creating a center part from your forehead to the nape of your neck, then make another part from ear to ear. Clip each section securely in place.
Step 4: Mix the Hair Color
Follow your hair color kit instructions to mix the color and developer in the mixing bowl. Use the brush to blend the ingredients thoroughly until you achieve a smooth, consistent mixture. Wear gloves during this step to avoid getting color on your hands.
Step 5: Apply the Root Smudge
Use the brush to apply the hair color mixture to your roots, starting with one of the back sections. Work in small sections within each quadrant, covering the roots evenly. Use a gentle dabbing motion to blend the color into the roots, avoiding harsh lines. Continue this process throughout each section of your hair.
Step 6: Blend the Color
After applying the hair color mixture to your roots, blending the color seamlessly with the rest of your hair is crucial. This step helps to achieve that soft, natural transition between the roots and the rest of your hair. Using your gloved fingers or the brush, gently work the color down from the roots into the mid-shaft of your hair. Be sure to use gentle, feathering strokes to avoid creating any harsh lines. Pay close attention to the areas where the color meets your natural hair to ensure a smooth and even blend.
Step 7: Let the Color Process
Once you’ve applied and blended the color throughout your hair, set a timer according to the instructions provided with your hair color kit. The processing time can vary, typically around 20-30 minutes. This is an important step as it allows the color to develop properly, ensuring even and long-lasting results. During processing, avoid any activity that might disturb the hair and cause uneven coloring.
Step 8: Rinse the Color Out
When the timer goes off, it’s time to rinse the color out of your hair. Use lukewarm water to rinse your hair until the water runs clear thoroughly. Be gentle during this process to avoid tangling your hair. Avoid using hot water as it can strip the color and cause it to fade more quickly.
Step 9: Condition Your Hair
After rinsing out the color, apply the conditioner that typically comes with your hair color kit or use a deep conditioning treatment. Conditioning is essential after coloring to help lock in the moisture and maintain the health and shine of your hair. Leave the conditioner on for the time specified in the instructions, then rinse it with lukewarm water.
Step 10: Style as Desired
After thoroughly rinsing out the conditioner, gently towel dry your hair to remove excess moisture. Be careful not to rub your hair too vigorously, which can cause frizz and damage. Instead, blot and squeeze your hair with a towel to maintain its natural texture and integrity. Once your hair is damp, you can proceed with your usual styling routine.
If you typically blow-dry your hair, apply a heat protectant spray to safeguard your hair from potential heat damage. Using a round brush, you can blow-dry your hair in sections, starting from the roots and working your way to the ends. This technique helps to create volume and smoothness, giving your hair a polished finish.
Alternatively, if you prefer air drying, apply a leave-in conditioner or a styling cream to enhance your hair’s natural texture. Then, gently scrunch and tousle your hair with your fingers for a more effortless look.
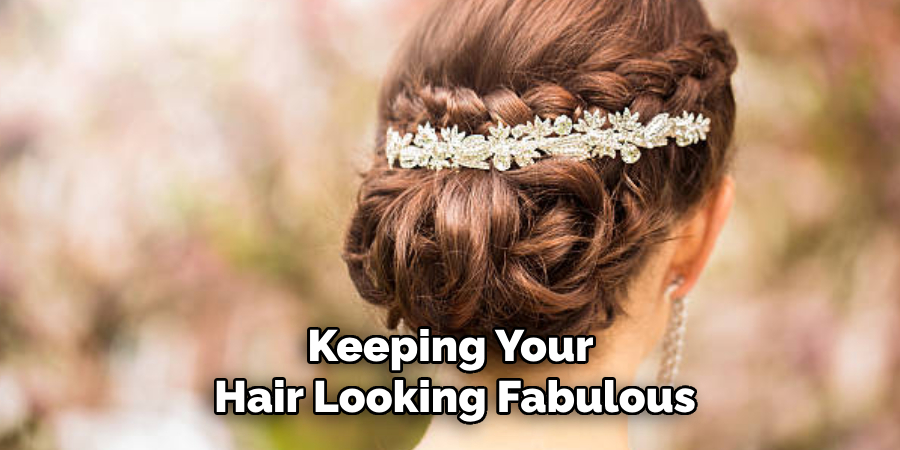
With these easy steps and some practice, you can master the art of root smudging at home, saving both time and money while keeping your hair looking fabulous.
5 Additional Tips and Tricks
- Choose the Right Brush: Use a small, flat brush for precise application. This will help you apply the smudge exactly where needed without overlapping too much onto the rest of your hair.
- Section Your Hair: Divide your hair into manageable sections to ensure even application. Use clips to hold sections up while you work on the others, starting from the back and moving towards the front.
- Monitor Processing Time: Keep an eye on the clock to avoid over-processing. Follow the instructions on your dye kit for the recommended time, but check your roots periodically to ensure the color is developing as desired.
- Check Your Hair’s Porosity: This is especially important for those with previously colored or damaged hair. Higher porosity means the color will absorb faster, so keep a close eye on your roots and adjust processing time accordingly.
- Be Prepared to Touch Up: If you have stubborn grays or resistant hair, be prepared to touch up your root smudge after initial application. You may need another round of dye in certain areas to achieve the desired coverage and color intensity.
By following these additional tips and tricks, you can confidently do a root streak at home and achieve professional-looking results.
5 Things You Should Avoid
- Skipping the Patch Test: Always perform a patch test before applying the dye to your hair. Skipping this step can result in allergic reactions or skin irritation, which can be painful and harmful.
- Overlapping Dye on Previously Colored Hair: Be cautious only to apply the dye to your roots and avoid overlapping on previously colored or smudged areas. Overlapping can result in uneven color and potentially damage your hair.
- Using the Wrong Color: Ensure your chosen dye matches your current hair color or desired look. Using the wrong shade can produce unsatisfactory results, making your root smudge stand out instead of blending seamlessly.
- Not Using Gloves: Always wear gloves when applying hair dye to protect your hands from staining and chemical exposure. Neglecting this step can make a mess and harm your skin.
- Rushing the Process: When applying the dye, allow it to process according to the instructions. Rushing the application can lead to uneven results and insufficient color development, leaving you with a patchy or unfinished look.
By avoiding these common mistakes, you can ensure a successful root streak at home and achieve the desired results.
Conclusion
How to do a root smudge at home can be a fantastic way to refresh and maintain your hair color without frequent trips to the salon.
Following the step-by-step guide and employing the additional tips and tricks, you can achieve a seamless and natural blend between your roots and the rest of your hair. Remember to take your time, choose the right tools and products, and be mindful of the common pitfalls to avoid.
With a little practice and patience, you will soon become confident in your ability to create professional-looking results in the comfort of your own home. Embrace the process, and enjoy your beautifully blended hair!
About the Author
Jane Hubbard is a passionate beauty expert with a wealth of experience in makeup, hair, and overall beauty techniques. After years of working as a hairdresser specialist, she followed her entrepreneurial spirit and started her own consultancy business.
Jane has always been driven by her desire to help others feel confident in their own skin, and she does this by sharing her knowledge, experiences, and practical beauty tips. Through her consultancy, she empowers individuals to embrace their unique beauty, offering tailored guidance that boosts both self-esteem and personal style.
Professional Focus
Specializes in makeup, hairstyling, and beauty consulting.
Provides personalized beauty advice, tips, and techniques to help individuals feel confident in their appearance.
Dedicated to staying up-to-date with the latest industry trends and developments.
Passionate about creating a comfortable and empowering experience for every client.
Education History
University of Craft and Design – Bachelor of Fine Arts (BFA) in Woodworking and Furniture Design
Woodworking Apprenticeships – Extensive hands-on training with skilled craftsmen to refine carpentry and furniture making techniques
Online Courses & Masterclasses – Continued education in advanced woodworking techniques, design principles, and specialized tools
Expertise:
Makeup artistry, hairstyling, and beauty consulting.
Personalized beauty techniques to enhance confidence and self-expression.
Educating clients on how to maintain their beauty routines at home.