
Are you tired of applying falsies whenever you want that dramatic anime look? Look no further because anime lash extensions are here to save the day! Not only do they give you a more natural and long-lasting look, but they also require less maintenance.
Anime lash extensions, inspired by anime characters’ striking and expressive eyes, can transform your look by giving your eyes a dramatic, larger-than-life appearance. Achieving this distinctive style involves meticulous application techniques designed to enhance your lashes volume, length, and curvature.
Whether you’re a professional lash artist or a beauty enthusiast looking to experiment, this guide will provide you with the essential steps and tips on how to do anime lash extensions. From selecting the right materials to perfecting the application process, we’ll walk you through everything you need to create those captivating, anime-inspired eyes.
What Will You Need?
Before we dive into the steps of applying anime lash extensions, let’s ensure you have all the necessary materials ready to go. Here’s a list of what you’ll need:
- Eyelash extensions (preferably C-curl or J-curl)
- Lash adhesive
- Tweezers
- Under eye pads
- A small fan or blow dryer
- Primer and sealer (optional)
- Lint-free applicators or micro brushes (optional)
Depending on your preferred technique, you may also want to have some lash tape, gel patches, or foam stickers for easier isolation of individual lashes.
10 Easy Steps on How to Do Anime Lash Extensions
Step 1: Prepare the Area
Begin by setting up a clean and comfortable workspace. Ensure that all your tools and materials are organized and within reach to maintain efficiency during the application process. Wash your hands thoroughly and sanitize all tools to maintain hygiene standards. Good lighting is critical to seeing each lash clearly and applying the extensions accurately.
Have your client lie down comfortably with their eyes closed. Use a headband or hair tie to keep their hair out of the way. Place under eye pads gently beneath their eyes to protect their lower lashes and skin. If needed, use lash tape, gel patches, or foam stickers to isolate the lower lashes, ensuring they don’t interfere with the upper lashes during application. This not only enhances precision but also increases comfort for your client throughout the session.
Step 2: Clean the Natural Lashes
Before applying lash extensions, it’s vital to clean the natural lashes to ensure optimal adhesion. Using a lint-free applicator or a micro brush, carefully apply a lash primer to remove any oils, dirt, or makeup residue. This step is crucial as any contaminants can affect the bonding strength of the adhesive, leading to premature lash shedding.
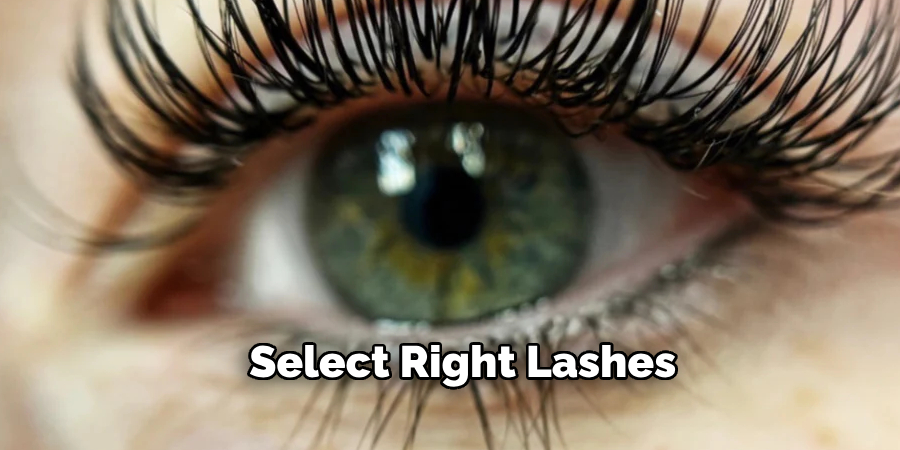
Step 3: Select the Right Lashes
Choosing the appropriate lash extensions is key to achieving the anime look. Generally, C-curl or J-curl extensions are preferred due to their enhanced curvature, miming the exaggerated, open-eyed expressions seen in anime characters. Consider mixing different lengths and thicknesses to add volume and dimension, tailoring the selection to complement your client’s eye shape and personal style.
Step 4: Apply the Extensions
Using tweezers, carefully pick up a single lash extension and dip the base into the lash adhesive. Isolate a natural lash with the other pair of tweezers and gently place the extension about 1-2mm from the eyelid onto the natural lash. Ensure the extension adheres properly by holding it in place for a moment before moving on to the next lash. Continue this process, focusing on symmetry and balanced distribution to avoid a heavy or uneven appearance.
Step 5: Let the Adhesive Set
After applying all the extensions, it’s important to let the adhesive set completely. Use a small fan or blow dryer on a cool setting to gently dry the adhesive. This process helps to cure the adhesive faster and prevents any irritation or discomfort that might occur from fumes or moisture.
Step 6: Seal the Lashes
Once the adhesive has fully set, the next step involves sealing the lashes. Applying a lash sealer helps to fortify the bond between the natural lashes and the extensions, providing added durability and longevity. Using a fine-tip applicator or a micro brush, gently apply the sealer along the lash line, ensuring that all the extensions are well-coated. This extra layer of protection will not only prolong the life of the lash extensions but also add a subtle sheen, enhancing the overall aesthetic.
Step 7: Check for Comfort and Adjustments
After sealing the lashes, have your client open their eyes slowly. Check for any discomfort or areas that might need adjustment. Sometimes, a lash may not be sitting correctly or might cause irritation. Use your tweezers to make any necessary tweaks, ensuring that all extensions are in place and comfortable for the client. This step is crucial for client satisfaction and ensures the lashes look and feel natural.
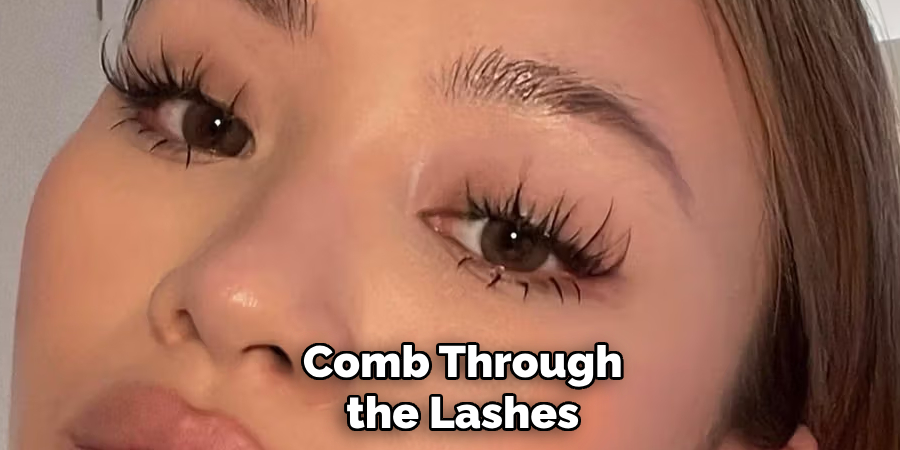
Step 8: Final Touches
Once all adjustments are made, it’s time for the final touches. Comb through the lashes with a clean, disposable mascara wand to separate them and remove any excess adhesive. This will give the lashes a more natural look and prevent clumping. If you notice any gaps or sparse areas, you can add a few more extensions to achieve a fuller appearance.
Step 9: Post-Application Care Instructions
Educate your client on taking care of their new anime lash extensions to ensure they last as long as possible. Advise them to avoid getting their lashes wet for the first 24 hours and to refrain from using oil-based makeup removers or products around their eyes. Encourage them to brush their lashes daily with a clean mascara wand and to avoid rubbing their eyes or sleeping face-down. Providing these tips will help your client maintain their lashes and get the most out of their session.
Step 10: Scheduling a Follow-Up
Finally, suggest scheduling a follow-up appointment for touch-ups. Lash extensions naturally shed along with the client’s natural lashes, so they’ll need to return every 2-3 weeks for infills to maintain the anime look. During these appointments, you’ll replace any lost extensions and ensure the lashes continue to look full and fabulous.
By following these steps meticulously, you’ll be able to achieve the stunning, dramatic anime-inspired lash look that your clients desire. Patience, practice, and precision are key to mastering this technique and delivering beautiful results.
5 Additional Tips and Tricks
- Choose the Right Lash Length and Thickness: Anime lashes often feature exaggerated, wispy lengths. Opt for lashes that are longer and thicker than usual to achieve that dramatic look.
- Segmented Lashes for Precision: Consider using individual or segmented lashes instead of a single strip. This allows you to place each lash exactly where you need it to create the signature anime style.
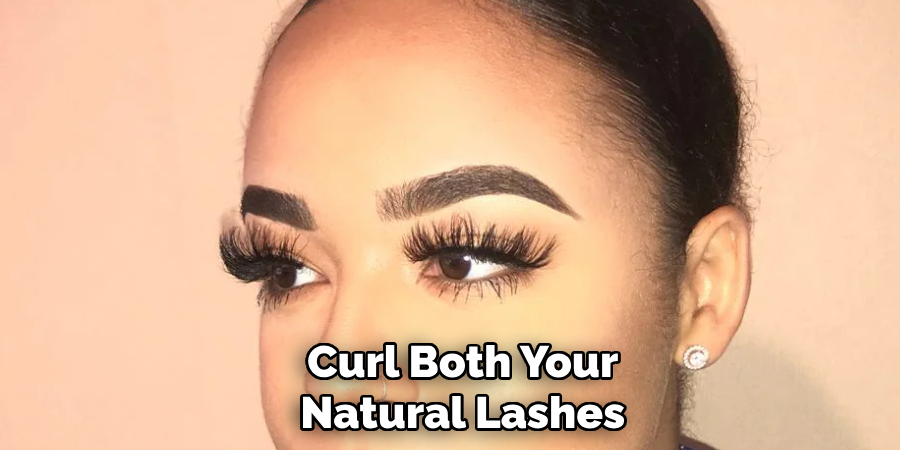
- Curl Lashes Before Application: To enhance the anime eye effect, curl both your natural lashes and the extensions before application. This helps blend them seamlessly and achieve a more cohesive look.
- Use White or Colored Mascara: For an authentic anime touch, consider using white or colored mascara on your lower lashes. This makes the eyes appear larger and adds to the unique anime aesthetic.
- Highlight the Inner Corners: Emphasize the inner corners of the eyes with a touch of highlighter or a light-colored eye pencil. This brightens the eyes and draws more attention to the lash extensions, enhancing the overall anime look.
With these additional tips and tricks, you can take your anime lash game to the next level. Experiment with different lengths, thicknesses, and techniques to find what works best for you and achieve that desired anime effect.
5 Things You Should Avoid
- Avoid Overloading with Glue: Using too much adhesive can make the lashes clumpy and uncomfortable. It can also cause the extensions to stick together or even damage your natural lashes.
- Don’t Rush the Application: Patience is key when applying anime lash extensions. Rushing through the process can result in uneven placement and a less-than-perfect appearance. Take your time to ensure each lash is correctly positioned.
- Steer Clear of Heavy Layers: While anime lashes are meant to be dramatic, overly thick layers can weigh down your natural lashes and cause discomfort. Aim for balance to maintain both comfort and aesthetic appeal.
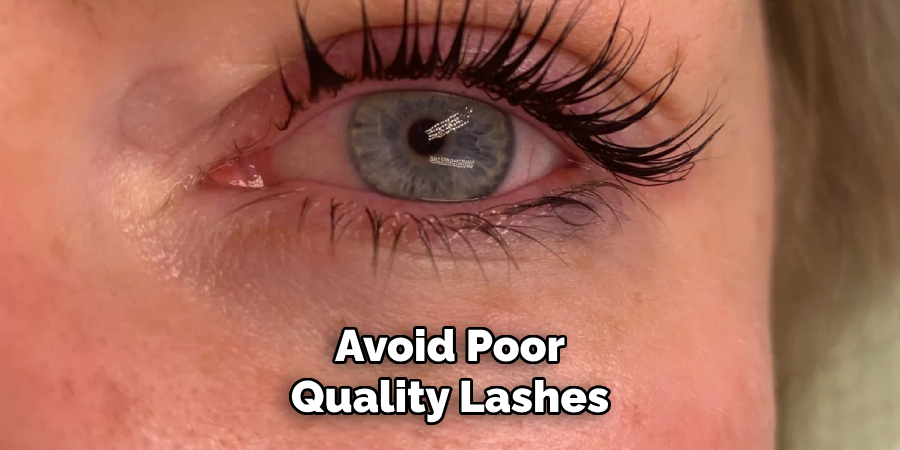
- Avoid Using Poor Quality Lashes: Low-quality lash extensions may not provide the desired look and can harm your eyes and natural lashes. Invest in high-quality products for the best results.
- Don’t Ignore Aftercare: Skipping proper aftercare can lead to premature shedding of the lash extensions and potential irritation. Follow aftercare instructions carefully to maintain the longevity and appearance of your anime lash extensions.
By avoiding these common pitfalls, you can ensure a safer and more effective application of anime lash extensions, resulting in a stunning and authentic anime look.
Conclusion
How to do anime lash extensions requires both creativity and attention to detail.
By understanding the basics of lash length and thickness, using segmented lashes for precise placement, and incorporating unique touches like colored mascara or inner corner highlights, you can successfully emulate the enchanting eyes seen in anime. It’s crucial to avoid common mistakes such as overloading with glue or rushing the application process to ensure the best results. Investing in high-quality lashes and adhering to proper aftercare routines will enhance the quality of your extensions and protect your natural lashes.
With these tips and careful execution, you can master the art of anime lash extensions and enjoy captivating, anime-inspired eyes.
About the Author
Jane Hubbard is a passionate beauty expert with a wealth of experience in makeup, hair, and overall beauty techniques. After years of working as a hairdresser specialist, she followed her entrepreneurial spirit and started her own consultancy business.
Jane has always been driven by her desire to help others feel confident in their own skin, and she does this by sharing her knowledge, experiences, and practical beauty tips. Through her consultancy, she empowers individuals to embrace their unique beauty, offering tailored guidance that boosts both self-esteem and personal style.
Professional Focus
Specializes in makeup, hairstyling, and beauty consulting.
Provides personalized beauty advice, tips, and techniques to help individuals feel confident in their appearance.
Dedicated to staying up-to-date with the latest industry trends and developments.
Passionate about creating a comfortable and empowering experience for every client.
Education History
University of Craft and Design – Bachelor of Fine Arts (BFA) in Woodworking and Furniture Design
Woodworking Apprenticeships – Extensive hands-on training with skilled craftsmen to refine carpentry and furniture making techniques
Online Courses & Masterclasses – Continued education in advanced woodworking techniques, design principles, and specialized tools
Expertise:
Makeup artistry, hairstyling, and beauty consulting.
Personalized beauty techniques to enhance confidence and self-expression.
Educating clients on how to maintain their beauty routines at home.