

That little bottle of color you love has turned thick, gloopy, and almost impossible to brush on smoothly. Sound familiar? Before you toss it in the trash, know that thick polish is one of the easiest beauty problems to solve at home. Learning how to fix dried out nail polish saves you money, keeps your favorite shades alive, and gives you salon-worthy results without a single trip to the store.
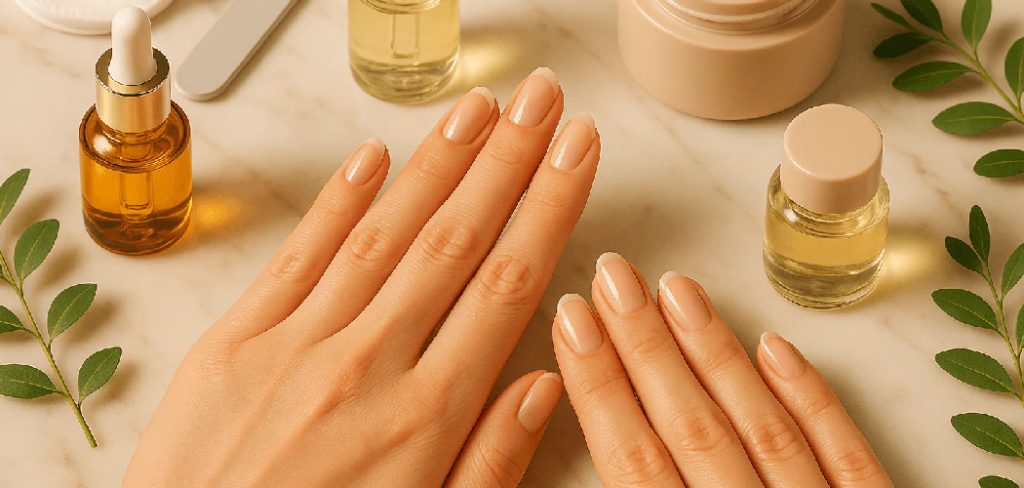
Nail polish dries out when air sneaks into the bottle and slowly evaporates the solvents that keep the formula fluid. Over time, this leaves you with a sticky, clumpy mess. The good news is that this process is often reversible with a few simple tools you already have at home. In the sections below, you’ll get clear, beginner-friendly steps that anyone can follow, no matter your skill level. Whether you’re rescuing a designer polish or a drugstore favorite, these methods will bring your color back to life so you can paint with confidence again.
Why Reviving Old Nail Polish Matters
Reviving old polish is about more than saving a few dollars, though the savings do add up fast. Premium bottles can cost a small fortune, and limited-edition shades are often impossible to replace once they’re gone. Bringing a thick bottle back to life means you keep the colors you truly love.
There’s also a smart, eco-friendly angle here. Every bottle you rescue is one less item heading to the landfill, and that small habit adds up over time. Beyond that, restored polish simply performs better. A smooth, evenly blended formula glides on cleanly, dries properly, and lasts longer without chipping. You get professional-looking results, fewer wasted products, and the satisfaction of solving a common problem with your own two hands.
Step-by-Step Guide to How To Fix Dried Out Nail Polish
Step 1: Check the Condition of Your Bottle
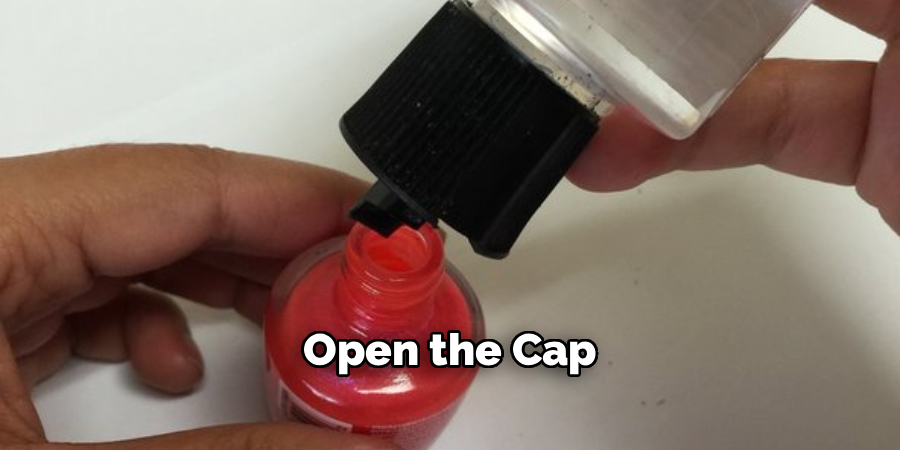
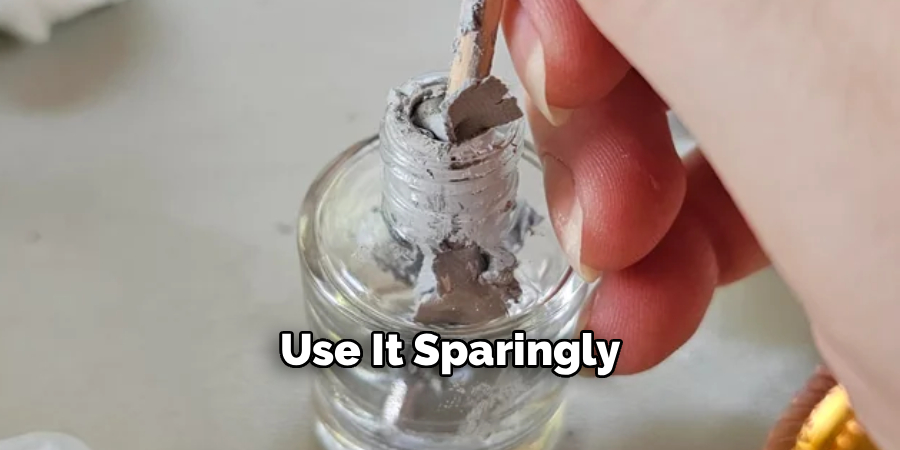
Start by taking a good look at what you’re working with. Open the cap and dip the brush in to test the texture. If the polish stretches into thick strings, moves slowly, or clumps around the brush, it’s simply thick and very fixable. If it has hardened into a solid, rubbery block or smells strongly of chemicals gone bad, it may be past saving. Most bottles fall into the fixable category, so don’t lose hope. Understanding the starting point helps you choose the right method and avoid wasting effort on a bottle that’s truly done.
Step 2: Warm the Bottle to Loosen the Formula
Warmth is your first and gentlest tool for how to fix dried out nail polish. Fill a mug or small bowl with hot tap water, not boiling, and stand the tightly closed bottle in it for two to three minutes. The heat softens the thickened formula and helps the ingredients blend back together naturally. Once warmed, remove the bottle and roll it slowly between your palms for about thirty seconds. Avoid shaking it hard, since that creates air bubbles that ruin a smooth finish. This simple trick often loosens mildly thick polish without needing anything else at all.
Step 3: Add Nail Polish Thinner Drop by Drop
If warming alone isn’t enough, nail polish thinner is your best friend. This product is designed to restore the exact solvents that evaporate over time. Add just two or three drops into the bottle, then cap it and roll it gently to mix. Test the texture, and only add more if needed. Patience matters here, because too much thinner at once can make the polish runny and weak. Never use nail polish remover or acetone as a substitute, as these break down the color and pigment instead of restoring the smooth, workable consistency you want.
Step 4: Try Clear Acetone-Free Base Coat as a Backup
No thinner on hand? A clear, acetone-free base coat can work in a pinch. Add one or two drops into the bottle and roll it gently, just as you did with thinner. Keep in mind this method slightly dilutes the color and shine, so use it sparingly and only when thinner isn’t available. It’s a handy backup for the occasional emergency rather than a long-term habit. Test a small amount on one nail first to see how the finish looks. If you’re happy with the result, you’re ready to move ahead.
Step 5: Mix Thoroughly Without Shaking
Blending is where many people go wrong, so take your time. Instead of shaking the bottle, roll it firmly between your palms for thirty to sixty seconds. This distributes the warmth, thinner, or base coat evenly through the formula without trapping air. Bubbles are the enemy of a clean manicure, leaving a bumpy, uneven surface once dry. If you still see clumps, warm the bottle again and repeat the rolling motion. A properly mixed polish should feel smooth and slightly fluid on the brush, coating it evenly without dripping or dragging across the surface.
Step 6: Test the Restored Polish Before You Commit
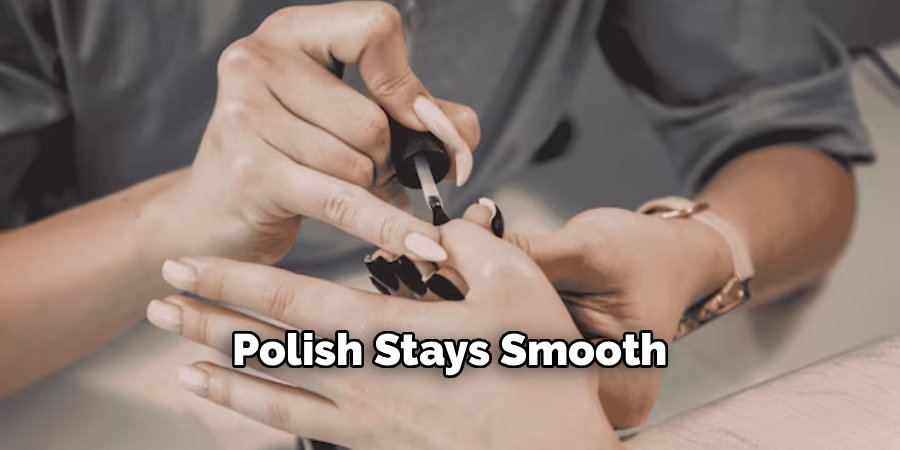
Before painting all ten nails, always test how to fix dried out nail polish results on a single nail or a paper swatch. Brush on a thin layer and watch how it spreads. It should glide smoothly, self-level within seconds, and dry to an even finish without streaks or bubbles. If it still feels thick, add one more drop of thinner and mix again. If it’s too runny, let the bottle sit uncapped for a couple of minutes. This quick test protects your manicure and confirms the polish is truly ready for full use.
Step 7: Store Your Polish Properly Going Forward
Once your polish is restored, good storage keeps it that way. Wipe the bottle neck and threads with a cotton pad dipped in remover so the cap seals tightly every time. A loose or crusty cap lets air in and starts the drying process all over again. Keep your bottles in a cool, dark, dry place, away from sunlight and heat sources like windowsills or bathrooms. Standing them upright also helps. With these simple habits, your polish stays smooth for far longer, and you’ll rarely need to rescue a thick bottle again.
Frequently Asked Questions
Can I Use Water To Thin My Nail Polish?
No, water and nail polish don’t mix, since polish is oil-based and water simply sits on top. Adding water creates a cloudy, separated mess that ruins the formula and won’t restore the color. Stick with proper nail polish thinner, which replaces the exact solvents lost to evaporation. It’s affordable, easy to find online or in beauty shops, and gives you clean, reliable results every time you need a rescue.
How Many Drops Of Thinner Should I Add?
Start with just two or three drops, then mix and test the texture before adding more. Less is always safer, because you can add another drop, but you can’t easily remove excess thinner once it’s in. Overdoing it makes the polish runny, weak, and prone to peeling. Add gradually, roll gently between mixes, and stop the moment the formula feels smooth and glides easily onto your nail.
Why Does Nail Polish Dry Out So Quickly?
Polish dries out mainly because air enters the bottle and evaporates the solvents that keep it fluid. Leaving the cap loose, storing bottles in warm or sunny spots, and frequent opening all speed up the process. Heat and light are especially harsh on the formula. Cleaning the bottle neck, sealing the cap tightly, and storing polish somewhere cool and dark will dramatically slow this down and extend its life.
Is It Safe To Use Restored Nail Polish?
Yes, polish revived with proper thinner or a clear base coat is completely safe to use. You’re simply restoring the original consistency, not altering the ingredients in any harmful way. Just avoid using expired polish that smells rancid, has separated permanently, or won’t blend no matter what you try. If the color mixes smoothly and applies evenly during your test, it’s perfectly fine for a beautiful, long-lasting manicure.
What If My Polish Still Won’t Mix Smoothly?
If your polish stays clumpy after warming, thinning, and rolling, it may simply be too far gone to save. Solid, rubbery, or strong-smelling formulas usually can’t be revived. Before giving up, try one final round of warming plus a single drop of thinner. If nothing changes, it’s time to let that bottle go. Learning to spot truly dead polish saves you time and helps you focus on the bottles worth rescuing.
Conclusion
Bringing a favorite color back from the brink is easier than most people expect, and now you have every tool you need to do it. From warming the bottle and adding thinner drop by drop to mixing gently and testing before you commit, each step builds toward smooth, professional-looking results. The real secret to how to fix dried out nail polish lies in patience, gentle mixing, and smart storage habits that prevent the problem from returning.
Don’t let another thick bottle sit forgotten in your drawer. Grab your polish, follow these steps, and enjoy the satisfaction of rescuing a shade you love. With a little practice, you’ll save money, cut down on waste, and keep your entire collection ready to use whenever inspiration strikes. Your favorite colors deserve a second life, so go ahead and give them one today.

About the Author
Jane Hubbard is a passionate beauty expert with a wealth of experience in makeup, hair, and overall beauty techniques. After years of working as a hairdresser specialist, she followed her entrepreneurial spirit and started her own consultancy business.
Jane has always been driven by her desire to help others feel confident in their own skin, and she does this by sharing her knowledge, experiences, and practical beauty tips. Through her consultancy, she empowers individuals to embrace their unique beauty, offering tailored guidance that boosts both self-esteem and personal style.
Professional Focus
Specializes in makeup, hairstyling, and beauty consulting.
Provides personalized beauty advice, tips, and techniques to help individuals feel confident in their appearance.
Dedicated to staying up-to-date with the latest industry trends and developments.
Passionate about creating a comfortable and empowering experience for every client.
Education History
University of Craft and Design – Bachelor of Fine Arts (BFA) in Woodworking and Furniture Design
Woodworking Apprenticeships – Extensive hands-on training with skilled craftsmen to refine carpentry and furniture making techniques
Online Courses & Masterclasses – Continued education in advanced woodworking techniques, design principles, and specialized tools
Expertise:
Makeup artistry, hairstyling, and beauty consulting.
Personalized beauty techniques to enhance confidence and self-expression.
Educating clients on how to maintain their beauty routines at home.