
Are you tired of your silk press only lasting for a day or two? Are you looking for ways to make it last longer and maintain its sleek, smooth look? Look no further! In this guide, we will discuss the steps on how to make silk press last.
A silk press is a popular hair styling method that provides a sleek, straight finish without the use of harsh chemicals. Achieving that perfect, silky shine can be a meticulous process, but ensuring it lasts requires even more attention to detail. From the initial preparation to daily maintenance, you can follow several key steps to keep your silk press looking fresh and flawless.
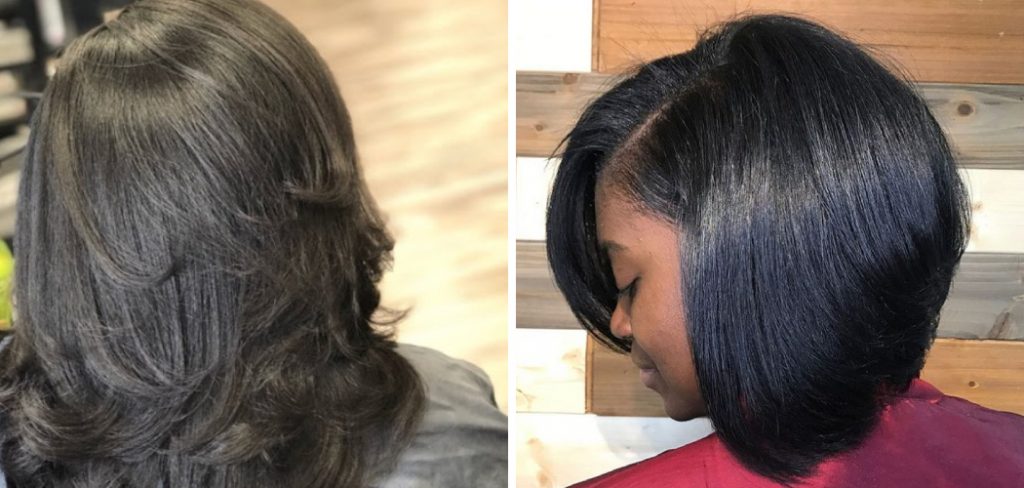
In this guide, we will explore essential tips and best practices to help you extend the longevity of your silk press and maintain that salon-quality look for as long as possible.
What Will You Need?
Before we dive into the steps, you must gather a few essential products and tools. These may vary depending on your hair type and preferences, but some essential items include:
- Straightening iron
- Heat protectant spray or serum
- Comb or brush
- An oil-based shine serum or finishing spray
- Satin scarf or bonnet
- Silk press shampoo and conditioner (optional)
- Anti-humidity hair products (optional)
It is important to note that the products and tools you use can greatly impact the longevity of your silk press, so it may take some trial and error to find what works best for your hair.
10 Easy Steps on How to Make Silk Press Last
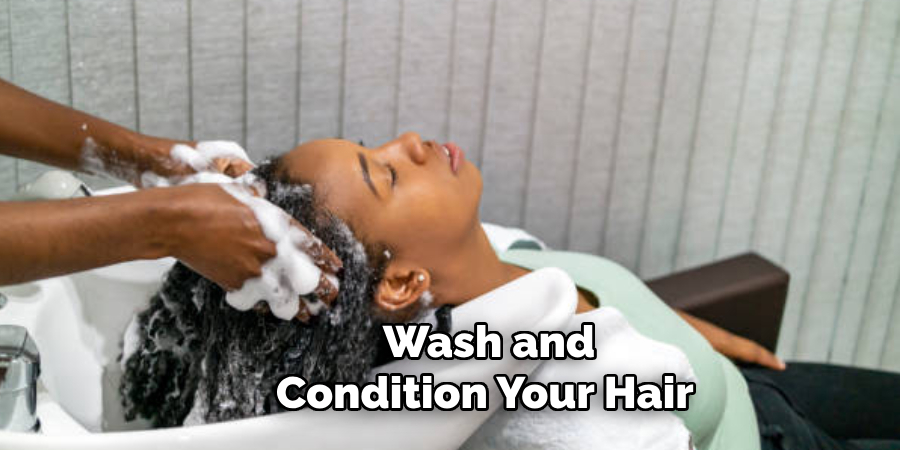
Step 1: Prepare Your Hair
Preparation is key to making your silk press last. Start by thoroughly washing and conditioning your hair. A clean base is essential for achieving a smooth, long-lasting finish. Use a moisturizing shampoo and conditioner to ensure your hair is hydrated and free from any product build-up or impurities. It’s also a good idea to follow up with a deep conditioning treatment to add extra moisture and strength to your hair, which can help reduce breakage during the heat styling process.
After washing, lightly towel dry your hair and apply a heat protectant spray or serum. This product acts as a barrier between your hair and the high temperatures of the straightening iron, reducing the risk of heat damage and helping to preserve the integrity of your hair. Make sure to distribute the heat protectant evenly through your hair, paying particular attention to the ends, which are often the most vulnerable to damage.
Step 2: Detangle and Blow Dry
Once your hair is prepped with a heat protectant, it’s time to detangle and dry it. Use a wide-tooth comb or a brush to gently detangle your hair, starting from the ends and working your way up to the roots. This will help to remove any knots or tangles and make the blow-drying process smoother.
Next, divide your hair into sections to ensure even drying. Blow dry each section on a medium heat using a blow dryer with a comb attachment or a paddle brush. Make sure your hair is dehydrated before you move on to the next step, as any remaining moisture can make your silk press less effective and lead to frizziness.
Step 3: Section Your Hair
Dividing your hair into smaller, manageable sections is crucial for getting a consistent, sleek look. Depending on its thickness and length, part your hair into four or more sections. Clip each section up with hair clips to keep them separate and out of the way while you work one at a time.
Step 4: Straighten Your Hair
Now that your hair is dry and sectioned, it’s time to use your straightening iron. Set your iron to a temperature suitable for your hair type (usually between 300°F to 450°F). Working with one small section at a time, glide the straightening iron slowly from the roots to the ends. For best results, use a comb to follow the iron down the hair section, which helps keep the strands taut and ensures even heat distribution.
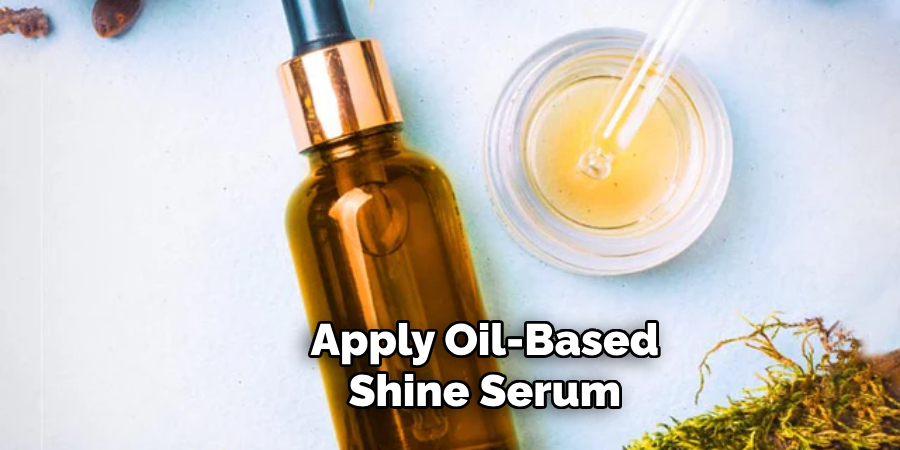
Step 5: Apply an Oil-Based Shine Serum
Once all sections of your hair have been straightened, apply a small amount of oil-based shine serum or finishing spray. This product not only adds a beautiful sheen to your strands but also helps to seal the hair cuticles, reducing frizz and flyaways. Make sure to distribute the serum evenly, focusing on the mid-lengths and ends of your hair. Avoid applying too much product near the roots, making your hair look greasy.
Step 6: Wrap Your Hair at Night
A key step to keeping your silk press last is protecting it while you sleep. Before bed, gently comb or brush your hair and wrap it using a satin scarf or bonnet. This helps maintain the smooth texture of your press and reduces friction, which can cause frizz and breakage. If you’re not comfortable wrapping your hair, consider sleeping on a satin or silk pillowcase as an alternative.
Step 7: Avoid Moisture and Humidity
Moisture is the enemy of a silk press. Avoid activities that cause your scalp to sweat or expose your hair to high humidity levels, such as intense workouts or long showers without a shower cap. When you encounter moisture, consider lightly pressing your hair with a cool blow dryer to maintain its smoothness.
Step 8: Use Anti-Humidity Products
Using anti-humidity products can be particularly beneficial if you live in an area with high humidity or have naturally curly hair. Spritz a light layer of anti-humidity spray on your hair to form a protective barrier that will help repel moisture from the air. These products are especially handy when you need to spend time outdoors.
Step 9: Touch-Up As Needed
To keep your silk press looking fresh, you may need to do occasional touch-ups with your straightening iron. Focus on the areas that tend to revert back to their natural texture first, such as the roots or edges. Always apply a heat protectant before using the iron to minimize heat damage.
Step 10: Maintain a Healthy Hair Routine
Finally, to ensure your silk press lasts, following a consistent hair care routine is important. Regularly deep condition your hair, trim your ends to prevent split ends and avoid heavy styling products that can weigh down your hair. A healthy hair regimen not only promotes the longevity of your silk press but also improves the overall health and resilience of your hair.
By following these easy steps, you can make your silk press last longer and enjoy smooth, sleek hair for days on end.
5 Additional Tips and Tricks
- Avoid Heavy Products: Heavy, oily, or creamy products can weigh your hair down and cause it to revert faster. Stick to lightweight serums and avoid layering too many products on your hair.
- Limit Heat Styling: Once your hair is silk-pressed, avoid using additional heat-styling tools. If you need to touch up, use the lowest heat setting possible and always apply a heat protectant beforehand.
- Stay Dry: Avoid any activity that might wet your hair, including workouts that cause excessive sweating. Try using a sweatband during exercise to help keep moisture away from your hairline.
- Keep Your Hands Off: Touching your hair too much can transfer oils from your hands to your hair, leading to a faster reversion. Avoid running your fingers through your hair or constantly playing with it.
- Add Some Curls: If your silk press loses its sleekness, try adding some curls to disguise any frizz or kinks. Using a curling wand or flat iron on low heat can help blend in any new growth and give your hair a refreshed look. Use a heat protectant before applying heat to your hair again.
5 Things You Should Avoid
- Water and Humidity: Water is the biggest enemy of a silk press. Avoid getting your hair wet in the shower, swimming pool, or due to rain. Consider using a shower cap and a scarf to protect your hair from moisture when bathing.
- Excessive Sweating: High-intensity workouts and activities that make you sweat can cause your silk press to revert quickly. Stick to low-impact exercises and always wear a headband or scarf to absorb sweat.
- Touching Your Hair Too Much: Constantly touching or playing with your hair can transfer the oils from your hands to your hair, leading to faster reversion. Try to keep your hands off your hair as much as possible.
- Sleeping Without Protection: Sleeping without a satin or silk scarf, bonnet, or pillowcase can cause friction that leads to frizz and puffiness. Always wrap your hair or sleep on a satin or silk pillowcase to maintain the smoothness of your silk press.
- Skip Conditioning: Conditioner can weigh down hair and cause it to lose its sleekness, so it’s best to skip this step when washing hair before a silk press. Instead, use a leave-in conditioner or detangler to help with the straightening process without weighing down hair.

Conclusion
How to make silk press last requires a combination of careful styling and diligent aftercare.
By following the outlined steps, such as using heat protectants, avoiding moisture, and wrapping your hair at night, you can extend the life of your silk press and enjoy sleek, smooth hair for an extended period. Additionally, incorporating lightweight products and minimizing excessive heat styling will help preserve the integrity of your hair, preventing damage and ensuring it stays healthy. Remember, the key to a lasting silk press is a balanced routine that protects your hair while maintaining its style.
With these tips and tricks in mind, you can confidently flaunt your gorgeous silk press for days.
You can also check it out to Know When Babyliss Pro is Fully Charged
About the Author
Jane Hubbard is a passionate beauty expert with a wealth of experience in makeup, hair, and overall beauty techniques. After years of working as a hairdresser specialist, she followed her entrepreneurial spirit and started her own consultancy business.
Jane has always been driven by her desire to help others feel confident in their own skin, and she does this by sharing her knowledge, experiences, and practical beauty tips. Through her consultancy, she empowers individuals to embrace their unique beauty, offering tailored guidance that boosts both self-esteem and personal style.
Professional Focus
Specializes in makeup, hairstyling, and beauty consulting.
Provides personalized beauty advice, tips, and techniques to help individuals feel confident in their appearance.
Dedicated to staying up-to-date with the latest industry trends and developments.
Passionate about creating a comfortable and empowering experience for every client.
Education History
University of Craft and Design – Bachelor of Fine Arts (BFA) in Woodworking and Furniture Design
Woodworking Apprenticeships – Extensive hands-on training with skilled craftsmen to refine carpentry and furniture making techniques
Online Courses & Masterclasses – Continued education in advanced woodworking techniques, design principles, and specialized tools
Expertise:
Makeup artistry, hairstyling, and beauty consulting.
Personalized beauty techniques to enhance confidence and self-expression.
Educating clients on how to maintain their beauty routines at home.