
Are you tired of your dull, flat hair? A textured fringe can add dimension and style to any hairstyle. Here are some tips on how to make your hair textured fringe.

Creating a textured fringe can transform your hairstyle and add depth and dimension to your look. This guide will take you through the steps and techniques to achieve that perfect, tousled fringe that frames your face beautifully.
A textured fringe can elevate your overall appearance, whether aiming for a soft, wispy effect or a more structured, choppy style. With the right tools and practice, you can master this trendy hairstyle effortlessly.
Let’s dive into the world of textured fringes and discover how to create one that suits your unique style!
What Will You Need?
- A good quality pair of thinning scissors
- A comb
- Hair clips or pins to section your hair
- Hairdryer
- Texturizing spray or dry shampoo
Once you have gathered all your tools, it’s time to start creating your textured fringe!
10 Easy Steps on How to Make Your Hair Textured Fringe
Step 1: Prep Your Hair
Before diving into the cutting process, ensuring that your hair is clean and dry is essential. Wash your hair with your preferred shampoo and conditioner, then towel dry it gently. Avoid applying heavy products that can weigh your hair down, as you want to maintain a light and airy feel.
Once your hair is dry, use a comb to detangle any knots, ensuring your hair is smooth and manageable. Section your hair into manageable parts, clipping away the sections you are not working on. This will help you focus on the section you plan to cut and give you a clearer view of how your fringe is shaping up.
Step 2: Decide on the Length
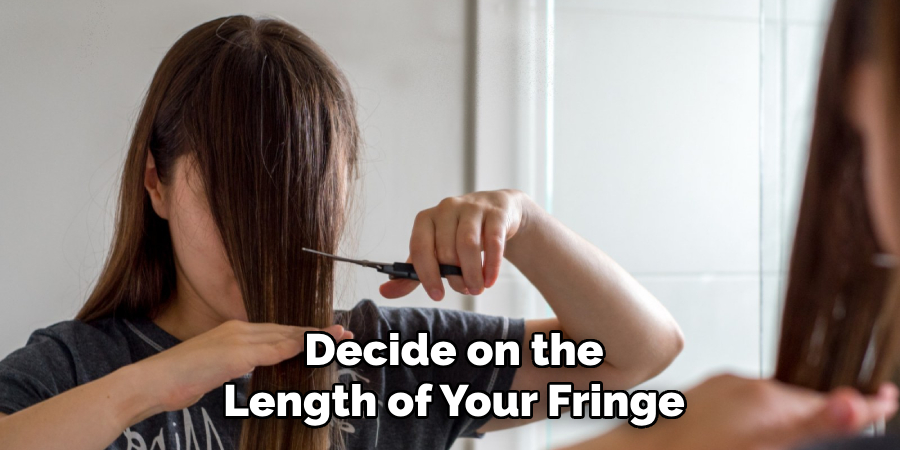
The next crucial step is to decide on the length of your fringe. It’s best to start with a longer length, as you can always trim more off if needed. Look at your face shape and features to determine where you want the fringe to fall; typically, it should graze your eyebrows or slightly above.
To help visualize, use the comb to pull the hair forward to the desired length, ensuring it complements your overall hairstyle. Once you’re satisfied with the size, mark it with a clip or your fingers to keep it in place as you start cutting.
Step 3: Start Cutting the Fringe
Now that you’ve determined the length, it’s time to make the first cut. Hold your thinning scissors vertically rather than horizontally to create a softer, more textured look. Cut small hair sections, starting from the outer edges and moving toward the center.
Use a point-cutting technique to create choppiness, which adds dimension to your fringe. Be cautious and take your time; you can always trim more if needed, but adding hair back is not an option. As you work through the hair, periodically step back and assess your progress in the mirror to ensure balanced length and shape throughout.
Step 4: Texturize the Fringe
Once you’ve achieved the desired length and shape for your fringe, the next step is to add texture. Using your thinning scissors, gently snip into the ends of the hair at a slight angle. This technique will create a more lived-in, effortless look.
Focus on the tips rather than cutting too much into the length, as this will maintain the overall structure while softening the edges. If you prefer a more pronounced texture, apply some texturizing spray or dry shampoo to boost volume and enhance the tousled appearance.
Experiment with the amount of product until you’re satisfied with the look, ensuring it’s light and not heavy or sticky. Take your time to refine the texture until it complements your style perfectly.
Step 5: Blow Dry Your Fringe
After texturizing, it’s time to style and set your fringe in place. Use a hairdryer on a low heat setting while holding your fringe away from your forehead. This will help create volume and shape.
For added lift, you can use a round brush to gently lift the roots of your fringe as you dry it. Focus on directing the airflow downward for a smooth finish. Blend the fringe with the rest of your hair for a naturally cohesive look.
Step 6: Fine-Tune the Shape

Once your fringe is dry and styled, take a moment to reevaluate its shape. Look for uneven areas or sections that may need additional trimming to achieve the desired look. Use your thinning scissors to carefully snip away any stray hairs, focusing on creating a balanced appearance.
Consider carefully cutting small pieces throughout the fringe if you want to add more layers or movement. This will further enhance its texture and dimension, ensuring it flawlessly frames your face. Remember that it’s always best to cut conservatively, as you can make adjustments but cannot put the hair back once it’s cut.
Step 7: Set Your Fringe
To ensure your newly styled fringe lasts throughout the day, it’s crucial to set it properly. Apply a light-hold hairspray or a texturizing gel to your fringe to keep the style intact without making it stiff or overly polished.
Hold the product about 10-12 inches from your hair, lightly misting it over the fringe while tussling it with your fingers for a more natural finish. This will help maintain the texture and shape while giving your fringe a bit of added volume and hold, ensuring it stays in place as you go about your day.
Step 8: Maintain Your Textured Fringe
Regular maintenance is critical to keep your textured fringe looking fresh and stylish. Schedule trims every 4-6 weeks to remove split ends and maintain a well-defined shape. Each time you visit the salon, discuss any adjustments you might want regarding length or layering with your stylist.
Additionally, consider incorporating a weekly deep conditioning treatment into your hair care routine to maintain its health and moisture, especially if your hair is prone to dryness. Be mindful of how you style your fringe daily; using heat protectant spray before styling tools can help prevent damage and keep your fringe looking its best.
Step 9: Experiment with Different Styles
Once you’re comfortable with your textured fringe, don’t hesitate to explore various styling options to refresh your look. Try sweeping your fringe to one side for a softer appearance, or create a center part for a more modern vibe.
Add accessories such as hair clips or headbands to change your style for added versatility. If you’re feeling adventurous, consider using a straightening iron or curling wand to add waves or tight curls for a distinct effect.

Remember to use heat protectant spray if you’re applying heat to your hair, as this will help keep your fringe healthy while experimenting with different styling techniques.
Step 10: Embrace Your New Look
Now that you’ve mastered styling and maintaining your textured fringe, it’s time to embrace your new look fully. Confidence is vital when rocking any hairstyle, and a fringe can dramatically alter your appearance, giving you a fresh and trendy vibe.
Share your transformation on social media or with friends, and don’t shy away from seeking feedback. Remember, experimenting with your look is all fun, so feel free to adapt and modify your fringe style as you discover what works best for you.
Most importantly, enjoy the journey of self-expression that comes with your fabulous new fringe! By following these steps and with some practice, you can easily create a textured fringe that will elevate your style and make you stand out.
5 Things You Should Avoid
- Cutting Too Much Hair at Once: It’s easy to get carried away when cutting your fringe, but removing too much hair can lead to an uneven and unmanageable look. Always start with small snips and assess the shape before making further cuts.
- Neglecting to Use the Right Tools: Dull scissors or inappropriate styling tools can result in a choppy appearance rather than a smooth, blended finish. Invest in high-quality hair-cutting shears and consider using thinning scissors to achieve softer edges.
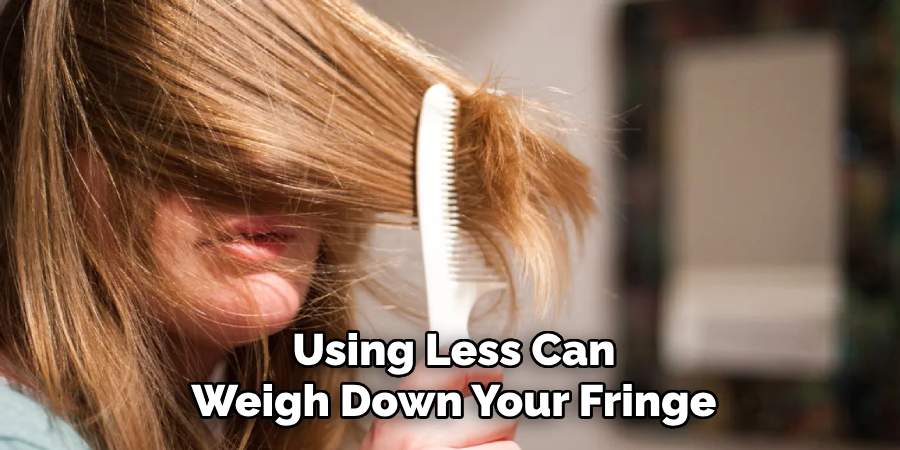
- Overdoing Styling Products: While products can enhance texture, using less can weigh down your fringe and make it look greasy or stiff. Start with a small amount of product and build up as necessary for a light, natural effect.
- Skipping Regular Maintenance: Allowing your textured fringe to grow without regular trims can lead to split ends and an undefined shape. Stay consistent with salon visits to keep your fringe looking fresh.
- Ignoring Your Hair Type: Only some styling techniques work for some hair types. Be mindful of your hair’s texture and thickness when choosing products and styles, as what works for one person may not suit another. Tailor your approach to what works best for your unique hair characteristics.
Conclusion
How to make your hair textured fringe can be a transformative addition to your hairstyle, enhancing your overall look and allowing for versatile styling options.
Following the outlined steps, from proper cutting techniques to regular maintenance, you can achieve a fringe that complements your face shape and reflects your style. Remember that patience and practice are essential—your skills will improve over time, and you’ll discover what techniques work best for your unique hair type.
Embrace the journey of self-expression through your fringe, and have fun experimenting with different styles to keep your look fresh and exciting. A well-styled textured fringe can boost your confidence and elevate your everyday appearance.
About the Author
Jane Hubbard is a passionate beauty expert with a wealth of experience in makeup, hair, and overall beauty techniques. After years of working as a hairdresser specialist, she followed her entrepreneurial spirit and started her own consultancy business.
Jane has always been driven by her desire to help others feel confident in their own skin, and she does this by sharing her knowledge, experiences, and practical beauty tips. Through her consultancy, she empowers individuals to embrace their unique beauty, offering tailored guidance that boosts both self-esteem and personal style.
Professional Focus
Specializes in makeup, hairstyling, and beauty consulting.
Provides personalized beauty advice, tips, and techniques to help individuals feel confident in their appearance.
Dedicated to staying up-to-date with the latest industry trends and developments.
Passionate about creating a comfortable and empowering experience for every client.
Education History
University of Craft and Design – Bachelor of Fine Arts (BFA) in Woodworking and Furniture Design
Woodworking Apprenticeships – Extensive hands-on training with skilled craftsmen to refine carpentry and furniture making techniques
Online Courses & Masterclasses – Continued education in advanced woodworking techniques, design principles, and specialized tools
Expertise:
Makeup artistry, hairstyling, and beauty consulting.
Personalized beauty techniques to enhance confidence and self-expression.
Educating clients on how to maintain their beauty routines at home.