
Are you tired of spending a fortune at the nail salon every time you want to remove your gel nail strips? Well, you’re lucky because removing gel nails can be done easily at home!
How to remove gel nail strips can often seem daunting, but with the right steps and tools, it’s a straightforward process that you can easily do at home. Gel nail strips are a convenient and stylish way to adorn your nails, but when it’s time for a change, it’s important to remove them properly to maintain their health and strength.
This guide will walk you through each step to ensure a safe and efficient removal process, helping you avoid any potential damage to your natural nails. So, gather your supplies and prepare to restore your nails to their natural beauty.
What Will You Need?
Before you begin the removal process, ensure you have all the necessary tools and materials. Here’s a list of what you will need:
- Acetone-based nail polish remover
- Cotton balls
- Aluminum foil
- Wooden cuticle stick or orange stick
- Nail file or buffer
You can start the removal process once you have all your supplies ready.
10 Easy Steps on How to Remove Gel Nail Strips
Step 1: Prep Your Nails
Start by prepping your nails for the removal process. Use a nail file or buffer to buff the top layer of your gel nail strips gently. This will help break the seal and make the acetone’s penetration easier. Be careful not to file too aggressively, as over-buffing can damage your natural nails. Once you’ve lightly buffed the surface, you can move on to the next step.
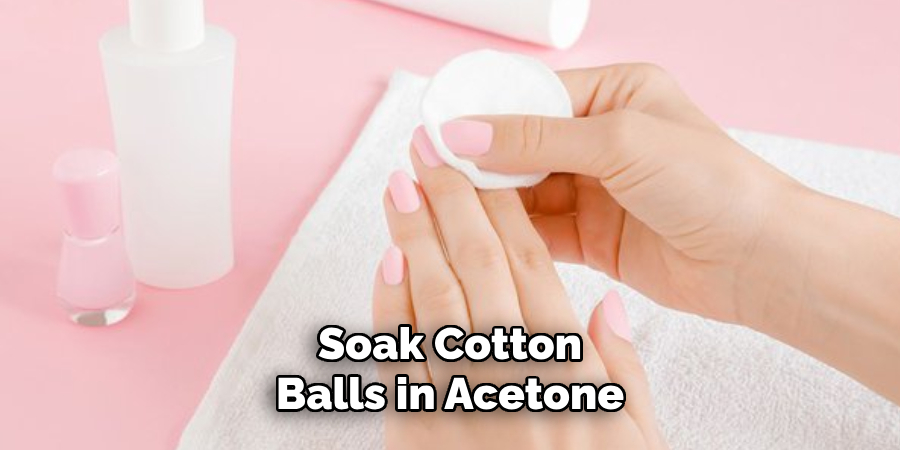
Step 2: Soak Cotton Balls in Acetone
Pour enough acetone-based nail polish remover into a small dish or bowl. Take a cotton ball and soak it thoroughly in the acetone. Ensure the cotton ball is completely saturated, as a dry or barely wet cotton ball won’t be effective in breaking down the gel polish. Using an acetone-based remover is crucial, as non-acetone varieties will not dissolve gel nail strips properly. Don’t forget to use gloves or protect your hands with a towel, as acetone can be harsh on the skin.
Step 3: Apply the Cotton Balls to Your Nails
Now that your cotton balls are soaked in acetone, place one cotton ball on each nail, ensuring that it covers the surface of the gel nail strip fully. This will allow the acetone to penetrate and break down the gel polish effectively. To hold the cotton balls in place and create a more airtight environment, take a small piece of aluminum foil and wrap it around each fingertip, securing the cotton ball against the nail. Be careful to wrap the foil snugly but not too tight to avoid restricting blood flow to your fingers.
Step 4: Wrap Your Nails with Aluminum Foil
To secure the cotton ball in place and ensure maximum contact between the acetone and the gel nail strip, wrap each of your fingers with a small piece of aluminum foil. This creates a snug enclosure, trapping the acetone against your nails and preventing it from evaporating too quickly. Wrapping your nails in foil will also generate a slight warming effect, which helps speed up the removal process.
Step 5: Let Your Nails Soak
Allow your nails to soak in the acetone-soaked cotton balls for about 10-15 minutes. This waiting period is essential, as it gives the acetone enough time to soften the gel nail strips, making them easier to remove. You may experience a slight tingling sensation, which is normal, but if you feel any discomfort or burning, remove the foil and cotton immediately.
Step 6: Gently Remove the Foil and Cotton Balls
After allowing your nails to soak for the recommended time, it’s time to remove the foil and cotton balls gently. Start with one finger, carefully unwrapping the foil and removing the cotton ball. By now, the gel nail strips should have softened considerably. If you notice that the gel is still firmly attached, you may need to reapply the acetone-soaked cotton ball and wrap the nail in foil once again, giving it a bit more time to penetrate.
Step 7: Push Off the Gel Polish
Using a wooden cuticle or orange stick, gently push the softened gel polish off your nails. Start from the base of your nail and work your way towards the tip. Avoid applying too much pressure to avoid damaging your natural nails. If some gel is still stubbornly stuck, don’t force it; soak the nail again for a few more minutes and then try removing it with the stick.
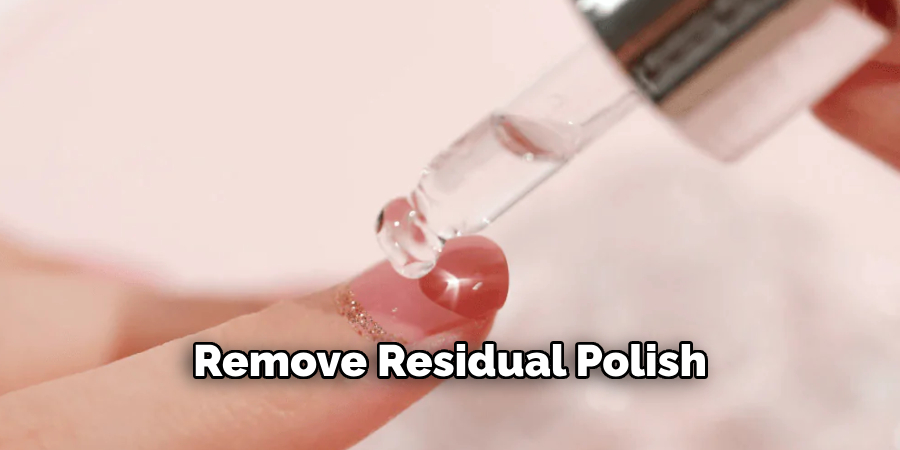
Step 8: Remove Residual Polish
Once you’ve pushed off the bulk of the gel polish, you may still see some residual polish left on your nails. To remove these remnants, take a cotton ball soaked in acetone and gently wipe each nail until they are clean. This step ensures that all traces of the gel polish are completely removed, leaving you with a clean nail bed.
Step 9: Buff and Shape Your Nails
Once all the residual gel polish has been removed, it’s time to tend to the natural surface of your nails. Use a gentle nail buffer to smooth out any rough patches and restore an even texture to your nails. Buffing your nails helps remove any slight imperfections left behind by the gel polish and gives your nails a healthy shine. Be sure not to over-buff, as over-buffing can thin your nails and make them more susceptible to breakage.
After buffing, you can proceed to shape your nails to your desired look. Use a high-quality nail file to shape the edges of your nails gently. Whether you prefer a rounded, square, or almond shape, take your time to file each nail evenly. Filing in one direction, rather than back and forth, helps to prevent splitting and ensures a smoother finish. This step is not only about aesthetics but also about maintaining the structural integrity of your nails.
Step 10: Moisturize and Nourish Your Nails
Finally, it’s important to replenish the moisture that acetone tends to strip away from your nails and cuticles. Apply a generous amount of cuticle oil to each of your nails and massage it in. Follow up with a rich hand cream or lotion to hydrate your skin. This step is crucial for maintaining healthy nails and preventing them from becoming dry or brittle.
By following these steps, you can remove your gel nail strips efficiently and safely, keeping your nails in great condition for your next manicure.
5 Additional Tips and Tricks
- Warm Water Soak: Before peeling off the gel nail strips, soak your nails in warm, soapy water for about 10-15 minutes. This helps to loosen the adhesive and makes removal easier and gentler on your nails.
- Cuticle Oil Application: Apply a generous amount of cuticle oil around your nails. This not only nourishes the nail bed but also helps dissolve the adhesive, making it less likely that your nails will be damaged during removal.
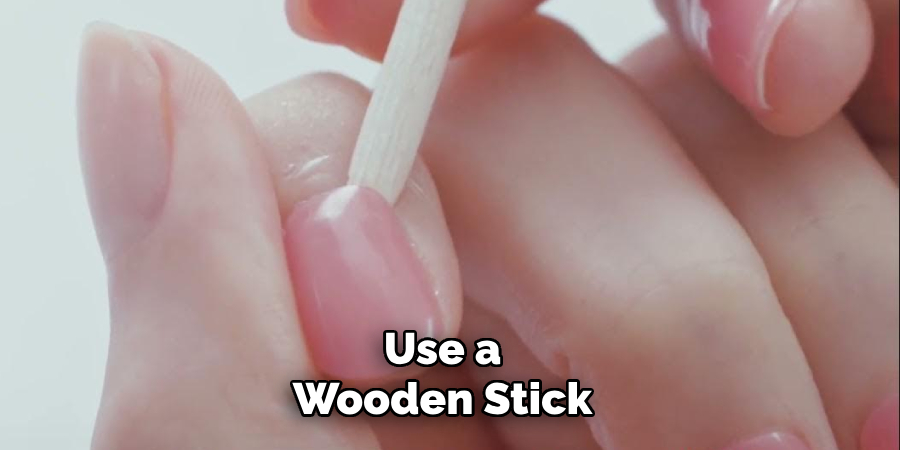
- Use a Wooden Stick: Gently lift the edges of the gel nail strips with a wooden stick or cuticle pusher. Start from one corner and slowly work your way around the nail, taking care not to force the strip off to avoid damaging your natural nails.
- Residual Glue Removal: After the strips are removed, some adhesive residue may remain on your nails. Use a cotton pad soaked in nail polish remover to wipe away the remaining glue, ensuring your nails are clean and smooth.
- Moisturize After Removal: Once the gel nail strips are off, it’s essential to hydrate your nails and cuticles. Apply a quality hand cream and cuticle oil to restore moisture and keep your nails healthy and strong.
With these additional tips and tricks, you can achieve a flawless gel manicure at home with ease.
5 Things You Should Avoid
- Peeling Them Off Forcefully: Avoid peeling off the gel nail strips without softening the adhesive first. This can damage your natural nails, including peeling and weakening of the nail bed.
- Using Sharp Tools: Avoid using sharp tools like scissors or metal nail files for removal. These can scratch or gouge your nail surface, causing long-term damage.
- Skipping Soaking: Don’t skip the soaking step. Skipping the warm water soak makes the adhesive more challenging to remove and increases the risk of damaging your nails when trying to peel off the strips.
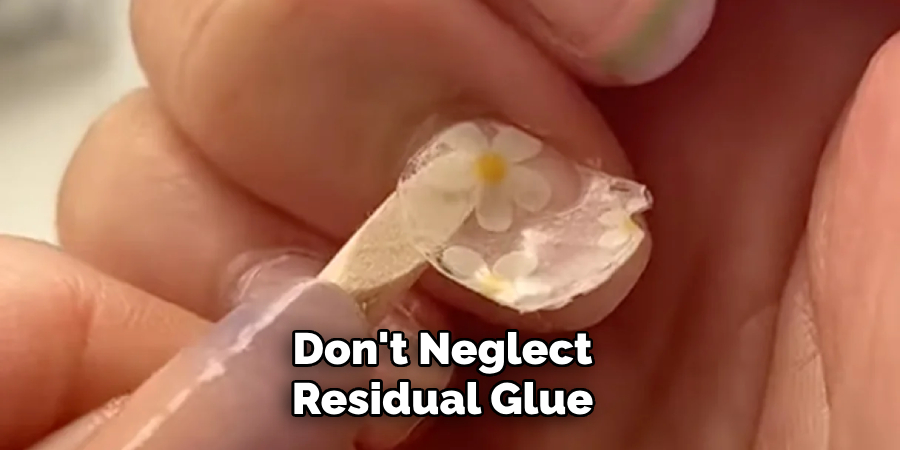
- Neglecting Residual Glue: Don’t neglect any leftover adhesive on your nails. Failing to remove residual glue properly can cause your next manicure to adhere poorly and look uneven.
- Forgetting to Moisturize: Avoid neglecting post-removal nail care. Not hydrating your nails and cuticles after removal can leave them brittle and susceptible to breaking.
By avoiding these common mistakes, you can help ensure that your nails stay healthy and strong throughout the gel nail strip removal process.
Conclusion
How to remove gel nail strips can be a straightforward process if approached with the right techniques and care.
By following the steps outlined above – from soaking your nails and gently pushing off the gel polish to buffing and moisturizing – you can ensure that your nails remain healthy and intact. Additionally, incorporating the tips and tricks can further simplify the process and enhance the longevity of your natural nails. Importantly, avoiding the common pitfalls, such as peeling the strips off forcefully or neglecting to moisturize, can prevent unnecessary damage and maintain the strength of your nails.
With patience and attention to detail, you can safely and effectively remove your gel nail strips, preparing your nails for their next stylish manicure.