
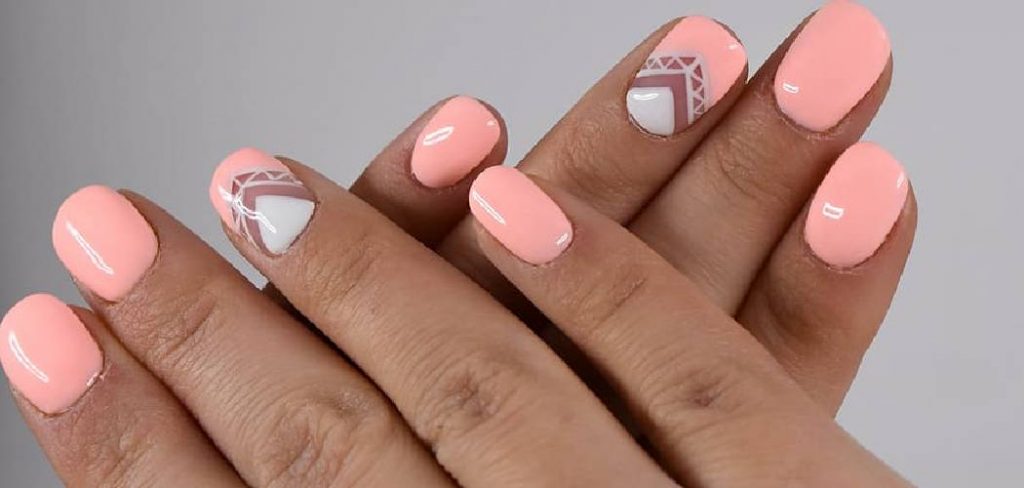
Removing acrylic nails at home can be a delicate process, but with the right tools and methods, it can be done safely and effectively. Whether you’re looking to give your nails a break or simply switch up your style, it’s important to approach the removal process with care to avoid causing damage to your natural nails. This guide will walk you through the steps of how to remove nails acrylic.
Why Proper Acrylic Nail Removal Is Important
Properly removing acrylic nails is crucial to maintaining the health and integrity of your natural nails. When acrylics are improperly removed, it can lead to issues such as nail thinning, cracking, or even painful damage to the nail bed. Ripping or peeling off acrylic nails may seem like a quick solution, but it can strip layers from your natural nails, leaving them weak and prone to breakage. Additionally, taking the correct approach minimizes discomfort and ensures your nails are in the best possible condition for future styling or treatments. By dedicating time and care to the removal process, you can preserve the strength and appearance of your natural nails while avoiding unnecessary complications.
Tools & Supplies Needed
To safely remove acrylic nails at home, it’s essential to gather the right tools and supplies. Here’s what you’ll need:
- Nail Clippers – To trim down the acrylic nails for easier removal.
- Nail File – A coarse nail file to file down the top layer of the acrylic.
- Acetone – 100% pure acetone is ideal as it effectively dissolves acrylic.
- Cotton Balls or Pads – For soaking and applying acetone to the nails.
- Aluminum Foil – Cut into small strips to wrap around your fingers and secure the cotton.
- Cuticle Pusher or Orangewood Stick – To gently lift and remove any softened acrylic.
- Cuticle Oil – To rehydrate and nourish your nails and surrounding skin post-removal.
- Hand Towel – To cover your workspace and avoid messes.
- Bowl (optional) – For soaking your nails in acetone if you prefer that method.
Having these items ready ensures a smoother, more efficient removal process while protecting the health and integrity of your natural nails.
10 Methods How to Remove Nails Acrylic
1. Soak Nails in Acetone Using the Traditional Foil Method
One of the most commonly used methods to remove acrylic nails is by soaking them in acetone with foil wraps. Start by filing down the top layer of your work nails acrylic nails with a coarse nail file to break the seal of the polish and reduce thickness. Cut ten cotton balls or pads to match your nail size and soak each in 100% pure acetone. Place a soaked pad over each nail, then wrap each fingertip in aluminum foil. Let your fingers sit for 30 to 40 minutes. The acetone will begin to dissolve the acrylic, making it easier to gently scrape off with a cuticle pusher or orangewood stick. Repeat if needed, and moisturize afterward.
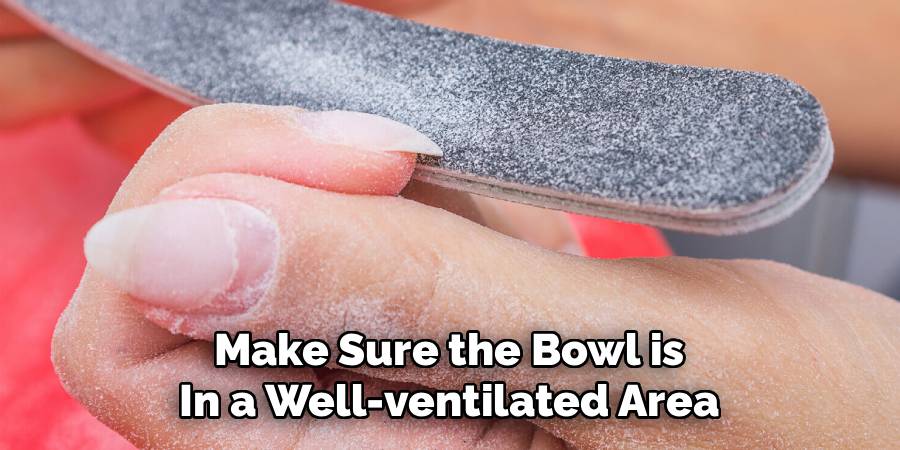
2. Use the Soaking Bowl Method for Full Nail Submersion
If you prefer a simpler method without foil or cotton, try the soaking bowl technique. Start by filing off the shiny topcoat of your acrylic nails. Then, pour acetone into a glass bowl and submerge your fingertips for about 30 to 45 minutes. Make sure the bowl is in a well-ventilated area and preferably placed inside a slightly larger bowl filled with warm water to speed up the process. After soaking, the acrylic should soften enough to be gently pushed off with a manicure tool. Wash your hands and follow up with a rich hand cream or cuticle oil to replenish moisture.
3. Try the Baggy Method for a Quicker Removal
A more modern approach, the baggy method involves using ziplock bags and hot water to enhance the acetone’s effect. Place a small amount of acetone and a few cotton balls inside a ziplock bag. Then, submerge the bag into a bowl of hot water, allowing the heat to activate the acetone. Place your hands inside the bag and move your fingers around to help loosen the acrylic. After about 20 minutes, the acrylic will start to peel or melt off, making removal easier. This method can be faster and more efficient due to the combined heat and acetone action.
4. Gently File Acrylic Down with an Electric Nail Drill
If you have experience with nail tools, using an electric nail drill can speed up the process. Carefully use a sanding bit to file down the acrylic surface until only a thin layer remains. Be gentle and avoid drilling too close to the natural nail. Once the bulk is removed, you can soak the remaining product in acetone for a few minutes and remove the rest with a pusher. This method minimizes soak time and reduces acetone exposure but requires a steady hand to avoid damage.
5. Remove Acrylic with a Commercial Nail Removal Kit
There are many acrylic nail removal kits available that include everything you need: acetone, foils, nail files, orangewood sticks, and sometimes nail clips. These kits often come with instructions and are beginner-friendly. Simply follow the steps outlined, which usually mimic the foil method but with better quality materials. Having all the tools together ensures that you won’t miss any step and will likely achieve a cleaner result. It’s a convenient option if you’re new to at-home acrylic removal.
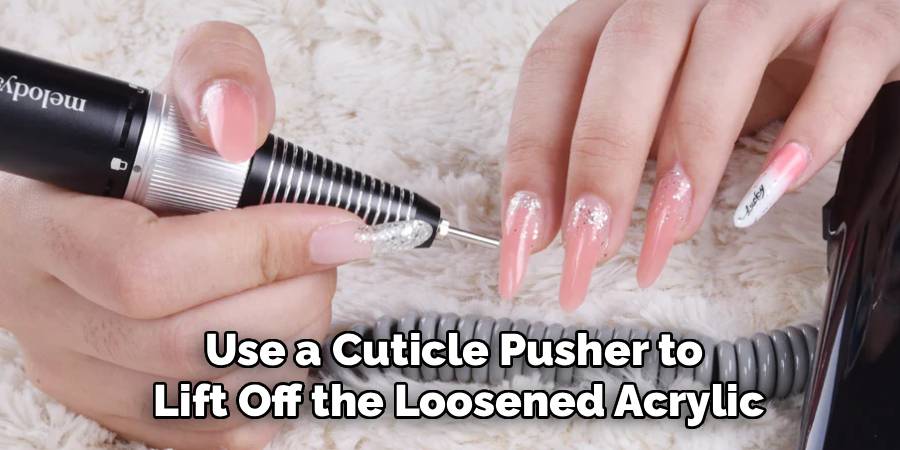
6. Use Nail Clips for a Reusable and Eco-Friendly Option
Instead of using disposable foil, try reusable nail clips to hold acetone-soaked cotton on your nails. These plastic clips securely clamp the cotton in place, ensuring that the acetone remains in contact with the acrylic. Start by filing the surface of your acrylic nails, soak cotton pads in acetone, place them on your nails, and then clip them in place. Let them sit for 30 to 40 minutes. Once done, use a cuticle pusher to lift off the loosened acrylic. These clips are not only effective but also environmentally friendly since they reduce waste.
7. Try a Non-Acetone-Based Acrylic Removal Product
If you’re sensitive to acetone, you can use non-acetone-based removal products designed to break down acrylic nails over time. These formulas are generally gentler but may require longer soaking—sometimes up to an hour. Begin by filing off the topcoat, apply the product as directed, and let it sit. Check every 15 minutes to see if the acrylic has softened. Once pliable, scrape it away gently. Although slower, this method minimizes harsh chemical exposure and is ideal for those with skin sensitivities or damaged nails.
8. Use Warmed Acetone for Enhanced Efficiency
To speed up the process, warm your acetone slightly by placing the bottle (sealed) in a bowl of warm water for 5–10 minutes before using. Be careful not to microwave or heat acetone directly, as it is highly flammable. Once warm, proceed with the foil or bowl soak method. The heat helps accelerate the breakdown of acrylic, cutting down the time needed for soaking. This is particularly helpful if you’re removing thick acrylic or overlay extensions and want to save time without sacrificing results.
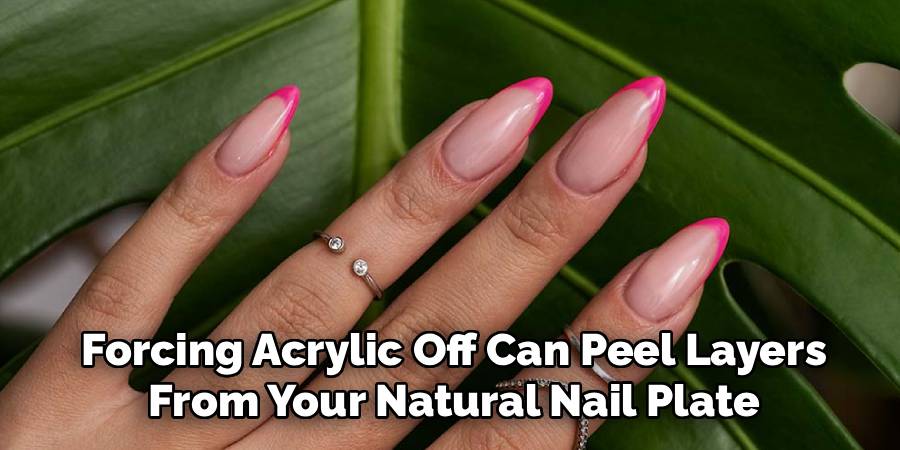
9. Don’t Force or Peel Off Acrylic Without Softening
One of the most damaging things you can do to your natural nails is to forcibly peel off acrylic. If the product does not come off after soaking, file it down further and soak again. Forcing acrylic off can peel layers from your natural nail plate, causing long-term damage, thinning, and sensitivity. Patience is key—gently buff, soak again, and remove gradually in layers if needed. This method protects the integrity of your real nails and ensures you can safely reapply extensions or polish later.
10. Aftercare: Rehydrate and Strengthen Natural Nails
Once the acrylic is completely removed, proper aftercare is essential. Wash your hands thoroughly to remove any acetone residue. Apply cuticle oil generously to nourish the nail bed and massage it in to promote circulation. Follow up with a rich hand cream and consider applying a nail strengthener or keratin treatment to help restore the health of your nails. Avoid applying new polish or acrylics for at least a few days to give your nails a chance to recover and breathe. Healthy nails post-removal ensure better results for future manicures.
Troubleshooting Common Issues
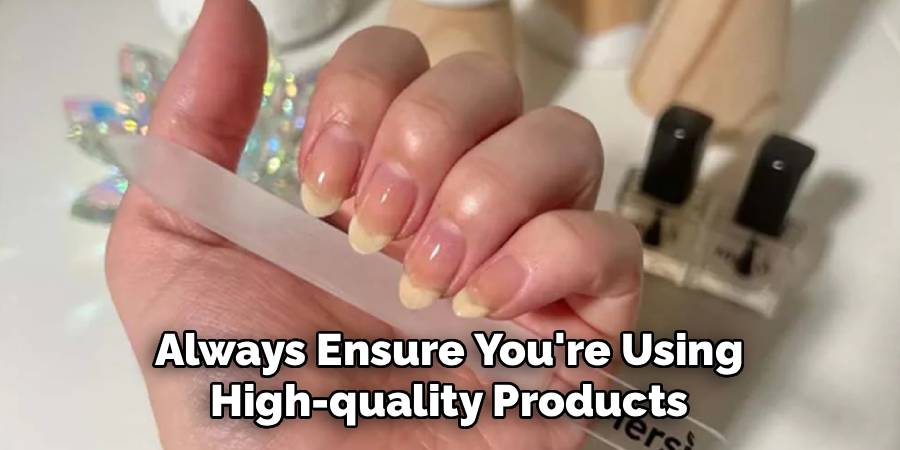
Even with proper care, issues can sometimes arise after removing nail polish or acrylics. If you notice persistent dryness or peeling, consider increasing the frequency of moisturizing and applying cuticle oil throughout the day. For brittle or splitting nails, a protein-based nail strengthener can provide additional support. Any signs of discoloration or unusual texture might indicate damage or a fungal infection—consult a dermatologist if these symptoms persist. Additionally, always ensure you’re using high-quality products and tools during removal to minimize potential harm to your nails. Recognizing and addressing these concerns early can help maintain strong and healthy nails.
Conclusion
Removing acrylic nails at home doesn’t have to be a painful or damaging process if done with care, patience, and the right tools. Whether you choose the foil wrap method, soaking bowl, electric drill, or reusable clips, the key is to soften the acrylic thoroughly and avoid any forceful pulling. Following up with moisturization and nail-strengthening routines will leave your natural nails healthy, smooth, and ready for their next beauty treatment. Thanks for reading our blog post on how to remove nails acrylic! We hope you found it helpful and informative.
About the Author
Jane Hubbard is a passionate beauty expert with a wealth of experience in makeup, hair, and overall beauty techniques. After years of working as a hairdresser specialist, she followed her entrepreneurial spirit and started her own consultancy business.
Jane has always been driven by her desire to help others feel confident in their own skin, and she does this by sharing her knowledge, experiences, and practical beauty tips. Through her consultancy, she empowers individuals to embrace their unique beauty, offering tailored guidance that boosts both self-esteem and personal style.
Professional Focus
Specializes in makeup, hairstyling, and beauty consulting.
Provides personalized beauty advice, tips, and techniques to help individuals feel confident in their appearance.
Dedicated to staying up-to-date with the latest industry trends and developments.
Passionate about creating a comfortable and empowering experience for every client.
Education History
University of Craft and Design – Bachelor of Fine Arts (BFA) in Woodworking and Furniture Design
Woodworking Apprenticeships – Extensive hands-on training with skilled craftsmen to refine carpentry and furniture making techniques
Online Courses & Masterclasses – Continued education in advanced woodworking techniques, design principles, and specialized tools
Expertise:
Makeup artistry, hairstyling, and beauty consulting.
Personalized beauty techniques to enhance confidence and self-expression.
Educating clients on how to maintain their beauty routines at home.