
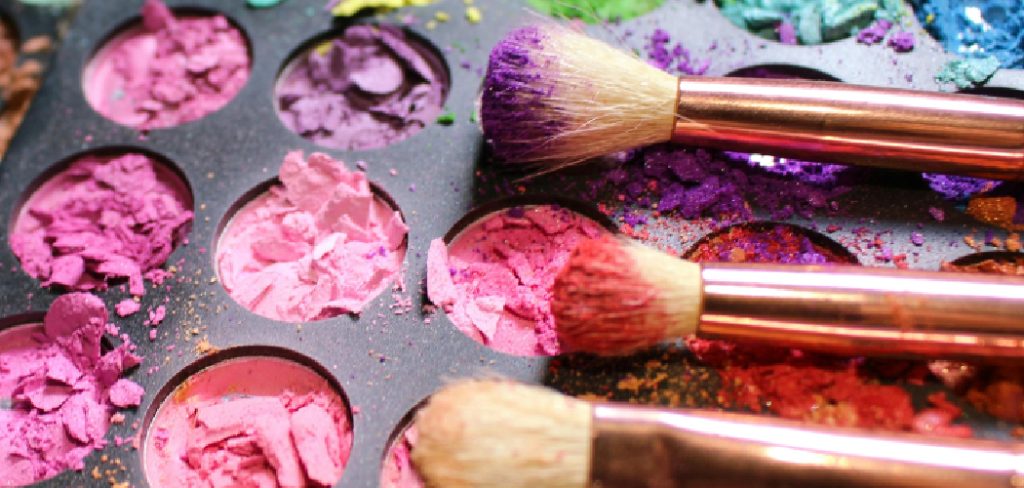
A few small disasters in a makeup routine feel as annoying as opening a palette after a drop and finding your favorite shade split into crumbs. It looks ruined. Sometimes it nearly is. Still, a cracked eyeshadow does not automatically belong in the trash, and in many cases, you can press it back into usable shape with items you probably already have at home.
The fix is simple, though it does ask for a little patience. No special training, no expensive kit, no salon visit. Just a clean workspace, a small amount of rubbing alcohol, and a steady hand. If the product is still clean, this method on how to repair cracked eyeshadow can help you salvage a shade you love, stretch the life of the palette, and avoid buying a replacement for a problem that may only take a few minutes to solve.
Materials You’ll Need
Before you begin, set everything out first. That sounds obvious, but it makes the whole process less fussy once the powder is open and fragile. You’ll need:
- Rubbing alcohol, ideally at least 70% isopropyl alcohol
- A small piece of plastic wrap
- A spoon, makeup spatula, or toothpick
- A dropper, pipette, or small spoon for adding liquid
- A paper towel or clean tissue
- A flat object that fits over the pan, such as a coin, bottle cap, or the bottom of a lipstick tube
7 Step-by-step Guidelines on How to Repair Cracked Eyeshadow
Step 1: Set Up a Clean Workspace
Start by clearing a flat surface and covering it with a paper towel, tissue, or even old newspaper. Eyeshadow dust gets everywhere, especially if the pigment is dark or very finely milled. It can stain fabric, cling to countertops, and generally make an already irritating moment worse.
Place the broken palette down gently and check the damage. If loose pieces spilled onto a clean table or tray, you can scoop them back into the pan with a spoon. If they hit the floor, the sink edge, or some mystery sticky patch on your vanity, let them go. It is not worth mixing dirt or bacteria back into a product that will sit close to your eyes.
Step 2: Cover the Powder With Plastic Wrap
Once all the usable powder is back in the pan, place a piece of plastic wrap over the top. It does not need to be perfectly cut, just large enough to cover the product fully. Press it lightly so it stays in place.
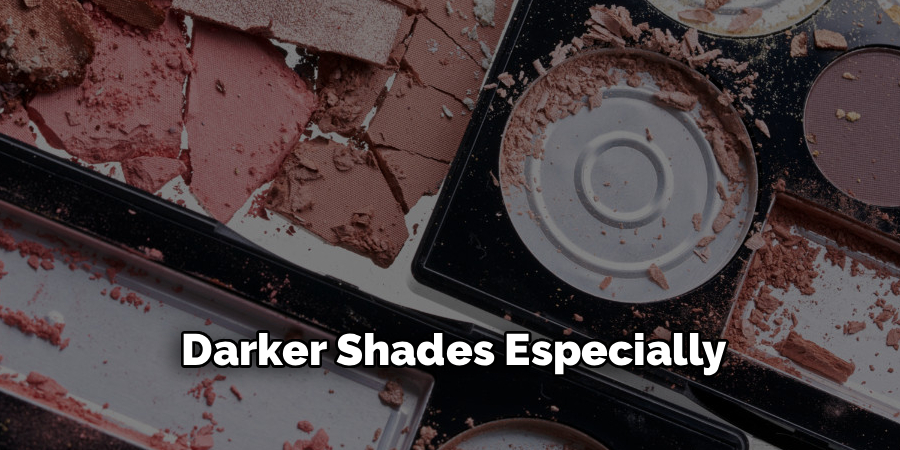
This step may seem minor, but it helps a lot. Without that barrier, powder can puff out as you crush it, and darker shades especially have a talent for ending up on your fingers, your shirt, and somehow your face. The wrap keeps the mess contained and gives you a cleaner surface to work over.
Step 3: Crush the Powder Into an Even Texture
Using the back of a spoon or a spatula, press down over the wrapped powder until the larger chunks break apart. Keep going until the texture looks fairly even. Think soft, loose powder, not pebbles.
This part matters more than people sometimes expect. If you leave too many hard pieces behind, the pressed shadow can dry unevenly and crack again the first time you dip a brush into it. Go slowly. Press, check, press again. You are aiming for a consistent texture across the whole pan, especially around the edges where dry pockets often hide.
Step 4: Add Rubbing Alcohol a Little at a Time
Lift off the plastic wrap and use a dropper or spoon to add rubbing alcohol slowly. Very slowly, actually. A few drops may be enough for a small pan. Larger pans will need more, but it is easier to add extra than to deal with an oversaturated puddle.
You want the powder to become damp all the way through, not flooded. If it starts looking glossy or soupy, you have probably gone a touch too far. That is not always fatal, but it does mean longer drying time and, depending on the formula, a slightly altered finish. Better to pause between drops and let the liquid settle before deciding whether more is needed.
Step 5: Mix Until It Forms a Thick Paste
Take your spatula or toothpick and stir the alcohol through the crushed powder. Scrape into the corners and along the rim of the pan where dry bits tend to cling. The mixture should come together into something like damp sand or a thick paste.
If it still looks powdery, add another drop or two and keep mixing. If it turns overly runny, you may just need to wait a bit before moving on. There is no real prize for speed here. What you want is a smooth, evenly moistened mixture with no dry spots, because those dry spots are often where the repaired shadow later separates.
Step 6: Press the Eyeshadow Back Into Shape
Once the mixture is evenly combined, smooth the top roughly with the back of a spoon. Then place a clean layer of plastic wrap or tissue over the pan and press down with your flat object. Use firm, even pressure across the full surface.
This is the point where it starts to look like makeup again, rather than a small craft project gone sideways. Pressing compacts the powder, helps remove excess liquid, and gives the product a more stable finish once dry. If you want a cleaner top layer, lift the wrap and gently smooth the surface one last time before leaving it alone.
Step 7: Let It Dry Fully
Now, wait. Leave the palette open in a dry spot where it will not be bumped, closed, stacked on, or investigated by a curious child or pet. In most cases, it needs about 24 hours to dry, though larger pans or wetter mixtures may take longer.
As the alcohol evaporates, the powder should set back into a usable pressed form. Once it feels completely dry to the touch, you can use it again as normal. It may not look factory-new, and that is fine. What matters is whether the product picks up on a brush and applies evenly, which it often does if the repair was done carefully.
Following these steps on how to repair cracked eyeshadow can save you money and help extend the life of your favorite makeup products.
Common Mistakes to Avoid
The biggest mistake is rushing. People tend to add too much alcohol because the powder still looks dry after the first few drops, only to end up with a slurry that takes ages to set. Another common problem is not crushing the product finely enough at the start. That usually leads to an uneven surface and a fragile result.
Water is also a bad substitute. It does not evaporate the same way rubbing alcohol does, and it may increase the chance of contamination over time. If the eyeshadow was very old, smelled off before it broke, or was already hard-panned and performing poorly, repairing it may not be worth the effort. Sometimes the honest answer is that the product has reached the end of its life.
Do You Need To Hire a Professional Makeup Artist?
No. Realistically, this is a straightforward at-home fix, not a job for a professional makeup artist. Makeup artists may use a similar method in their kits when pressed powders crack in transit, but there is nothing especially technical about it.
If the palette shattered and mixed with dirt, glass, or other makeup, replacement is probably the safer option. For a clean break on a pressed powder, though, a DIY repair usually makes more sense than paying someone else to do it.
How Much Will It Cost?
Usually, very little. Many people already have most of what they need: a spoon, tissue, plastic wrap, maybe even a bottle of rubbing alcohol in the bathroom cabinet. If you do need to buy alcohol, a basic bottle from a pharmacy or grocery store often costs only a few dollars.
That matters more when the broken item is an expensive palette. Replacing one single cracked shade in a luxury compact can be frustratingly expensive, especially if the rest of the palette is still in perfect condition. In that context, spending two to four dollars on supplies is the more sensible move.
Frequently Asked Questions
Q1: Can I Use Something Other Than Rubbing Alcohol?
A1: Sometimes, but with some caution. Rubbing alcohol is generally preferred because it evaporates quickly and does not leave much behind. Some people use micellar water or setting spray in a pinch, though results can vary depending on the formula. Plain tap water is best avoided because it may introduce bacteria and can leave the product damp for too long.
Q2: Will the Rubbing Alcohol Dry Out My Skin?
A2: Not in the way people usually fear. The alcohol is used during the repair stage, not as an ingredient you are applying wet to your eyelids. Once the product has dried fully, the alcohol should have evaporated. That said, if the shadow seems different afterward and your skin is especially sensitive, it is reasonable to patch test before using it near the eyes.
Q3: Does This Method Work for Blushes and Highlighters?
A3: Often, yes. The same basic technique can work for other pressed powder products, including blush, bronzer, highlighter, and some face powders. You may need to adjust the amount of alcohol depending on the size of the pan and how soft or firmly pressed the original product was.
Save Your Makeup and Your Money
Knowing how to fix cracked eyeshadow is one of those oddly useful beauty skills that sounds trivial until you need it. Then it saves the day, or at least saves a favorite shade. A broken pan can look dramatic, but in many cases, the damage is cosmetic rather than permanent.
So if you have a shattered palette sitting in a drawer because you assumed it was finished, it may be worth another look. Grab the rubbing alcohol, clear a little space on the counter, and see what can be rescued. Your makeup bag might recover, and your wallet probably will too. Thanks for reading this guide on how to repair cracked eyeshadow.
You may read also- How to Cover Chemical Burn on Face
About the Author
Jane Hubbard is a passionate beauty expert with a wealth of experience in makeup, hair, and overall beauty techniques. After years of working as a hairdresser specialist, she followed her entrepreneurial spirit and started her own consultancy business.
Jane has always been driven by her desire to help others feel confident in their own skin, and she does this by sharing her knowledge, experiences, and practical beauty tips. Through her consultancy, she empowers individuals to embrace their unique beauty, offering tailored guidance that boosts both self-esteem and personal style.
Professional Focus
Specializes in makeup, hairstyling, and beauty consulting.
Provides personalized beauty advice, tips, and techniques to help individuals feel confident in their appearance.
Dedicated to staying up-to-date with the latest industry trends and developments.
Passionate about creating a comfortable and empowering experience for every client.
Education History
University of Craft and Design – Bachelor of Fine Arts (BFA) in Woodworking and Furniture Design
Woodworking Apprenticeships – Extensive hands-on training with skilled craftsmen to refine carpentry and furniture making techniques
Online Courses & Masterclasses – Continued education in advanced woodworking techniques, design principles, and specialized tools
Expertise:
Makeup artistry, hairstyling, and beauty consulting.
Personalized beauty techniques to enhance confidence and self-expression.
Educating clients on how to maintain their beauty routines at home.