
Are you tired of your quick weave and want to take it out? Taking a quick weave out can be tricky, especially if you have never done it before. But don’t worry. We’ve got you covered with this step-by-step guide on how to take a quick weave out.
Removing a quick weave can be a delicate process that requires patience and care to ensure that your natural hair remains healthy and undamaged. Quick weaves are a popular choice for achieving a variety of hairstyles without a long-term commitment, but they must be taken out properly to avoid hair breakage, scalp irritation, and unnecessary shedding.
This guide will walk you through the essential steps and techniques to safely remove a quick weave, whether you’ve used bonding glue or a cap method.
What Will You Need?
Before you begin the process of removing your quick weave, make sure you have all the necessary tools and products. This will ensure that the removal process goes smoothly and efficiently. Here are some items you should have on hand:
- Wide-tooth comb or detangling brush
- Hair clips or hair ties
- Bobby pins
- Scissors (optional)
- Olive oil or any hair oil of your choice
- Shampoo and conditioner
- Towel
10 Easy Steps on How to Take a Quick Weave Out
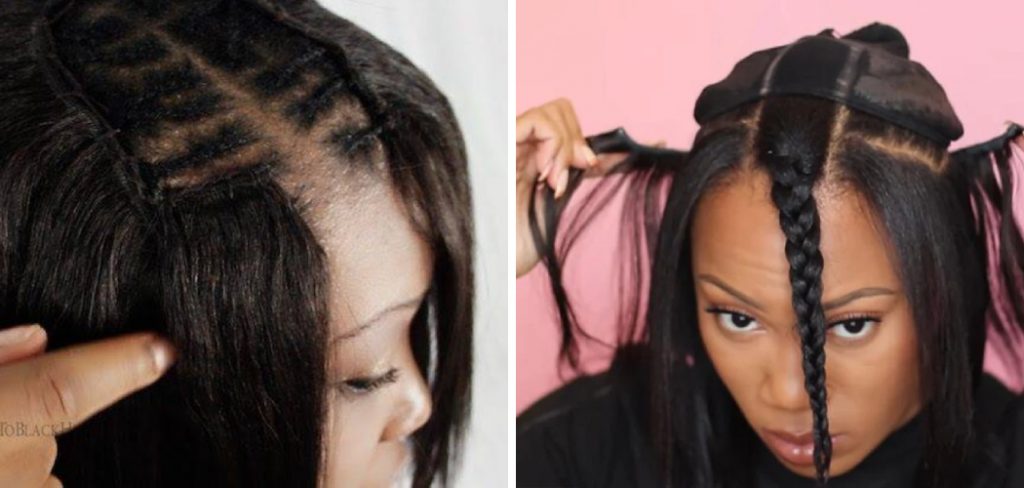
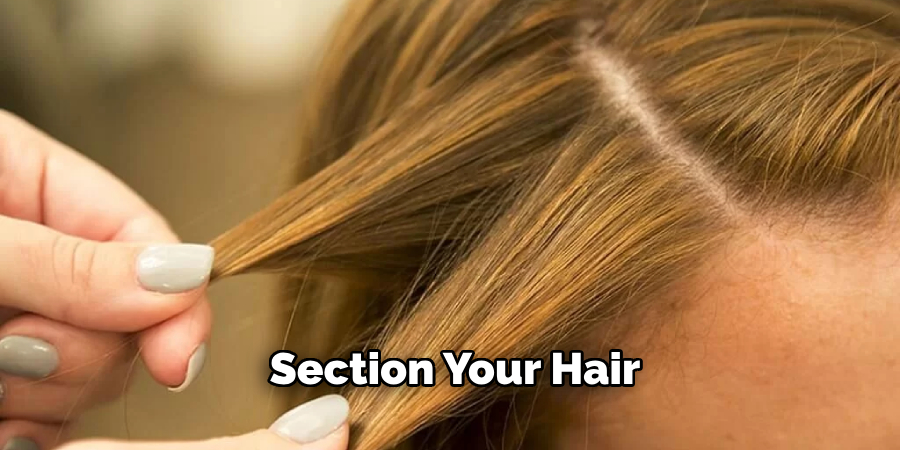
Step 1: Prepare Your Hair for Removal
Before you begin, ensure that your hair and the weave are adequately prepared for the removal process. Start by sectioning your hair using hair clips or ties. This will keep your hair organized and make it easier to work on small portions at a time. If you used bonding glue to attach your quick weave, apply a generous amount of olive oil or any hair oil of your choice onto the weave wefts.
The oil will help to loosen the glue and make it easier to remove the weave without causing damage to your natural hair. Be patient and let the oil sit for about 15-20 minutes to allow it to penetrate and soften the adhesive fully. If you used the cap method for your quick weave, gently massage the oil into your scalp and around the cap’s edges to loosen the adhesive bond. This step is essential in minimizing any potential hair breakage or scalp discomfort during removal.
While waiting, you can also use this time to gently detangle any knots or tangles in your natural hair using a wide-tooth comb or detangling brush. Start from the ends and work your way up to the roots, not pulling or tugging too hard. Proper preparation and patience at this stage will make the subsequent steps much smoother and less stressful.
Step 2: Begin Removing Wefts
Once the oil has softened the adhesive, start at the nape of your neck and work your way up. Carefully lift a small section of the weft from your natural hair. If the weave is still tightly bonded, add more oil and wait a few more minutes. Gently tug at the weft to separate it from your hair, making sure not to pull too hard to avoid hair breakage.
Step 3: Remove Wefts One by One
Continue to work through your hair in sections, removing each weft individually. Take your time and be gentle. It’s important not to rush this process as doing so could cause damage to your natural hair. If you encounter any resistance, apply additional oil and allow it to sit for a few more minutes before attempting to remove the weft again.
Step 4: Detangle Your Hair
After you have removed all the wefts, use your wide-tooth comb or detangling brush to detangle your hair gently. Start from the ends and work your way up to the roots. This step will help remove any leftover glue residue or tangles caused by the weave.
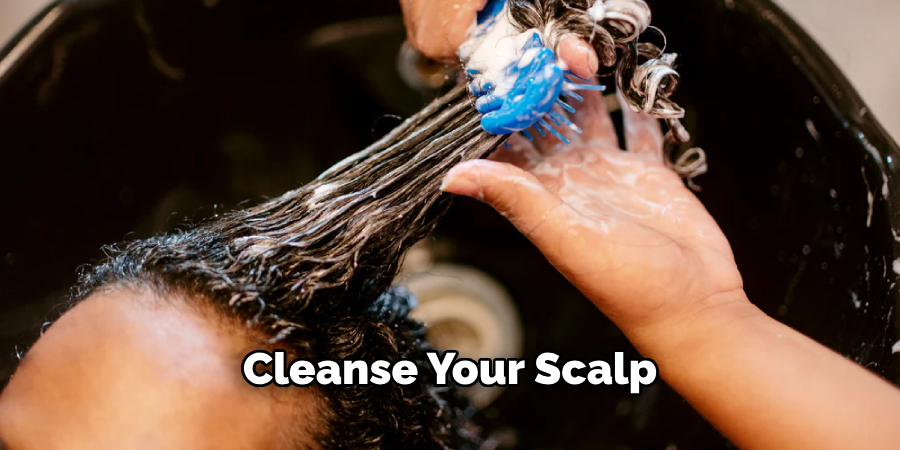
Step 5: Rinse and Shampoo
Once your hair is completely detangled, rinse it thoroughly with warm water. Use a gentle, sulfate-free shampoo to cleanse your scalp and hair of any remaining oil and glue residue. Massage your scalp gently to ensure all the adhesive is washed away.
Step 6: Condition Your Hair
Apply a deep conditioner to your hair, paying special attention to the ends. Let the conditioner sit for the recommended amount of time to ensure your hair is fully nourished and hydrated. This step is crucial in restoring moisture and maintaining hair health.
Step 7: Rinse and Towel Dry
After allowing the deep conditioner to sit for the recommended period, thoroughly rinse your hair with warm water until all product is washed out. Ensure no traces of conditioner are left as they can weigh your hair down or cause buildup. Gently squeeze out excess water from your hair without wringing it, as this can cause unnecessary stress and potential breakage. Instead, pat your hair dry with a soft towel to absorb the remaining moisture.
Step 8: Apply Additional Treatments
After rinsing out the conditioner, gently pat your hair dry with a towel. Avoid rubbing your hair, as this can cause frizz and potential breakage. At this stage, consider applying any additional treatments your hair may need. A leave-in conditioner or hair serum can provide extra hydration and protection, especially if your hair feels dry or brittle. If your natural hair has sustained any damage from the quick weave, a protein treatment can help to strengthen and repair it.
Step 9: Allow Your Hair to Air Dry or Use Low Heat
It’s beneficial to let your hair air dry to minimize heat damage. If you need to speed up the drying process, use a blow dryer in a low heat setting. Hold the dryer at a safe distance from your hair and use a diffuser attachment, if available, to distribute the heat evenly. This method helps maintain the health of your hair while preventing overdrying and additional stress.
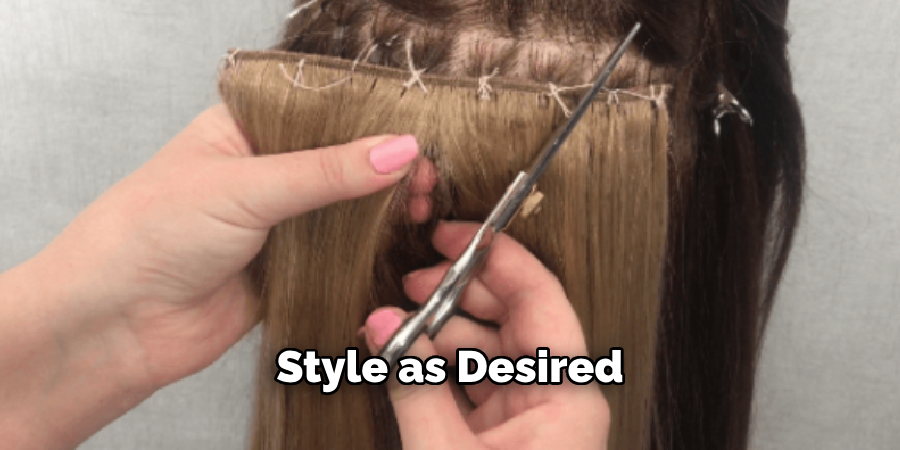
Step 10: Style as Desired
Finally, once your hair is dry, you can style it as desired. If you plan to take a break from protective styles, consider opting for low-manipulation hairstyles that won’t put too much strain on your hair. Styles like loose braids, twist-outs, or simply wearing your hair naturally can give your hair time to recover and grow strong.
By following these steps meticulously, you ensure that your natural hair remains healthy and vibrant even after removing a quick weave. Remember to always handle your hair gently, especially after using adhesives, and give it the nourishment and care it deserves.
5 Additional Tips and Tricks
- Detangle Thoroughly: Before starting the removal process, ensure that your quick weave is completely detangled. Use a wide-tooth comb or detangling brush to work out any knots or tangles gently.
- Use Oil for Adhesive Removal: Apply an oil-based product, such as olive oil or coconut oil, to the weave tracks. Let it sit for a few minutes to loosen the adhesive, making it easier to remove without damaging your natural hair.
- Cut Carefully: When cutting the threads or tracks, make small, precise snips to avoid cutting your natural hair. It is better to work methodically and slowly rather than risk an accidental chop.
- Opt for a Bond Remover: Over-the-counter bond removers are specifically designed to break down the adhesives used in quick weaves. Follow the product instructions for best results and ensure minimal hair damage.
- Have Patience: Taking out a quick weave can be a time-consuming process. Don’t rush it. Being gentle and patient will help you avoid unnecessary hair breakage and ensure a smoother removal process.
With these additional tips and tricks, you can safely and effectively remove your quick weave without causing damage to your natural hair.
5 Things You Should Avoid
- Rushing the Process: Removing a quick weave requires time and patience. Avoid rushing through the process, as this can lead to unnecessary pulling and tugging, damaging your natural hair and scalp.
- Using Excessive Force: Do not use excessive force when detangling or removing the weave. Gentle, steady movements are more effective and less likely to cause hair breakage.
- Skipping the Oil Step: Neglecting to use oil or an adhesive remover can make the process much more difficult. The oil helps to break down the adhesive, making it easier to lift the weave without pulling out your natural hair.
- Ignoring Knots and Tangles: Overlooking knots and tangles before starting the removal process can lead to hair breakage. Ensure that your quick weave is thoroughly detangled with a wide-tooth comb or detangling brush.
- Cutting Blindly: Avoid cutting the weave threads or tracks without being able to see where you are cutting clearly. This increases the risk of accidentally chopping your natural hair, so always ensure that the area is well-lit and you have a good visual on the threads.
By steering clear of these common mistakes, you can ensure a smoother and safer quick weave removal process, preserving the health of your natural hair.
Conclusion
How to take a quick weave out requires patience, attention to detail, and the right techniques to ensure the health and integrity of your natural hair are preserved.
By following a systematic approach, starting with thorough detangling, and incorporating oil-based adhesive removers, you can make the process smoother and less stressful for your hair. Taking time, avoiding harsh movements, and avoiding common mistakes will help you avoid unnecessary damage.
With the steps, additional tips, and preventive measures outlined in this guide, you now have the knowledge to remove your quick weave effectively and safely, leaving your natural hair nourished and ready for your next style adventure.
About the Author
Jane Hubbard is a passionate beauty expert with a wealth of experience in makeup, hair, and overall beauty techniques. After years of working as a hairdresser specialist, she followed her entrepreneurial spirit and started her own consultancy business.
Jane has always been driven by her desire to help others feel confident in their own skin, and she does this by sharing her knowledge, experiences, and practical beauty tips. Through her consultancy, she empowers individuals to embrace their unique beauty, offering tailored guidance that boosts both self-esteem and personal style.
Professional Focus
Specializes in makeup, hairstyling, and beauty consulting.
Provides personalized beauty advice, tips, and techniques to help individuals feel confident in their appearance.
Dedicated to staying up-to-date with the latest industry trends and developments.
Passionate about creating a comfortable and empowering experience for every client.
Education History
University of Craft and Design – Bachelor of Fine Arts (BFA) in Woodworking and Furniture Design
Woodworking Apprenticeships – Extensive hands-on training with skilled craftsmen to refine carpentry and furniture making techniques
Online Courses & Masterclasses – Continued education in advanced woodworking techniques, design principles, and specialized tools
Expertise:
Makeup artistry, hairstyling, and beauty consulting.
Personalized beauty techniques to enhance confidence and self-expression.
Educating clients on how to maintain their beauty routines at home.