
Spray tanning is a popular method for achieving a sun-kissed glow without the harmful effects of UV exposure. This process involves applying a fine mist of tanning solution to the skin, resulting in a natural-looking tan that can last for several days. Barrier cream plays a crucial role in this process by preventing the tanning solution from overdeveloping on areas with thicker skin, such as elbows, knees, hands, and feet.
Proper application of barrier cream is essential for achieving an even tan, as it helps ensure that these areas do not become excessively dark or patchy. This article aims to provide a comprehensive guide on how to use barrier cream for spray tan, covering everything from preparation to post-tan care. By following the steps outlined here, readers can achieve a flawless and even tan every time, while also protecting their skin from potential overexposure to the tanning solution.
Understanding Barrier Cream
Barrier cream is a specialised product designed to protect certain areas of the skin from absorbing too much tanning solution during a spray tan. Its primary purpose is to prevent the tan from overdeveloping on areas with thicker or drier skin, such as elbows, knees, hands, feet, and cuticles. By creating a protective barrier, the cream ensures an even and natural-looking tan across the entire body.
Key ingredients found in barrier creams typically include emollients such as shea butter or glycerin, which help to hydrate and soften the skin. Additionally, ingredients like zinc oxide or dimethicone form a physical barrier on the skin’s surface, preventing the absorption of the tanning solution. These components work together to provide effective protection and enhance the overall tanning result.
Barrier cream is suitable for all skin types, but it is especially beneficial for individuals with dry or sensitive skin. People with these skin types are more prone to uneven tanning and might experience overdevelopment of the tan in certain areas. Using barrier cream can mitigate these issues and ensure a smoother, more even tan. By understanding how to use barrier cream for spray tan, users can achieve better tanning outcomes and maintain healthier skin.
Preparing for a Spray Tan
Proper preparation is key to achieving the best results from your spray tan. One of the first steps is exfoliating your skin thoroughly. Exfoliation removes dead skin cells, ensuring a smooth surface for the tanning solution to adhere to. Use a gentle scrub and focus on areas with rougher skin, such as elbows, knees, and ankles. This process should be done at least 24 hours before your tanning appointment to allow your skin time to settle.
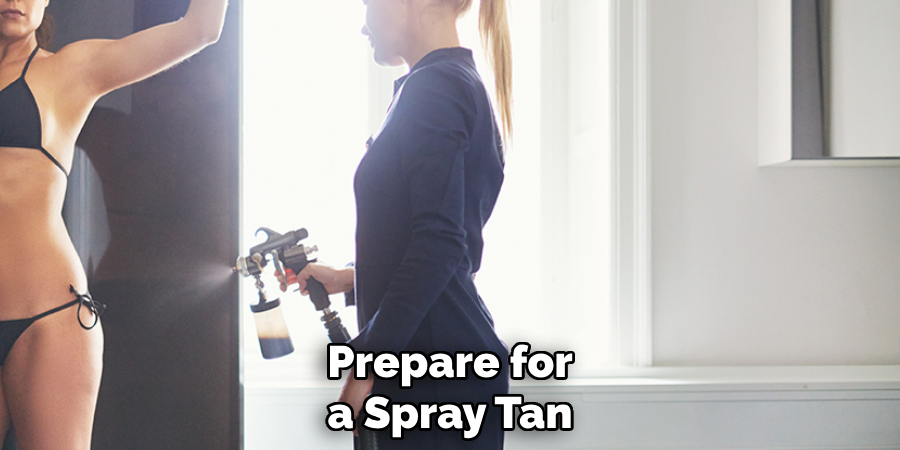
Shaving is another important pre-tan step and should also be done at least 24 hours before your appointment. Shaving too close to your tanning session can leave your skin sensitive and prone to irritation. Additionally, shaving after your tan can significantly reduce its lifespan, as the process removes the outer layer of skin where the tan is applied.
Moisturizing your skin is crucial, but it’s important to choose the right products for the best results. Hydrated skin absorbs the tanning solution more evenly, preventing patchiness. However, on the day of your tan, avoid using oil-based products as they can create a barrier that prevents the tanning solution from developing properly. Opt for a water-based moisturizer instead, applied generously the night before your appointment.
Finally, wear loose, dark clothing to your tanning appointment. Tight clothing can rub against your skin and cause the tan to become streaky or uneven. Dark colors are less likely to show any staining from the tanning solution. By following these pre-tan preparation steps, you can ensure a smooth, even tan that lasts longer and looks more natural.
How to Use Barrier Cream for Spray Tan: Applying Barrier Cream
1.Areas to Focus On
When preparing for a spray tan, it is crucial to apply barrier cream to specific areas of the body that are prone to over-absorption of the tanning solution. These common areas include the elbows, knees, hands, feet, and cuticles. The skin in these regions tends to be thicker, rougher, and drier than the rest of the body, making it more absorbent and likely to develop a darker or uneven tan if left unprotected.
Elbows and knees are particularly important to cover with barrier cream because the skin is naturally denser and often has more folds, creating a greater surface area for the tanning solution to settle into. Hands and feet, especially the knuckles, the sides, and the tops of the feet, have more exposed skin that is prone to looking unnaturally dark if not adequately protected. Cuticles and the surrounding skin on fingers and toes are another major focus, as these tiny areas can absorb a disproportionate amount of the tanning product, resulting in noticeable and unattractive patches.
By understanding the importance of these areas and giving them extra protection, you can ensure a more even and natural-looking tan.
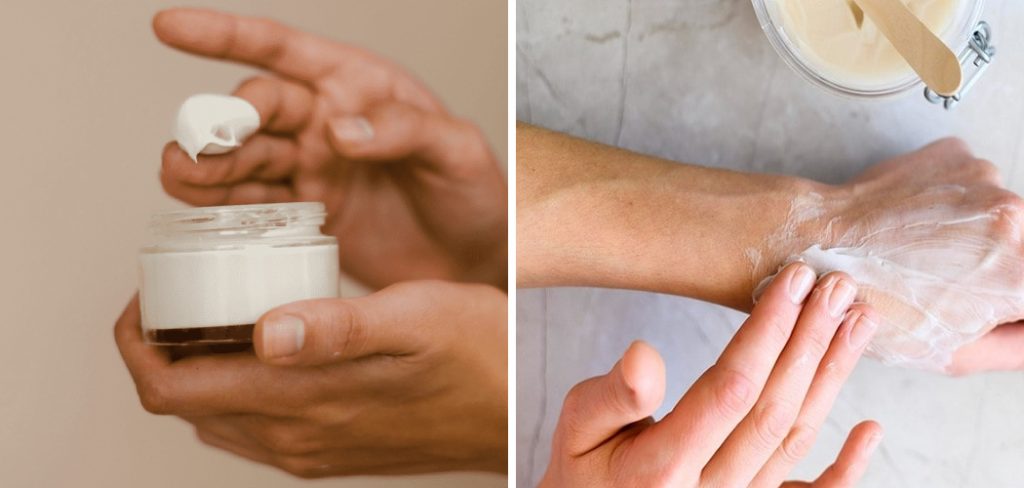
2.Application Technique
Applying barrier cream correctly is essential for optimal results. Begin by dispensing a small amount of the cream onto your fingertips. It is better to start with less product and add more if needed, as over-applying can lead to a greasy residue that might hinder the tanning process in adjacent areas.
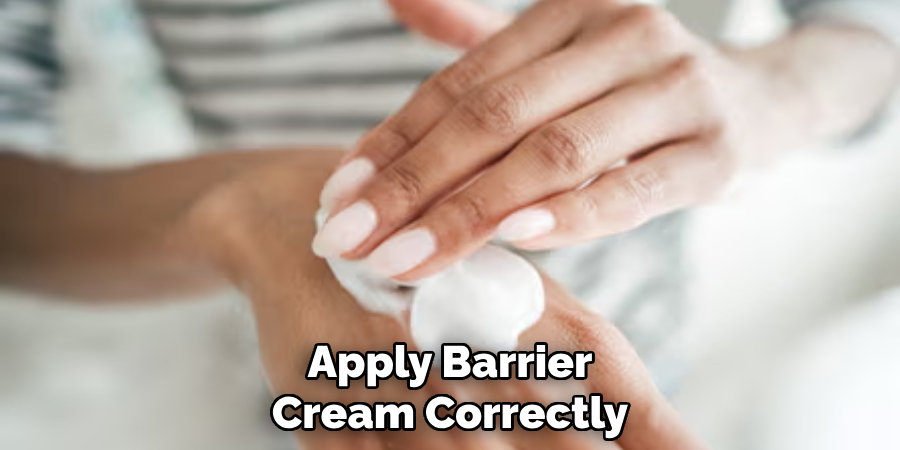
Apply a thin, even layer of barrier cream to each targeted area. For the elbows and knees, ensure you cover the entire joint, including any skin folds. On the hands, distribute the cream carefully over the knuckles, cuticles, and the tops and sides of the fingers. The same method should be used for the feet, paying special attention to the toes and nails.
Make sure you blend the cream well to avoid thick patches that could act as a complete barrier against the tanning solution. The goal is to create a light, protective layer that reduces absorption but still allows for some degree of tanning to achieve a natural gradient. Take your time to ensure full coverage; a rushed application can result in streaks or missed spots, compromising the final look of your tan.
By mastering this technique and focusing on the essential areas, you will significantly improve the likelihood of achieving a flawless and even spray tan.
How to Use Barrier Cream for Spray Tan: During the Spray Tan
Positioning and Posture Tips for an Even Application
Achieving an even spray tan requires proper positioning and posture throughout the session. Stand with your feet shoulder-width apart to maintain balance and ensure even coverage on your legs and torso. Keep your arms slightly away from your body, and extend them fully when the technician is spraying your sides. It’s also important to spread your fingers and toes slightly to prevent any creases or missed areas. Paying attention to your posture helps the tanning solution reach all the nooks and crannies of your body, ensuring a consistent finish.
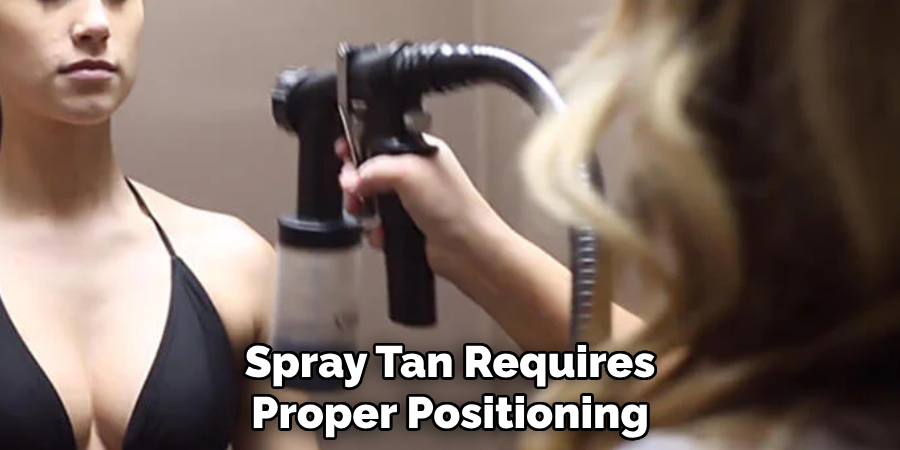
Communicating with the Technician about Any Concerns
Clear communication with your technician is crucial for a successful spray tan. Don’t hesitate to voice any concerns or preferences you may have before or during the session. Whether you prefer a lighter coverage on certain areas or have sensitive skin that requires extra care, letting the technician know will help tailor the application to suit your needs. If you notice any missed spots or uneven application during the process, kindly inform the technician so adjustments can be made immediately.
Staying Still and Allowing the Technician to Spray Evenly
Remaining still while the technician sprays you is essential for an even tan. Sudden movements or shifts in posture can lead to streaks or blotches. Trust the technician to guide you through different positions and follow their instructions carefully. Staying still allows the tanning solution to be applied evenly, resulting in a more natural and flawless finish. If you need to move or adjust, inform the technician so they can pause and ensure continuity in the application.
Post-Tan Care
Allowing the Tan to Develop without Interference
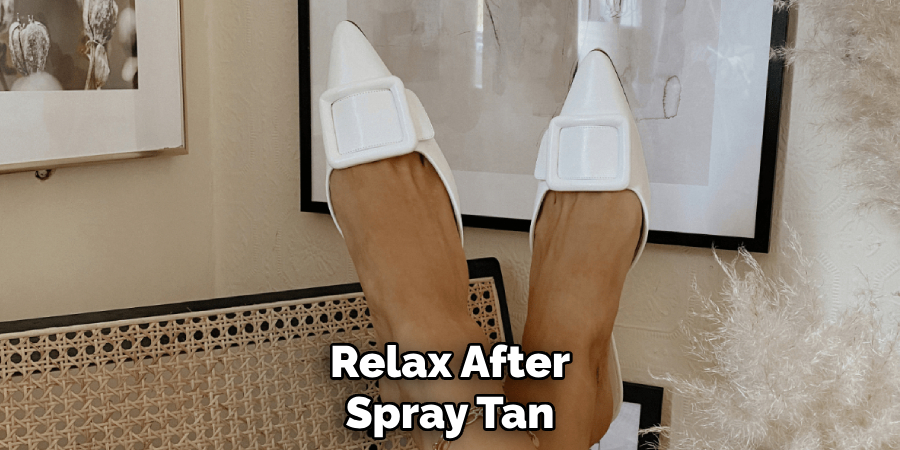
Proper post-tan care is essential to ensure your spray tan develops evenly and lasts as long as possible. After your tanning session, it is crucial to avoid any activities that could interfere with the development of the tan. This includes refraining from showering, bathing, or swimming for at least 8-12 hours following the application. Water can wash away the tanning solution before it has had the chance to fully develop on your skin.
Avoiding Activities that Cause Sweating or Contact with Water
In addition to avoiding water, it is equally important to steer clear of activities that may cause sweating. Engaging in exercise or any physically demanding tasks can lead to sweating, which can cause the tanning solution to streak or become patchy. Instead, plan to relax and take it easy for the remainder of the day following your spray tan. Staying in a cool environment will also help prevent perspiration and ensure that your tan develops uniformly.
Wearing Loose Clothing to Prevent Smudging
Wearing the right clothing is another critical aspect of post-tan care. Opt for loose, dark clothing to avoid any smudging or rubbing of the tanning solution. Tight-fitting garments can cause friction against your skin, leading to uneven patches or streaks in the tan. Dark colors are preferred as they are less likely to show any staining that may occur. Loose dresses, oversized shirts, and drawstring trousers are ideal choices to ensure your tan remains flawless during the initial development period.
Removing Barrier Cream and Excess Tan
Gently Washing Off Barrier Cream after the Tan Develops
Once your tan has fully developed, it’s important to remove any remaining barrier cream and excess tan to reveal a smooth, even finish. Begin by gently washing the targeted areas with mild soap and lukewarm water. Avoid using harsh or fragranced soaps, as these can strip the tan and irritate your skin. Lukewarm water is ideal because it is gentle and doesn’t shock the skin, ensuring your tan remains intact.
Using Mild Soap and Lukewarm Water
Select a soap that is designed for sensitive skin or is free from strong chemicals and perfumes. Apply a small amount to your hands or a soft washcloth, and gently cleanse the areas where the barrier cream was applied. This will help remove any residue without disrupting the tan. Take your time to ensure all the cream is thoroughly washed off, as any leftover product could affect the final appearance of your tan.
Patting Skin Dry Instead of Rubbing
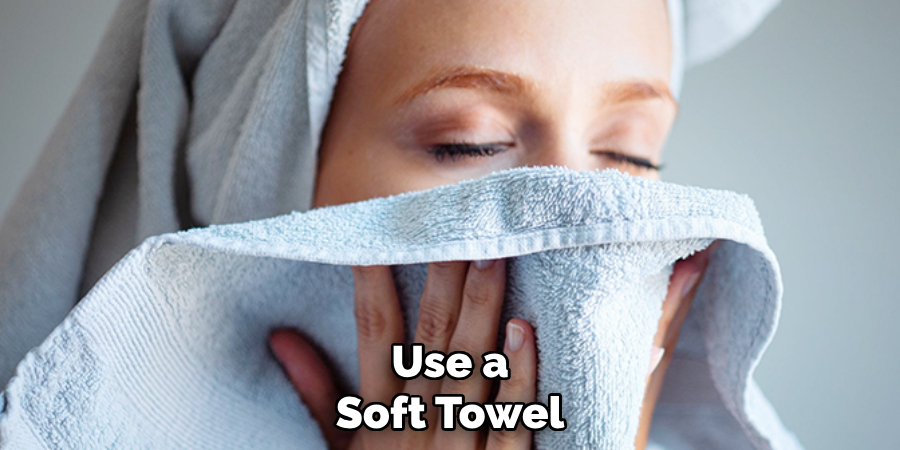
After washing, it is crucial to dry your skin properly to avoid any streaks or patches. Use a soft towel and gently pat the skin dry, rather than rubbing it. Rubbing can cause the tan to wear off unevenly and lead to a blotchy appearance. Patting your skin dry helps to maintain the evenness of the tan and keeps your skin smooth and flawless. With careful removal of barrier cream and excess tan, you’ll achieve a beautiful, even glow that looks natural and lasts longer.
Maintaining Your Spray Tan
Hydrating the Skin Regularly with a Gentle Moisturizer
Keeping your skin hydrated is essential for maintaining your spray tan. Use a gentle, hydrating moisturizer twice a day, focusing on areas that tend to dry out more quickly, such as your knees, elbows, and ankles. Opt for products that are free from harsh chemicals, fragrances, and oils, as these can strip the tan prematurely. Hydrated skin holds onto the tanning solution better, ensuring a more extended, even glow.
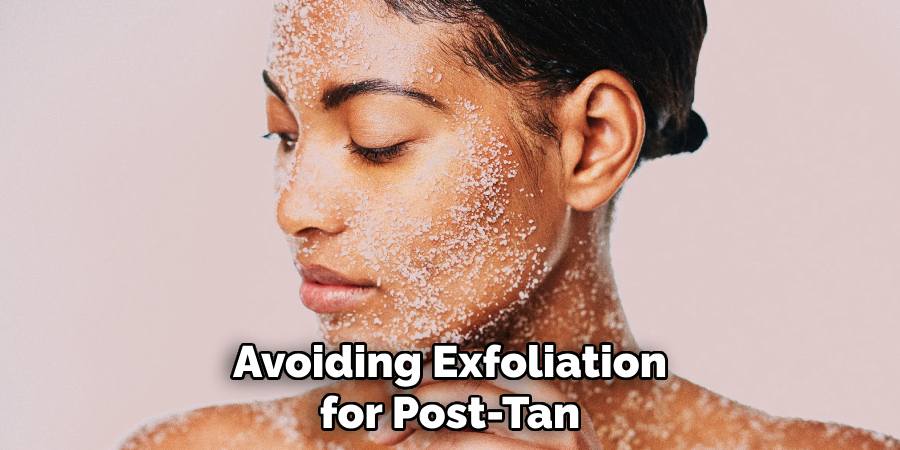
Avoiding Exfoliation for a Few Days Post-Tan
Exfoliation is beneficial for your skin but should be avoided for at least a few days after your spray tan. Exfoliating too soon can remove the top layer of the tan, leading to an uneven and patchy appearance. Instead, allow the tan to settle and develop fully. After a few days, you can gently exfoliate to ensure an even fade, but always use a mild exfoliant and a gentle touch to preserve your tan for as long as possible.
Using Tan Extenders or Gradual Tanners to Prolong the Tan
To keep your tan looking fresh and vibrant, consider using tan extenders or gradual tanners. These products contain small amounts of tanning agents that help to gradually build and maintain your tan. Apply them every few days to maintain the desired color and prevent the tan from fading too quickly. Choose a product that matches your skin tone and follow the application instructions carefully for the best results.
Troubleshooting Common Issues
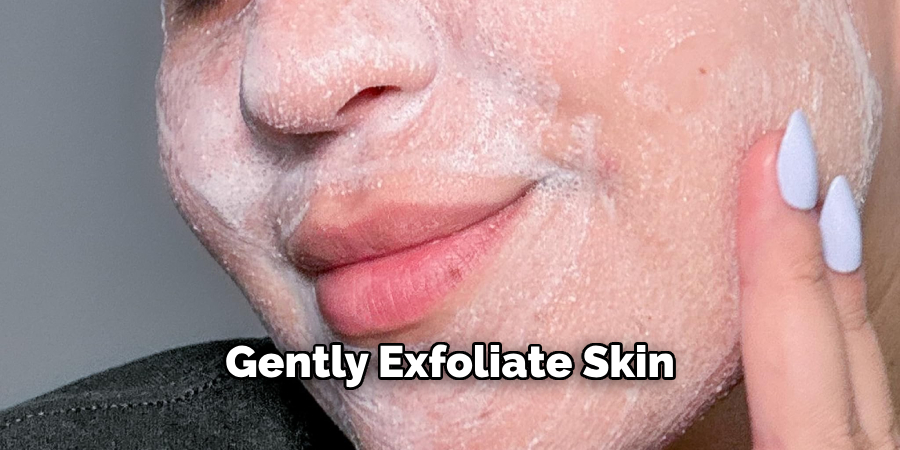
Addressing Streaks or Uneven Areas
If you notice streaks or uneven areas after your spray tan, lightly exfoliate the affected spots to blend the tan. Use a gentle exfoliant and a soft washcloth, applying light pressure in circular motions. Follow up with a hydrating moisturizer to even out the tan and soothe the skin.
What to Do if the Barrier Cream Causes Irritation
In case the barrier cream causes irritation, cleanse the irritated area with mild soap and lukewarm water to remove any residues. Apply a soothing, fragrance-free moisturizer or aloe vera gel to calm the skin. If irritation persists, consult with a dermatologist for further advice.
How to Fix Over-Darkened Areas
For over-darkened areas, gently exfoliate using a mild exfoliant and a loofah to lighten the color. If the area remains too dark, mix a small amount of baking soda with water to form a paste and apply it to the darkened spot. Leave it for a few minutes before rinsing off with lukewarm water. Moisturize afterward to keep the skin hydrated.
Conclusion
In summary, using barrier cream effectively can significantly enhance your spray tan experience. Key steps include applying the cream to dry areas, avoiding sweaty activities immediately after tanning, and wearing loose, dark clothing to prevent smudging. Removing excess tan and barrier cream gently with lukewarm water and mild soap is crucial for maintaining an even finish. Hydration and avoiding exfoliation in the days following the tan can extend its longevity, and using tan extenders can help maintain your tan’s vibrancy.
Incorporating barrier cream into your spray tan routine ensures an even, streak-free tan. Knowing how to use barrier cream for spray tan properly is essential for achieving the desired results. By following these tips, you can enjoy a beautiful, natural-looking tan that lasts longer and fades evenly, giving you the confidence to show off your flawless glow.
About the Author
Jane Hubbard is a passionate beauty expert with a wealth of experience in makeup, hair, and overall beauty techniques. After years of working as a hairdresser specialist, she followed her entrepreneurial spirit and started her own consultancy business.
Jane has always been driven by her desire to help others feel confident in their own skin, and she does this by sharing her knowledge, experiences, and practical beauty tips. Through her consultancy, she empowers individuals to embrace their unique beauty, offering tailored guidance that boosts both self-esteem and personal style.
Professional Focus
Specializes in makeup, hairstyling, and beauty consulting.
Provides personalized beauty advice, tips, and techniques to help individuals feel confident in their appearance.
Dedicated to staying up-to-date with the latest industry trends and developments.
Passionate about creating a comfortable and empowering experience for every client.
Education History
University of Craft and Design – Bachelor of Fine Arts (BFA) in Woodworking and Furniture Design
Woodworking Apprenticeships – Extensive hands-on training with skilled craftsmen to refine carpentry and furniture making techniques
Online Courses & Masterclasses – Continued education in advanced woodworking techniques, design principles, and specialized tools
Expertise:
Makeup artistry, hairstyling, and beauty consulting.
Personalized beauty techniques to enhance confidence and self-expression.
Educating clients on how to maintain their beauty routines at home.