
Are you tired of dealing with frizzy and unmanageable hair? Look no further than cream treatments to bring your locks back to life.
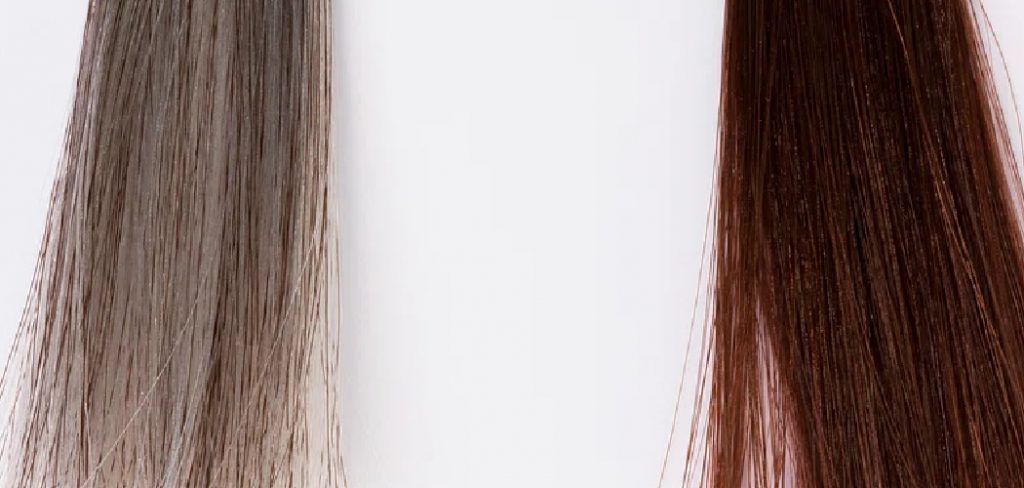
Using the right hair care products can make all the difference when maintaining healthy and vibrant hair. Hair creams are a versatile component of any hair care routine, providing benefits such as hydration, protection, and styling assistance.
Understanding how to use cream on hair can amplify its benefits, ensuring that your hair stays nourished and manageable.
Whether you’re dealing with frizz, seeking to add shine, or simply wanting to protect your hair from environmental damage, using hair cream appropriately can address many concerns and enhance your hair’s natural beauty.
What Will You Need?
Before you get started, ensure you have the necessary tools and products. Here are some key items that will come in handy for using cream on hair:
- Hair Cream: Choose a high-quality, nourishing hair cream suitable for your hair type. Look for ingredients like shea butter, coconut oil, or argan oil to provide hydration and nourishment to your locks.
- Wide-Tooth Comb: A wide-tooth comb can help distribute the cream evenly throughout your hair and detangle any knots.
- Water Bottle: Fill a spray bottle with water to help dampen your hair before applying the cream.
- Hair Clips: These will be useful when sectioning your hair for a more straightforward application.
- Hair Dryer: Some hair creams may require heat activation, so having a hair dryer on hand can help speed up the process.
Once you have these items, you can use cream on your hair.
9 Easy Steps on How to Use Cream on Hair
Step 1. Start with Clean, Damp Hair:
Before applying any hair cream, it’s crucial to ensure your hair is clean and damp. Begin by washing your hair with a gentle shampoo to remove any dirt, oil, or product buildup that may hinder the absorption of the cream. Follow up with a conditioner suitable for your hair type to add preliminary moisture.
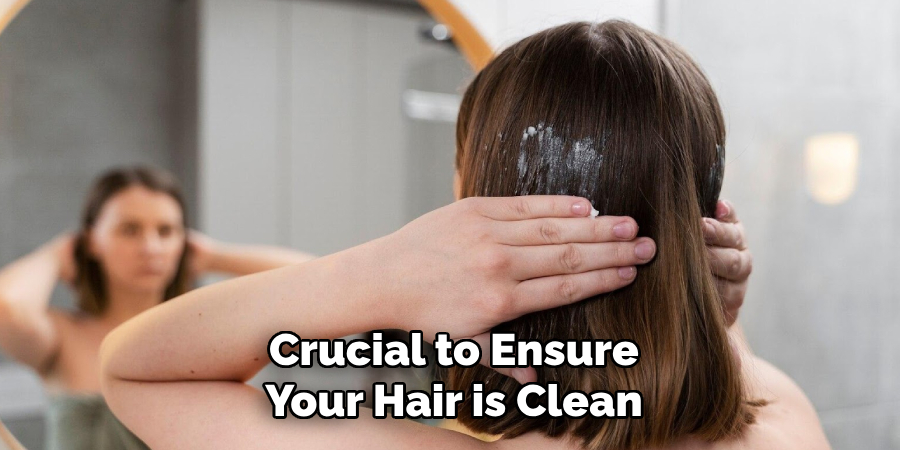
After rinsing out the conditioner, gently pat your hair with a towel to remove excess water. Your hair should be damp but not dripping wet, as this helps the cream to spread more quickly and absorb effectively into the strands. Using a water bottle, you can re-dampen any areas that may have dried too much during towel drying.
Starting with a clean, damp base ensures that the cream works optimally to provide hydration and manageability to your hair.
Step 2. Section Your Hair:
Once your hair is clean and damp, the next step is to section it to ensure the hair cream is even applied. Use hair clips to divide your hair into manageable sections. Depending on the thickness and length of your hair, you can create anywhere from four to eight sections.
This approach allows you to focus on one part at a time, ensuring each strand receives the benefits of the cream. Sectioning also prevents tangling and allows for more precise application, giving your hair a consistent texture and appearance.
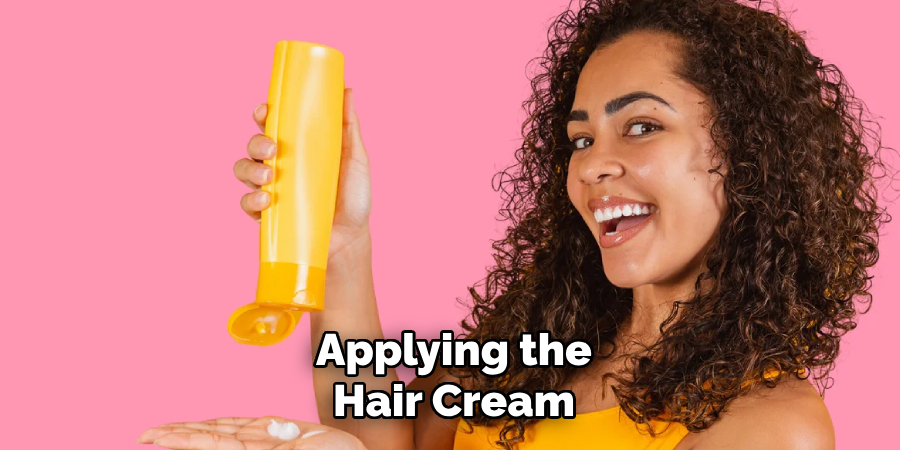
Step 3. Apply the Hair Cream:
With your hair sectioned, it’s time to apply the hair cream. Start with a small amount of cream in your palm—about the size of a dime for shorter hair or a nickel for longer hair—and rub your hands together to distribute the product evenly.
Beginning at the ends of your hair, typically the driest and most in need of moisture, gently work the cream upward toward the roots. Avoid applying too much cream to the roots, weighing your hair down, and making it appear greasy.
Use a wide-tooth comb to ensure the cream is evenly distributed through each section, concentrating on areas needing extra attention. If necessary, add more cream gradually to avoid overloading your hair. Proper application allows the hair cream to nourish and hydrate each strand, contributing to smoother, more manageable hair.
Step 4. Comb Through the Sections:
After applying the hair cream, take a wide-tooth comb and carefully comb through each section of your hair. This process ensures that the cream is distributed evenly and gently removes any tangles or knots.
Start from the ends and work to the roots to minimize breakage and damage. Combing helps to integrate the cream into the hair further, promoting smoother and more uniform coverage. This step is crucial to achieving a sleek, shiny finish and maximizing the conditioning benefits of the cream.
Step 5. Let the Cream Absorb:
Once you’ve thoroughly combed through each section of your hair, allowing time for the hair cream to absorb is essential. Depending on the specific product’s instructions, this could range from a few minutes to longer. During this absorption period, you can cover your hair with a shower cap to trap heat and moisture, enhancing the cream’s efficacy.
Allowing the cream to penetrate your hair profoundly ensures maximum hydration and nutrients to each strand. While waiting, you can proceed with other aspects of your routine, such as skincare or makeup, making the most of your time.
Step 6. Use Heat if Required:
If the hair cream you’re using calls for heat activation, now is the time to use a hair dryer. Set your hair dryer to a low or medium heat to prevent heat damage. Gently blow-dry each section of your hair, maintaining a safe distance to distribute heat evenly.
This step activates the cream’s ingredients more effectively, allowing them to penetrate deeper into the hair shaft. Heat can enhance the product’s ability to lock in moisture, resulting in softer, healthier-looking hair. Be sure to move the dryer continuously to avoid overheating any area, and always opt for a heat protectant if it is not already included in your hair cream.
Step 7. Style Your Hair as Desired:
After the hair cream has been absorbed and you’ve used any necessary heat, it’s time to style your hair. Depending on your preference, you can let your hair air dry for a more natural look or use styling tools to achieve a particular style.
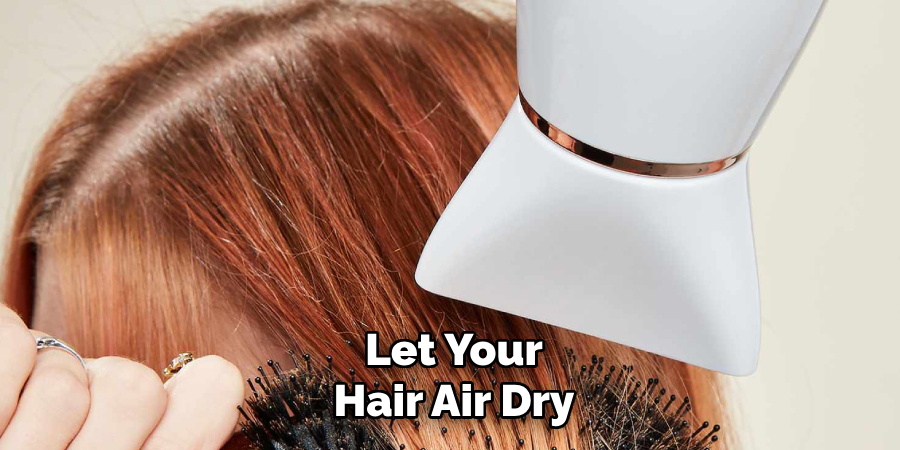
Hair creams typically leave your hair more manageable, allowing you to create smooth waves and curls or straighten your hair easily. Use a suitable styling product to add definition or hold to your style. Remember to handle your hair gently to maintain its health and prevent breakage.
Step 8. Finish with Finishing Product (Optional):
Once your hair is styled, consider applying a finishing product for extra shine and hold. Products such as hair serum or a light hairspray can protect against environmental factors while keeping your style intact.
Choose a finishing product that complements your hair type and the style you’ve created. Apply sparingly to prevent hair overloading, especially on the ends, for added shine and definition. This final step enhances the longevity of your style and maintains the smooth, healthy look achieved with the hair cream.
Step 9. Maintain Your Hair:
To ensure long-lasting results and maintain the health of your hair, incorporate regular maintenance into your hair care routine. To prevent dryness, moisturize your hair with a leave-in conditioner or light hair oil. Regularly detangle your hair with a wide-tooth comb or fingers to avoid breakage.
Minimize heat styling tools to protect your hair from damage, and always use a heat protectant when heat styling is necessary. Additionally, trim your hair every six to eight weeks to remove split ends and encourage healthy growth. You can preserve its smoothness, shine, and manageability by consistently caring for your hair.
By following these steps and incorporating hair cream into your routine, you can achieve and maintain smoother, more manageable hair with a shiny finish.
5 Things You Should Avoid
- Using Too Much Cream: Applying excessive cream can lead to greasy, weighed-down hair, ultimately making it look limp and lifeless. Start with a small amount and add more if necessary.
- Applying Cream to the Roots: Concentrating product on the roots can make your hair look oily and flat. Focus application on the mid-lengths and ends, where moisture is most needed.
- Skipping a Patch Test: Before using a new hair cream, testing it on a small skin area is essential to rule out any allergic reactions. Skipping this step could lead to irritation or an adverse response.
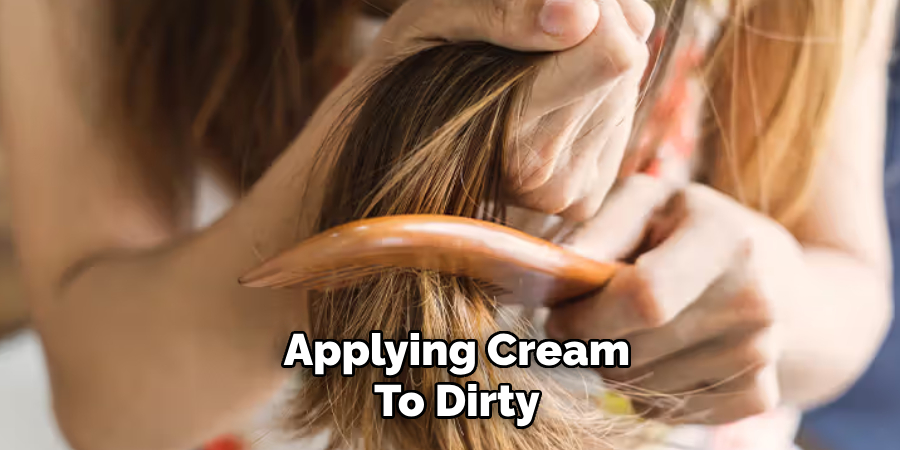
- Using Cream on Dirty Hair: Applying cream to dirty or greasy hair can cause buildup and an undesirable oily appearance. Ensure your hair is clean and slightly damp for optimal absorption.
- Ignoring Hair Type: Not all creams are suitable for every hair type. Using a product not suited for your specific hair texture or condition can result in less effective results or even damage. Select a cream formulated for your particular needs.
Conclusion
By understanding how to use cream on hair, you can enhance the health and appearance of your hair.
Begin by choosing a cream that matches your hair type and specific needs. Always start with a small amount—it’s easier to add more product than to deal with excess. Focus on applying the cream to the mid-lengths and ends, where moisture is most needed, avoiding the roots to prevent a greasy look.
Make sure your hair is clean and slightly damp to maximize product absorption. Finally, don’t skip a patch test when introducing a new product, ensuring it won’t irritate your skin or scalp.
Following these guidelines will help you achieve the desired results without compromising your hair’s vitality.
About the Author
Jane Hubbard is a passionate beauty expert with a wealth of experience in makeup, hair, and overall beauty techniques. After years of working as a hairdresser specialist, she followed her entrepreneurial spirit and started her own consultancy business.
Jane has always been driven by her desire to help others feel confident in their own skin, and she does this by sharing her knowledge, experiences, and practical beauty tips. Through her consultancy, she empowers individuals to embrace their unique beauty, offering tailored guidance that boosts both self-esteem and personal style.
Professional Focus
Specializes in makeup, hairstyling, and beauty consulting.
Provides personalized beauty advice, tips, and techniques to help individuals feel confident in their appearance.
Dedicated to staying up-to-date with the latest industry trends and developments.
Passionate about creating a comfortable and empowering experience for every client.
Education History
University of Craft and Design – Bachelor of Fine Arts (BFA) in Woodworking and Furniture Design
Woodworking Apprenticeships – Extensive hands-on training with skilled craftsmen to refine carpentry and furniture making techniques
Online Courses & Masterclasses – Continued education in advanced woodworking techniques, design principles, and specialized tools
Expertise:
Makeup artistry, hairstyling, and beauty consulting.
Personalized beauty techniques to enhance confidence and self-expression.
Educating clients on how to maintain their beauty routines at home.