
Are you an experienced nail technician who is looking for a way to level up your skills? Gelish Structure Gel has become one of the hottest trends in the industry, and with good reason. This amazing product provides long-lasting color and shine that lasts up to three weeks.
The power of a perfect manicure cannot be overstated. Whether you’re hoping to keep your nails stylish and chic or if you’re using it as an extra decorative touch on other items, Gelish Structure Gel can help make all your nail-based dreams come true. With its easy application process and chip-resistant finish, it’s no wonder this particular gel has become so popular in DIY beauty projects.
In this blog post, we’ll walk through exactly how to use gelish structure gel with confidence and ease to create stunning results that will last for weeks!
What are the Benefits of Gelish Structure Gel?
Gelish Structure Gel is better than traditional nail polishes as it offers a chip-resistant finish that lasts up to three weeks with no chipping. The formula itself contains a blend of polymers and resins that offer superior adhesion and flexibility, making the gel easier to apply, shape and remove.
The formula is also infused with Vitamin E, which helps nourish and protect your nails. Gelish Structure Gel also offers a wide range of highly pigmented colors and will give you an intense finish with just one coat.
Gelish Structure Gel is a great product to help you achieve salon-style results at home.
10 Easy Steps on How to Use Gelish Structure Gel
Step 1. Sanitize Your Nails:
Start by sanitizing your nails and the surrounding area. It’s important to remove any oils or dirt before applying the gel in order to ensure a lasting, professional finish. If you’re using a base coat, make sure to apply that first.

Step 2. File and Buff Your Nails:
Using a fine-grit file, gently buff away any ridges or unevenness on the surface of your nails. Make sure not to over-file, as this can weaken the nail plate. Don’t forget to apply cuticle oil afterward.
Step 3. Dehydrate Your Nails:
Once you’ve finished filing and buffing your nails, use Gelish Structure Gel Prep solution to dehydrate them and make sure they are completely dry before applying the gel polish. It will help to ensure that the color and shine last longer.
Step 4. Apply Gel Base Coat:
After prepping your nails with prep solution, it’s time to apply the base coat of the gel polish. Start by painting from your cuticles to the tips of your nails, waiting a few seconds between strokes. Make sure to cap the free edge, meaning you should go over the entire nail with one last stroke from tip to cuticle.
Step 5. Cure Your Base Coat:
Once your base coat is applied, cure it according to the product instructions. You will need to use a UV or LED light for this step. Most gels need to be cured for about 1-2 minutes. Don’t forget to turn off your light when you’re done.
Step 6. Apply Color Coat:
Now that the base coat is ready, it’s time to apply the color coat. Use the same technique as before, starting from your cuticles and painting all the way to the tips of your nails. Again, make sure to cap the free edge and leave a few seconds in between strokes.
Step 7. Cure Color Coat:
Once your color coat is applied, you will need to cure it the same way as before. Don’t forget to turn off your light after a few minutes of curing. This will help to ensure a longer-lasting, chip-resistant finish.
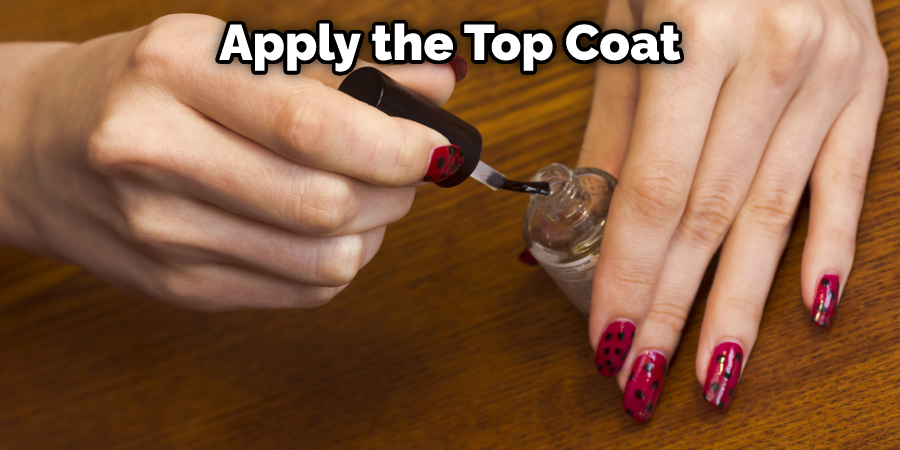
Step 8. Apply Top Coat:
Once the color coat is cured, it’s time to apply the top coat. It’s important to remember to cap the free edge and even out the strokes as you go along. Again, wait a few seconds between strokes and make sure your nails are fully covered.
Step 9. Cure Top Coat:
Once you’ve applied the top coat, it’s time to cure again. Make sure to follow the product instructions and turn off your light once you’re finished. This will help to ensure that your manicure lasts for weeks with no chipping.
Step 10. Clean Up:
Now it’s time to clean up any excess gel polish around your nails. Use a lint-free wipe and Gelish Structure Gel Cleanser to remove any residue or smudges. And voila, you’re done! Enjoy your amazing Gelish Structure Gel manicure that lasts up to three weeks without chipping or fading.
Congratulations, you’ve just learned to use Gelish Structure Gel! With this easy 10-step guide, you can now achieve salon-style nails at home. Show off your beautiful, long-lasting manicure and enjoy the results!
5 Additional Tips and Tricks
1. Keep the Surface Clean: Prior to using Gelish Structure Gel, it is important to ensure that the natural nail surface is clean, dry, and free of any oils. Apply a thin layer of Gelish Structure Base Gel and cure for 30 seconds in the LED Light or 2 minutes in a UV Light.
2. Use Thin Layers: Thin layers are key to achieving perfect nails with Gelish Structure Gel. Apply a thin layer of Gelish Structure Builder Gel, then cure for 2 minutes under an LED light or 4 minutes under a UV light.
3. Cap the Free Edge: Make sure to cap the free edge when applying your structure gel to adhere properly and last longer. Use an orangewood stick to carefully push back cuticles so you can get better access for capping the edges. This will also help prevent lifting along the nail later on.
4. Apply Top Coat: After each layer of Gelish Structure Builder Gel is cured, apply a thin layer of top coat and cure for 30 seconds in the LED light or 2 minutes in the UV light. This helps to create an extra-strong bond that will help your nails last even longer.
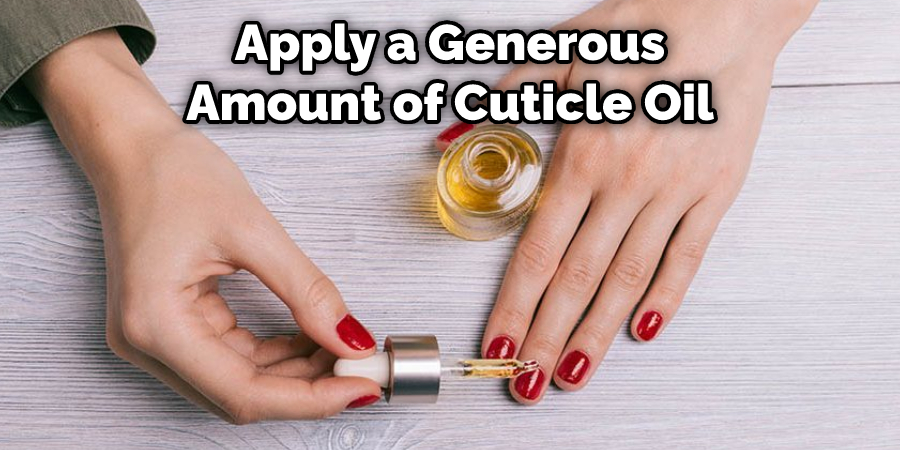
5. Finish With Cuticle Oil: To finish your manicure, apply a generous amount of cuticle oil to moisturize your hands and prevent splitting or cracking. This will also help keep your nails looking their best all day long.
These tips and tricks are essential for applying Gelish Structure Gel correctly and achieving flawless results every time! With these simple steps, you can be sure to get perfect gel nails every time you use this product. Give it a try and see the amazing results!
5 Things You Should Avoid
- Do not apply the gelish structure gel too thick. A thin layer is all that’s needed for effective adhesion and drying.
- Be sure to cure the gelish structure gel properly after each layer is applied. Otherwise, you may find that your nails are prone to chipping and peeling.
- Do not apply too much pressure when filing or buffing the surface of your nails, as this can damage the top layer of the gelish structure gel.
- Avoid using acetone-based removers when removing the gelish structure gel, as it can soften and weaken the nail bed beneath it.
- Never attempt to remove a set of gelled nails without a professional’s help, as improper removal techniques could cause permanent damage to your natural nails!
Following these steps will ensure beautiful results with your Gelish Structure Gel manicure every time. With proper application, curing, and removal techniques, you’ll be able to achieve long-lasting and stunning nails that will stand the test of time.
Is Structure Gel the Same as Builder Gel?
Structure gel and builder gel are two different types of UV/LED-cured hard gels. Structure gel is used to add strength and durability to the natural nail bed, while builder gel is a thicker version that can be used for sculpting, extending, and strengthening nails.
Builder Gel is best for those who have weak or brittle nails, whereas structure gel helps provide an extra layer of support to naturally strong nails. Be sure to use the correct type of product for your desired look!
No matter which type of hard gel you choose, it’s important to remember that proper application, curing, and removal techniques are essential for long-lasting results. With the right steps and care, your nails will look beautiful and stay strong even after several uses.

Conclusion
As we’ve seen today how to use gelish structure gel, is a great tool to use if you’re looking to get the perfect manicure. Not only will it give you a stronger, long-lasting result, but it’s also an ideal choice when creating various shapes and patterns. It’s important to ensure that the nail preparation is first effortless and free of any dirt or bacteria before beginning with step one, which consists of curing the nail microthin structure layer.
Moving onto step two, apply the structure and concentrate really well on shaping it as desired. Don’t forget to pay attention to the sidewalls of your nails for extra protection against breakage. Utilizing this amazing gel product allows you to enjoy flawlessly created structures that last up to several weeks without chipping.
So if you’re new at nail artistry or a professional looking for something different, then look no further than Gelish Structure Gel!
About the Author
Jane Hubbard is a passionate beauty expert with a wealth of experience in makeup, hair, and overall beauty techniques. After years of working as a hairdresser specialist, she followed her entrepreneurial spirit and started her own consultancy business.
Jane has always been driven by her desire to help others feel confident in their own skin, and she does this by sharing her knowledge, experiences, and practical beauty tips. Through her consultancy, she empowers individuals to embrace their unique beauty, offering tailored guidance that boosts both self-esteem and personal style.
Professional Focus
Specializes in makeup, hairstyling, and beauty consulting.
Provides personalized beauty advice, tips, and techniques to help individuals feel confident in their appearance.
Dedicated to staying up-to-date with the latest industry trends and developments.
Passionate about creating a comfortable and empowering experience for every client.
Education History
University of Craft and Design – Bachelor of Fine Arts (BFA) in Woodworking and Furniture Design
Woodworking Apprenticeships – Extensive hands-on training with skilled craftsmen to refine carpentry and furniture making techniques
Online Courses & Masterclasses – Continued education in advanced woodworking techniques, design principles, and specialized tools
Expertise:
Makeup artistry, hairstyling, and beauty consulting.
Personalized beauty techniques to enhance confidence and self-expression.
Educating clients on how to maintain their beauty routines at home.