
Whether you’re a makeup enthusiast or just getting into the beauty game, we all know the importance of having the right highlighter. A great highlight can elevate your overall look and add that touch of glamour we all yearn for. But how do you choose the perfect one amongst so many options? Today, we want to show you why Laura Geller highlighters are some of the best out there and walk you through step-by-step instructions on exactly how to use laura geller highlighter for maximum effect!

If you’re a fan of Laura Geller, you know the brand is about keeping things simple but highly effective.
So, let’s start learning about this magical product that will surely leave your skin looking luminous and glowing.
What Will You Need?
- Laura Geller highlighter of your choice
- Foundation brush or damp makeup sponge for application
- Highlighting brush for blending
Once these items are ready, you can start your Laura Geller highlighter journey!
10 Easy Steps on How to Use Laura Geller Highlighter
Step 1. Prep Your Skin:
Always start with a clean and moisturized face. This will ensure your highlighter goes on smoothly and stays on longer. Make sure to apply your usual foundation and concealer as well. If you’re using a damp makeup sponge for application, give it a light mist of water to ensure the product glides onto your skin.
Step 2. Choose Your Highlighter:
Laura Geller offers both powder and liquid highlighters. If you want an ultra-glowy look, the liquid highlighter is your best bet. It looks more natural and will give you that lit-from-within effect. If you prefer a more subtle highlight, opt for the powder version. There’s even an all over illuminator for those who want an all-over glow!
Step 3. Apply Your Highlighter:
Begin by dabbing a bit of highlighter onto the areas you want to highlight. These can include your cheekbones, brow bone, tip of your nose, and cupid’s bow. Using a liquid highlighter, use short patting motions with your foundation brush or damp makeup sponge. For powder highlighter, a highlighting brush would be the best option.
Step 4. Blend:
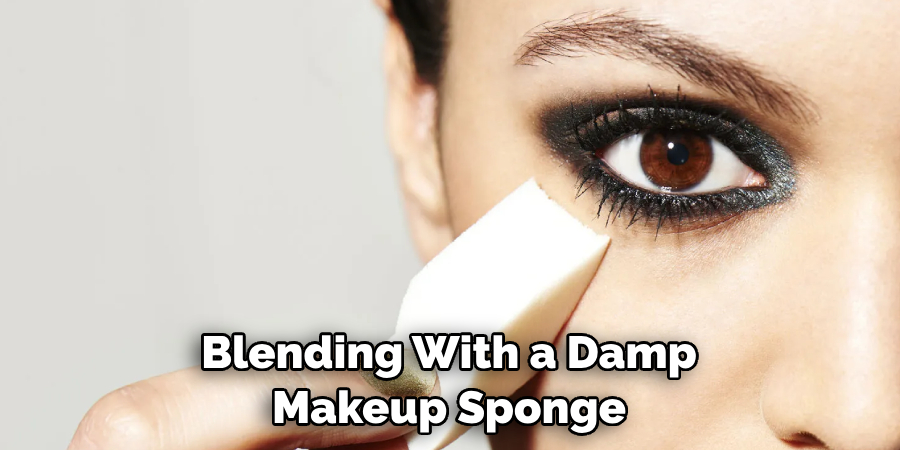
It’s time to blend once you’ve applied your highlighter in those targeted areas! Make sure not to forget any spots and that your highlight is evenly distributed throughout. Blending with a damp makeup sponge will help create a natural and seamless look.
Step 5. Check Your Look in Natural Light:
After you have blended the highlighter well, step into natural light to check your application. Indoor lighting can sometimes be deceiving; stepping outside will give you the truest representation of your look. If the highlight is too harsh or not visible enough, feel free to add more or blend further until you achieve the desired effect.
Step 6. Finalize Your Look:
Once you are satisfied with the amount of highlight and its blend, finalize your face makeup with a setting spray. This helps to keep your highlight in place throughout the day, ensuring you are glowing for hours. If you want an extra pop of shine, add a little more Laura Geller highlighter to the high points of your cheeks after the setting spray has dried. Remember, beauty is about feeling good in your skin, so adjust the amount of highlighter to what feels best for you!
Step 7. Compliment Your Glow:
Complement your radiant skin with the rest of your makeup. Add warmth with a bit of bronzer and a pop of color with blush. Remember that your eyes and lips should harmonize with your glowing complexion. For the eyes, opt for neutral tones during the day and add some shimmer for an evening look. As for your lips, nude or soft pink lipstick can maintain the focus on your highlighted areas. Lastly, care for your eyebrows. Well-defined brows can frame your face and make your highlighter pop even more. Enjoy the glow!
Step 8. Maintain Your Glow:
To ensure a long-lasting glow, taking care of your skin even after the makeup is off is crucial. Remove your makeup thoroughly using a reliable makeup remover or cleansing oil. Follow it up with your regular skincare routine. Keep your skin hydrated and nourished; healthy skin is the best canvas for any makeup, including your Laura Geller highlighter. Remember, the glow is not just about the highlighter; it’s about your skin, too!
Step 9. Experiment and Customize:
Remember that makeup is a form of self-expression, and there is no one-size-fits-all approach. Feel free to experiment and customize your Laura Geller highlighter application to suit your taste and style. For instance, you could mix a drop of liquid highlighter into your foundation for an all-over subtle glow or layer the powder highlighter over the liquid for a high-impact shine. The key is to have fun and express yourself through your glow!
Step 10. Practice and Perfect:
The more you use your Laura Geller highlighter, the better you will apply it. Practice makes perfect, so don’t be discouraged if you don’t get it right the first time. Remember, the goal is not perfection but to accentuate your natural beauty. So keep practicing, experimenting, and, most importantly, enjoy the process. Soon, you will master the art of highlighting and effortlessly create that radiant, glowing look you’ve always desired.

By following these easy steps, you can be sure to achieve a stunning highlight with your Laura Geller highlighter for maximum effect! So go ahead and get glowing with this magical product today.
5 Additional Tips and Tricks
- Layering: Try layering the Laura Geller highlighter to achieve a more intense glow. Start with a light dusting, then build up to your desired level of radiance.
- Highlighter Before Foundation: Apply the Laura Geller highlighter before your foundation. This will create a “lit from within” glow that looks incredibly natural.
- Mix With Moisturizer: For a subtle, all-over glow, mix a small amount of the Laura Geller highlighter with your moisturizer or foundation before applying.
- Choose the Right Brush: Use a fan brush for a delicate application or a denser brush for a more concentrated highlight.
- Highlight Key Areas: Remember to apply the highlighter to the high points of your face, such as the tops of your cheekbones, brow bones, and down the bridge of your nose for a well-defined, radiant look.
These tips and tricks are designed to assist you in maximizing the potential of your Laura Geller highlighter. By incorporating these strategies into your daily makeup routine, you can achieve a range of looks, from a subtle, natural glow to an intense, evening-ready radiance.
5 Things You Should Avoid
- Over-application: Avoid using too much highlighter, as it can create an overly shiny look and may even emphasize pores and imperfections.
- Wrong Shade: Using a shade that is too light or too dark for your skin tone can create a stark contrast, making your makeup look unnatural.
- Ignoring Your Skin Type: Those with oily skin should avoid liquid highlighters, while those with dry skin should avoid powder formulas to prevent a cakey finish.
- Applying Everywhere: Highlighter emphasizes certain features, not your entire face. Avoid applying it to areas where you wouldn’t naturally glow.
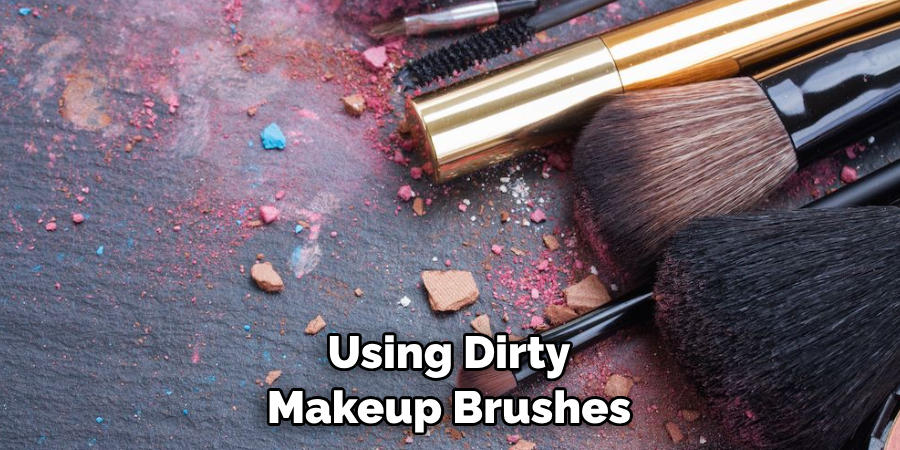
- Using Dirty Brushes: Using dirty makeup brushes leads to poor application and can cause breakouts. Ensure your brushes are clean before use.
Avoiding these common pitfalls can enhance the effectiveness of your Laura Geller highlighter, helping you achieve a perfect, luminous finish every time.
Should Highlighter Be Darker or Lighter Than Skin Tone?
The ideal shade of highlighter should be one to two shades lighter than your skin tone. Too dark, and the effect won’t be as luminous; too light will appear unnatural. Experimenting with different shades is recommended until you find the perfect match for your complexion. Using Laura Geller’s range of highlighting products makes this process easy, as they come in various shades to suit all skin tones. So, take your time and find the perfect shade for you!
Using the Laura Geller highlighter should be a fun part of your makeup routine. With the help of these tips and tricks, you can create an impeccable glowing finish that will last all day long!
Which Colour Face Highlighter is Best?
The best color of highlighter for your face will depend on your skin tone and preference. Generally, lighter shades such as pink, champagne, or gold are suitable for fair to medium complexions, while deeper shades such as bronze, copper, or rose gold work better for darker skin tones. Laura Geller’s range of highlighting products contains a variety of shades that can create a range of looks, from subtle to dramatic. You can achieve a beautiful, radiant finish with the right shade and application techniques.
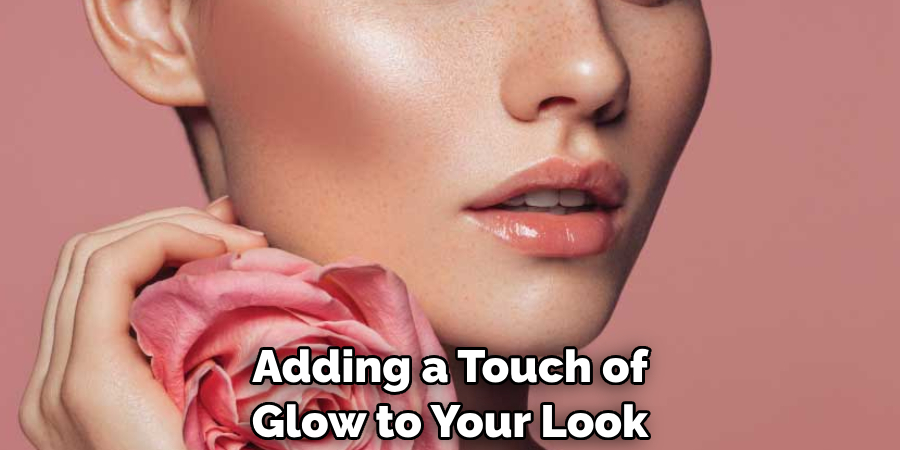
Another when it comes to adding a touch of glow to your look, the Laura Geller highlighter is an essential piece of your makeup arsenal. With the right techniques and tricks, you can create a range of looks, from subtle to dramatic, that will make you look radiant in no time. So, try out these tips today and unleash your inner glow goddess!
Conclusion
To conclude, Laura Gellar’s highlighter is versatile and easy to use for any makeup routine. You can apply it on the cheekbones and brow bones to create a soft, subtle glow – or mix it with body emollient for a dewy, all-over bronzing effect. It can be used alone, as an eyeshadow, blush, or mixed with your moisturizer or lotion.
No matter how you choose this product, the result will be a luminous look that flatters your skin tone and captures light beautifully. Give Laura Gellar’s highlighter a try today and experience the transformation for yourself!
Hopefully, the article on how to use laura geller highlighter has been helpful, and you now have a better understanding of how to use it. Thanks for reading!
About the Author
Jane Hubbard is a passionate beauty expert with a wealth of experience in makeup, hair, and overall beauty techniques. After years of working as a hairdresser specialist, she followed her entrepreneurial spirit and started her own consultancy business.
Jane has always been driven by her desire to help others feel confident in their own skin, and she does this by sharing her knowledge, experiences, and practical beauty tips. Through her consultancy, she empowers individuals to embrace their unique beauty, offering tailored guidance that boosts both self-esteem and personal style.
Professional Focus
Specializes in makeup, hairstyling, and beauty consulting.
Provides personalized beauty advice, tips, and techniques to help individuals feel confident in their appearance.
Dedicated to staying up-to-date with the latest industry trends and developments.
Passionate about creating a comfortable and empowering experience for every client.
Education History
University of Craft and Design – Bachelor of Fine Arts (BFA) in Woodworking and Furniture Design
Woodworking Apprenticeships – Extensive hands-on training with skilled craftsmen to refine carpentry and furniture making techniques
Online Courses & Masterclasses – Continued education in advanced woodworking techniques, design principles, and specialized tools
Expertise:
Makeup artistry, hairstyling, and beauty consulting.
Personalized beauty techniques to enhance confidence and self-expression.
Educating clients on how to maintain their beauty routines at home.