

Washing your makeup brushes is often the most neglected step in a beauty routine. You invest in a high-quality foundation, perfect your blending techniques, and spend time curating the best skincare products.
Yet, if you apply those products with dirty tools, you compromise both your skin health and your makeup application.
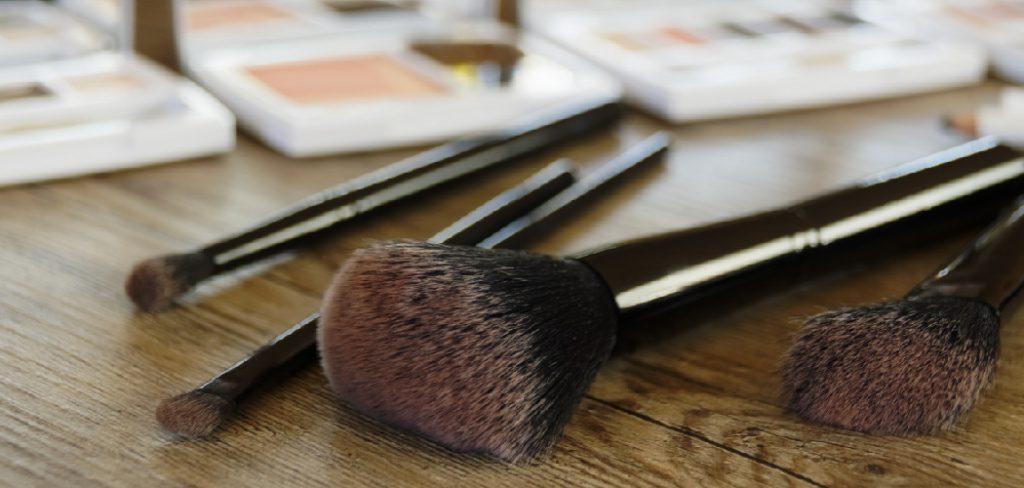
This guide breaks down exactly how to use makeup brush cleaner to keep your tools in perfect condition. We will explore the benefits of regular cleaning, provide a checklist of necessary supplies, and walk you through a detailed ten-step process to ensure your bristles stay soft, clean, and ready for flawless application.
What Are the Benefits of Cleaning Your Brushes?
Regularly cleaning your makeup brushes offers several distinct advantages that improve both your skincare and makeup results. First, it prevents breakouts. Brushes trap oils, dead skin cells, and bacteria. When you reuse a dirty brush, you spread these impurities across your face, which often leads to clogged pores and acne.
Second, clean brushes ensure better makeup application. Product buildup makes bristles stiff and clumpy. This prevents smooth blending and often results in streaky foundation or muddy eyeshadow. Finally, frequent cleaning extends the lifespan of your brushes. Removing dried liquids and powders keeps the bristles conditioned and prevents them from shedding, protecting your investment for years to come.
What Will You Need?
Before you begin the cleaning process, gather all your materials. Having everything within reach makes the process efficient and prevents water from dripping across your bathroom.
- A high-quality liquid or solid makeup brush cleaner
- A clean, dry microfiber towel or paper towels
- A textured silicone brush cleansing mat or glove (optional but highly recommended)
- Access to a sink with running water
- A small bowl (if you prefer the dipping method)
- Brush guards or covers (to maintain shape while drying)
10 Easy Steps on How to Use Makeup Brush Cleaner
Step 1: Prepare Your Workspace and Gather Your Supplies
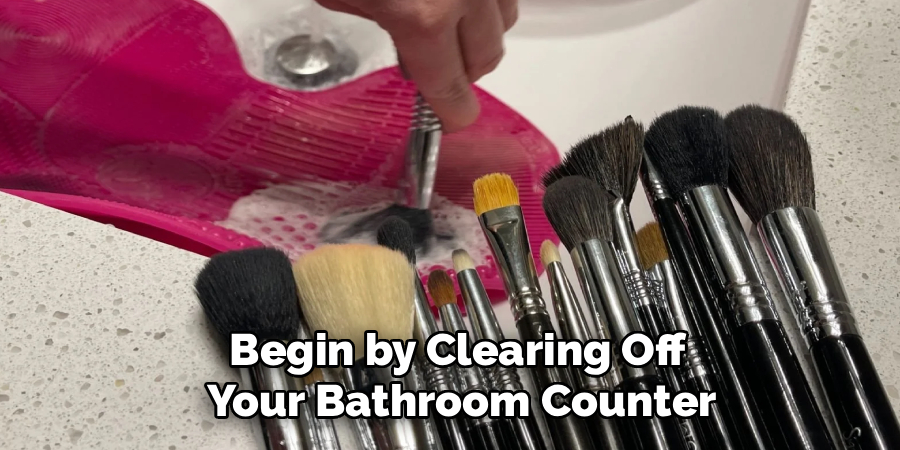
Begin by clearing off your bathroom counter so you have plenty of room to work. Lay out your clean microfiber towel or layered paper towels on a flat surface next to the sink. This towel will serve as the drying station for your clean brushes. Organize your dirty brushes by size, separating the larger face brushes from the smaller eye brushes. Washing them in order of size helps you manage your time and cleaning solution efficiently. Ensure your makeup brush cleaner and silicone cleansing mat are within arm’s reach so you do not have to search for them with wet hands.
Step 2: Wet the Bristles with Lukewarm Water
Turn on your faucet and adjust the temperature until the water feels lukewarm. Never use hot water, as it can melt the glue holding the bristles together. Hold your first brush at a slight downward angle under the running water. Allow the stream to thoroughly saturate the bristles. You must keep the brush angled downward to prevent water from seeping into the ferrule—the metal piece connecting the bristles to the handle. If water pools inside the ferrule, it loosens the glue and causes severe shedding over time.
Step 3: Apply the Makeup Brush Cleaner
Once the bristles are fully saturated, it is time to apply your chosen makeup brush cleaner. If you use a liquid cleanser, dispense a dime-sized amount directly into the palm of your hand or directly onto the wet bristles. For larger foundation brushes, you might need a quarter-sized amount. If you use a solid balm cleaner, gently swirl the wet brush directly into the balm until the bristles pick up a generous amount of soap. Ensure the cleaner coats the bristles evenly, especially focusing on the center of dense brushes where makeup tends to hide.
Step 4: Lather and Massage the Bristles Gently
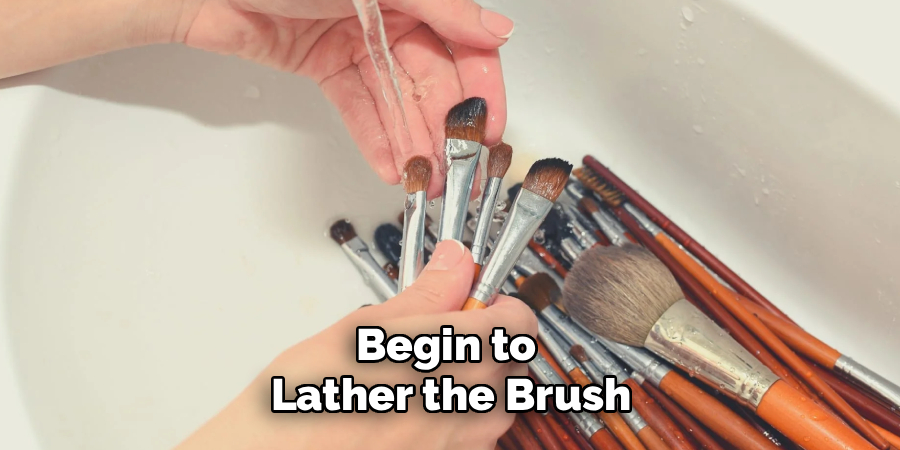
With the cleaner applied, begin to lather the brush. Use your fingers to gently massage the soap into the bristles. Work the lather from the base of the brush head down to the tips. Avoid pulling or tugging on the hairs, as this can permanently alter the shape of the brush. You will notice the soap suds turning the color of your foundation, blush, or eyeshadow. Continue this gentle massaging motion until you feel the soap has penetrated the deepest layers of the brush head, breaking up the stubborn makeup residue trapped inside.
Step 5: Use a Silicone Cleansing Mat for Deep Cleaning
For a more thorough clean, utilize a textured silicone cleansing mat or glove. Hold the mat in one hand or secure it to the bottom of your sink. Press the soapy brush lightly against the textured surface and move it in gentle, circular motions. The small nubs and ridges on the silicone mat act as tiny scrubbers, reaching deep between the bristles to push out packed-in powder and liquid foundation. Be careful not to press too hard, as vigorous scrubbing can cause the bristles to splay or break.
Step 6: Rinse Thoroughly Under Running Water
After loosening the makeup, return the brush to the stream of lukewarm water. Keep the brush angled downward, just as you did in the second step. Gently squeeze the bristles from the base to the tip while the water runs over them. This motion helps push the soapy, dirty water out of the brush. Continue rinsing until the water running through the bristles is completely clear. Any leftover soap will leave a stiff residue on the bristles once they dry, which ruins the brush’s texture and makes future makeup application difficult.
Step 7: Check for Remaining Makeup Residue
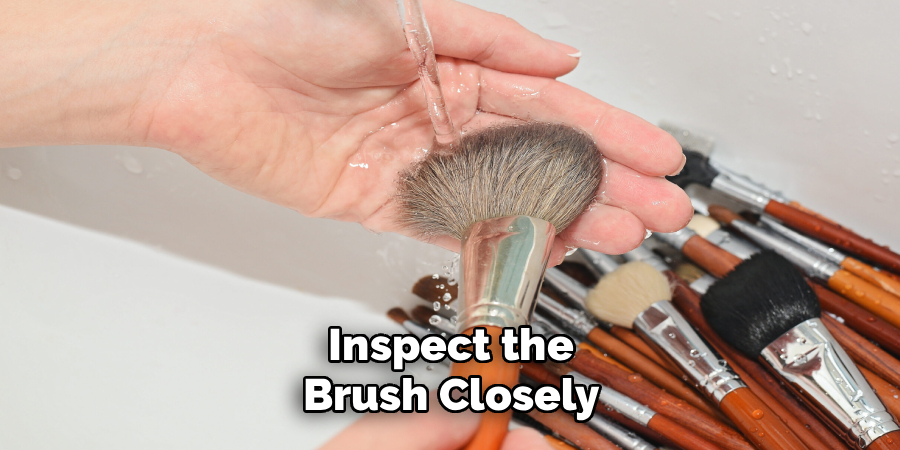
Once the water runs clear, inspect the brush closely to ensure it is entirely clean. Part the bristles gently with your fingers and look near the center and base of the brush head. Dense kabuki brushes and foundation brushes often hold onto a core of makeup even after a thorough initial wash. If you spot any remaining color or product buildup, you must repeat steps three through six. Apply a small amount of cleaner, massage the bristles, use your cleansing mat, and rinse again until absolutely no makeup remains.
Step 8: Squeeze Out Excess Water Carefully
When the brush is completely clean and rinsed free of soap, turn off the faucet. Take the brush in your hand and gently wrap your fingers around the base of the bristles. Squeeze firmly but gently, pulling your fingers toward the tips of the hairs to expel as much excess water as possible. Do not wring or twist the bristles, as this twisting motion snaps the delicate hairs and damages the brush’s structural integrity. Removing this excess moisture drastically reduces the overall drying time and prevents mildew.
Step 9: Reshape the Brush Heads
While the bristles are still damp, you need to restore the brush to its original form. Use your fingers to smooth the hairs back into their proper shape. Pinch the tips of flat brushes so they form a crisp edge, and gently cup fluffy powder brushes so they retain their rounded dome shape. If you have brush guards—small, breathable mesh sleeves—slip them over the damp bristles now. Shaping the brushes while they are wet ensures they dry beautifully and perform exactly as they did when you first bought them.
Step 10: Dry the Brushes Flat or Upside Down
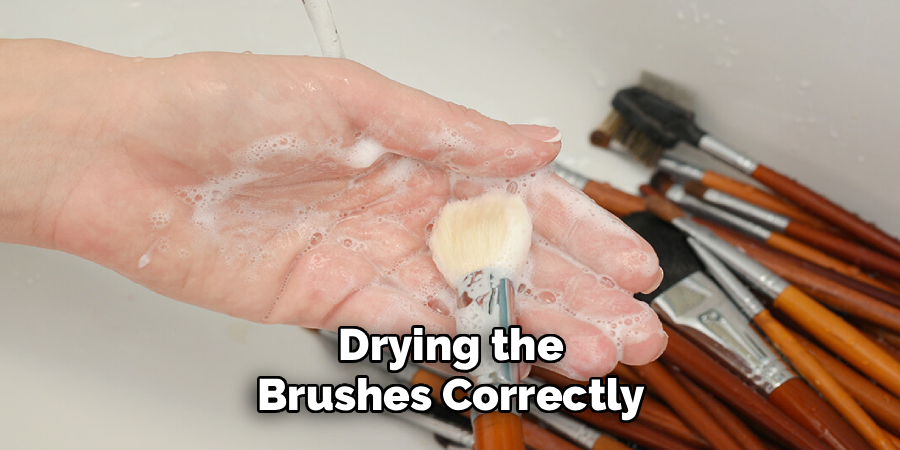
The final and most crucial step is drying the brushes correctly. Lay the reshaped brushes flat on the clean towel you prepared in step one. Ensure the brush heads hang slightly over the edge of the counter to allow proper air circulation entirely around the bristles. Alternatively, you can use a specialized brush drying rack that hangs the brushes completely upside down. Never stand your wet brushes upright in a cup. Gravity will pull the remaining moisture down into the ferrule, rotting the wood handle and destroying the glue. Allow them to air dry overnight.
5 Things You Should Avoid
- Never Use Hot Water: Scalding water melts the glue inside the ferrule, causing the brush to shed bristles rapidly.
- Avoid Soaking the Brushes: Leaving brushes submerged in a bowl of water allows liquid to seep into the handle, leading to wood expansion and loose ferrules.
- Do Not Dry Brushes Upright: Standing wet brushes in a cup forces water down into the base, which destroys the adhesive and can cause mold growth.
- Avoid Harsh Dish Soaps: While effective on grease, heavy-duty dish detergents strip natural hair brushes of their essential moisture, leaving them brittle and scratchy.
- Never Use a Hairdryer: Blasting wet bristles with artificial heat warps synthetic fibers and fries natural hairs, permanently ruining the shape and texture of the brush.
Conclusion
Mastering how to use makeup brush cleaner transforms a tedious chore into a highly rewarding maintenance routine.
By understanding the correct techniques—from properly angling the brush to utilizing a silicone mat—you ensure your tools remain in pristine condition. Avoid common mistakes like upright drying and hot water, and stick to a consistent cleaning schedule. Your skin will thank you with fewer breakouts, your makeup will apply flawlessly, and your favorite brushes will last significantly longer.
Make this simple process a regular part of your beauty regimen starting today.

About the Author
Jane Hubbard is a passionate beauty expert with a wealth of experience in makeup, hair, and overall beauty techniques. After years of working as a hairdresser specialist, she followed her entrepreneurial spirit and started her own consultancy business.
Jane has always been driven by her desire to help others feel confident in their own skin, and she does this by sharing her knowledge, experiences, and practical beauty tips. Through her consultancy, she empowers individuals to embrace their unique beauty, offering tailored guidance that boosts both self-esteem and personal style.
Professional Focus
Specializes in makeup, hairstyling, and beauty consulting.
Provides personalized beauty advice, tips, and techniques to help individuals feel confident in their appearance.
Dedicated to staying up-to-date with the latest industry trends and developments.
Passionate about creating a comfortable and empowering experience for every client.
Education History
University of Craft and Design – Bachelor of Fine Arts (BFA) in Woodworking and Furniture Design
Woodworking Apprenticeships – Extensive hands-on training with skilled craftsmen to refine carpentry and furniture making techniques
Online Courses & Masterclasses – Continued education in advanced woodworking techniques, design principles, and specialized tools
Expertise:
Makeup artistry, hairstyling, and beauty consulting.
Personalized beauty techniques to enhance confidence and self-expression.
Educating clients on how to maintain their beauty routines at home.