
Are you tired of the same old color on your wig? Do you want to add a pop of color without spending a fortune at the salon? Water dyeing your wig might just be the solution for you!
Water dyeing is an easy and affordable way to give your wig a new look. It involves using water-based fabric dyes to change or enhance the color of synthetic wigs. This method works best with lighter-colored wigs but can also be used on darker shades for subtle changes.
Whether you want to refresh an old wig or experiment with a new hue, water dyeing is a relatively simple process that yields impressive results. In the following sections, we’ll guide you through the materials needed and the step-by-step process of how to water dye a wig.
What Will You Need?
Before diving into the process, gathering all the necessary materials is essential. Here are some things you’ll need:
- A synthetic wig
- Water-based fabric dye (make sure it is suitable for synthetic fibers)
- Large bowl or sink
- Towels
- Gloves
- Plastic wrap
- Hair clips or pins
Once you have all the materials ready, it’s time to get started!
10 Easy Steps on How to Water Dye a Wig
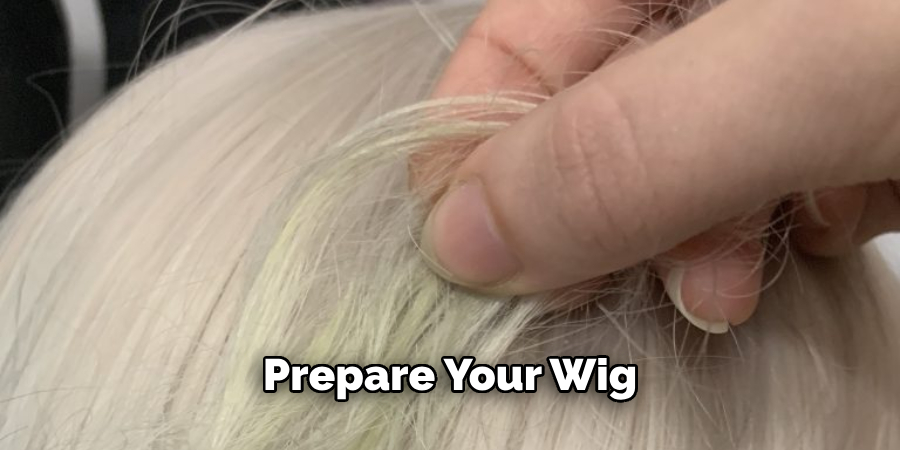
Step 1: Prepare Your Wig
Start by ensuring that your wig is clean and free from any oils or styling products. This helps the dye adhere better to the fibers. Gently wash the wig with a mild shampoo and then rinse thoroughly with cold water. After rinsing, blot the wig dry using a towel, but avoid rubbing as this can damage the synthetic fibers. Allow the wig to air dry completely before proceeding to the next step.
Once the wig is dry, place it on a wig stand. This will help in keeping the shape intact while you work on it. Use hair clips or pins to section the wig into manageable parts. This will make the dyeing process easier and ensure that the dye is evenly applied. Be sure to cover your work area with plastic wrap to protect it from stains and put on a pair of gloves to protect your hands from the dye. Now, your wig is prepped and ready for dyeing.
Step 2: Mix the Dye
Fill a large bowl or sink with hot water, but not boiling, as extreme heat can damage synthetic wigs. Follow the instructions on your water-based fabric dye to determine the right amount of dye to use. Generally, a few tablespoons of dye should be enough for a medium-length wig. Stir the dye into the water until it is fully dissolved, making sure there are no lumps. The water should have a consistent color throughout.
Step 3: Test the Dye
Before fully immersing your wig, it’s a good idea to do a patch test. Dip a small section of the wig into the dye bath and leave it for a few minutes to see how the color turns out. If you are satisfied with the shade, you can proceed. If not, you may need to adjust the concentration of the dye by adding more dye for a deeper color or diluting it with more water for a lighter shade. As a general rule, the longer you leave the wig in the dye bath, the more intense the color will be.
Step 4: Dip the Wig
Carefully submerge the wig into the dye bath. You can use a pair of tongs to avoid splashing and ensure even dye distribution. Gently move the wig around in the dye bath to make sure all strands are covered. Let the wig soak for 10-30 minutes, depending on the depth of color you desire. Check the wig periodically to ensure the color is developing as you want. If needed, use a spoon to rearrange the wig so that all parts are uniformly submerged.
Step 5: Rinse the Wig
Once your wig has reached the desired shade, carefully remove it from the dye bath. Rinse the wig under cold running water to remove any excess dye. It’s important to be thorough during this step to ensure that all the dye is washed out, as leftover dye can transfer to clothing or skin. Continue rinsing until the water runs clear.
Be gentle while rinsing to avoid tangling or damaging the fibers. Holding the wig at the base and allowing the water to flow in the direction of the hair strands can help maintain the wig’s natural fall and minimize tangling. After rinsing, gently blot the wig with a towel to remove excess water. Avoid wringing or rubbing the wig, which can cause the fibers to fray or break.
Step 6: Condition the Wig
To keep your wig in optimal condition, apply a wig conditioner specifically designed for synthetic fibers. Conditioning helps to restore any lost moisture and keeps the wig soft and shiny. Spread a small amount of conditioner evenly through the wig, avoiding the base to prevent loosening any wefts. Leave the conditioner in for a few minutes, then rinse thoroughly with cold water until all product is removed.
Step 7: Dry the Wig
After conditioning, blot the wig with a towel to remove excess moisture. Place the wig on a wig stand or a mannequin head to air dry completely. Ensure that it is in a well-ventilated area away from direct sunlight and heat sources, as these can damage the synthetic fibers. Allow the wig to dry naturally to retain its shape and texture. Avoid using a blow dryer as the heat can cause the fibers to melt or become frizzy.
Step 8: Style the Wig
Once the wig is completely dry, you can style it according to your preferences. Use a wide-tooth comb or a wig brush designed for synthetic hair to detangle the wig gently. You can also use heatless styling tools to add curls or waves. Remember, synthetic wigs are not heat-friendly unless they are specifically labeled as such. If your wig is heat-resistant, use the lowest heat setting on your styling tools to avoid damage.
Step 9: Maintain the Wig
To prolong the lifespan of your newly dyed wig, handle it with care. When not in use, store it on a wig stand or in a breathable bag to maintain its shape and prevent tangling. Avoid exposing the wig to excessive heat, humidity, or harsh weather conditions. Regularly wash and condition the wig to keep it looking fresh and vibrant.
Step 10: Enjoy Your New Look
Your water-dyed wig is now ready to wear! Experiment with different hairstyles or accessories to complement your new color. Enjoy the fresh look and have fun showcasing your creativity. Whether you’re wearing the wig for a special occasion or as a daily change, your custom-colored wig will make a statement.
By following these simple steps, you can easily dye your synthetic wig at home and achieve professional-looking results.

5 Things You Should Avoid
- Skipping the Patch Test: Never skip the patch test. This helps you determine how the dye reacts with your wig and ensures there are no unforeseen color mishaps. Additionally, it’s crucial to ensure you’re not allergic to any of the dye ingredients if you’re handling the dye with your bare hands.
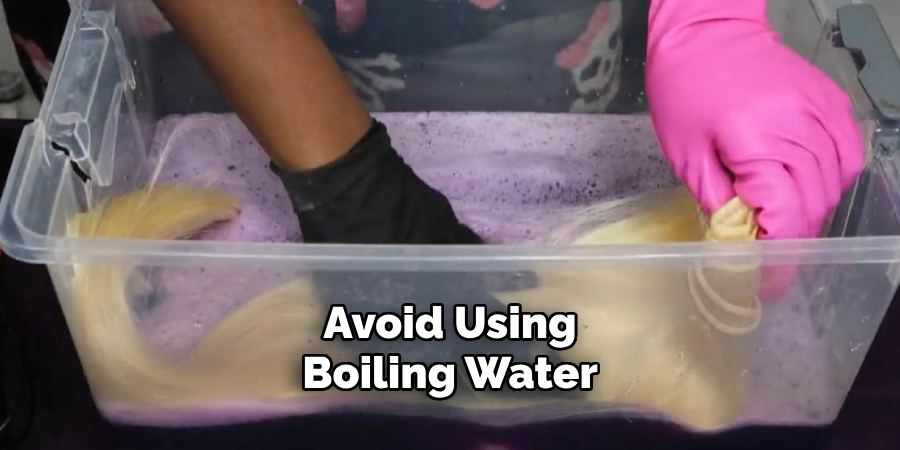
- Using Boiling Water: Avoid using boiling water for the dyeing process. Boiling water can irreparably damage the wig fibers, especially if the wig is synthetic. Stick to warm water to ensure the dye penetrates effectively without harming the wig.
- Overlapping Dye Jobs: Don’t dye over a previously dyed wig without properly assessing its condition. Continuously adding layers of dye can result in a brittle wig with uneven colors. It’s better to strip the old dye first, if possible, to ensure a fresh and clean dye application.
- Neglecting Aftercare: Failing to care for your dyed wig properly can result in a faded, lackluster appearance. Avoid using regular shampoos and conditioners as they can strip the color. Stick to products specifically designed for color-treated hair to maintain vibrancy.
- Rushing the Process: Dyeing a wig requires patience and precision. Avoid rushing through the steps, which can lead to mistakes and uneven color. Allocate ample time to follow each step thoroughly and let the wig dry completely before styling.
By avoiding these common mistakes, you can ensure a beautiful and vibrant dye job that enhances the longevity and appearance of your wig.
Conclusion
How to water dye a wig can be an advantageous and creative process if done correctly.
By following the structured steps outlined in this guide—from preparing your workspace and materials to carefully dyeing, rinsing, and conditioning the wig—you can achieve stunning, professional-looking results from the comfort of your home. To maintain the wig’s vibrant color and integrity, it’s crucial to avoid common pitfalls such as skipping the patch test, using boiling water, and neglecting aftercare.
With patience and attention to detail, you can transform a plain synthetic wig into a customized fashion statement that fits your personal style, ensuring longevity and continuous enjoyment of your new look.
About the Author
Jane Hubbard is a passionate beauty expert with a wealth of experience in makeup, hair, and overall beauty techniques. After years of working as a hairdresser specialist, she followed her entrepreneurial spirit and started her own consultancy business.
Jane has always been driven by her desire to help others feel confident in their own skin, and she does this by sharing her knowledge, experiences, and practical beauty tips. Through her consultancy, she empowers individuals to embrace their unique beauty, offering tailored guidance that boosts both self-esteem and personal style.
Professional Focus
Specializes in makeup, hairstyling, and beauty consulting.
Provides personalized beauty advice, tips, and techniques to help individuals feel confident in their appearance.
Dedicated to staying up-to-date with the latest industry trends and developments.
Passionate about creating a comfortable and empowering experience for every client.
Education History
University of Craft and Design – Bachelor of Fine Arts (BFA) in Woodworking and Furniture Design
Woodworking Apprenticeships – Extensive hands-on training with skilled craftsmen to refine carpentry and furniture making techniques
Online Courses & Masterclasses – Continued education in advanced woodworking techniques, design principles, and specialized tools
Expertise:
Makeup artistry, hairstyling, and beauty consulting.
Personalized beauty techniques to enhance confidence and self-expression.
Educating clients on how to maintain their beauty routines at home.