
Are you tired of spending money at the salon to touch your roots? Are you looking for a more cost-effective way to maintain your hair color? Look no further; we have the perfect solution for you – touching up roots with bleach at home.
How to touch up roots with bleach can be an effective way to maintain a bright, even hair color between full bleaching sessions. Over time, natural root regrowth becomes visible, contrasting with previously bleached hair. By carefully bleaching the roots, you can achieve a seamless blend and maintain your desired look. However, this process requires precision, attention to detail, and the proper tools to avoid overlapping bleach on already processed hair, which can lead to damage.
This guide will walk you through the steps to safely and effectively touch up your roots while protecting the health of your hair.
What Are the Benefits of Touching Up Roots With Bleach?
Apart from saving time and money, there are other benefits to touching up roots with bleach at home.
- Customization: When you go to a salon for root touch-ups, you may not always get your desired result. By doing it yourself, you have complete control over the amount of bleach used and the application process, ensuring you achieve the exact color and coverage you want.
- Convenience: With busy schedules and limited salon availability, finding time for regular root touch-up appointments can be challenging. Doing it at home allows you to work around your schedule.
- Cost-effectiveness: Salon visits for root touch-ups can add up, but you can save money in the long run by doing it yourself.
- Skill development: Learning to touch roots with bleach requires practice and skill. By doing it at home, you can improve your technique and become more confident in managing your own hair color.
What Will You Need?
Before you start, gathering all the necessary tools and products is essential. Here is a list of items you will need:
- Bleaching Powder: Choose a high-quality bleaching powder with a lower level of peroxide, as this will minimize damage to your hair.
- Developer: This is combined with the bleaching powder, and it’s crucial to choose one suitable for your hair type and desired result.
- Hair Color Brush: This is used to apply the bleach to the roots precisely.
- Gloves: Wear gloves to protect your hands from coming into contact with the bleach.
- Sectioning Clips or Ties: These will come in handy for dividing your hair into manageable sections and preventing any overlapping of bleach.
- Toner: After bleaching, toner can help neutralize unwanted brassy tones and achieve a more even color.
- Conditioning treatment: Bleaching can be harsh on your hair, so it’s essential to use a deep conditioning treatment afterward to restore moisture and nourish your strands.
Once you have all the necessary tools and products, it’s time to begin the process.
10 Easy Steps on How to Touch Up Roots With Bleach
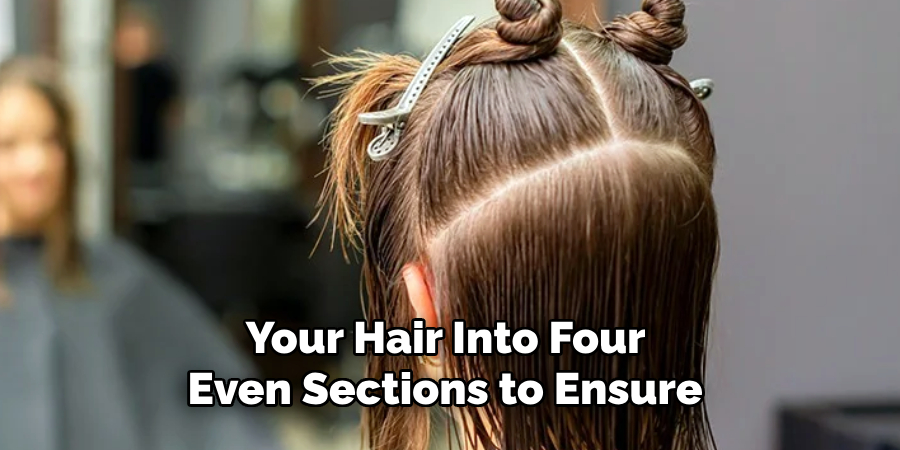
Step 1. Section Your Hair:
Start by dividing your hair into four even sections to ensure an organized and precise application. Use sectioning clips or ties to hold each section securely in place. Start by parting your hair down the middle from your forehead to the nape of your neck, and then make a horizontal part from ear to ear, creating four quadrants. This method helps you work systematically and ensures that no area is missed. Taking the time to section your hair properly makes the bleaching process more efficient. It reduces the risk of overlapping bleach, which can cause uneven lightening or damage to previously treated hair.
Step 2. Mix the Bleaching Powder and Developer:
To begin, gather a non-metallic mixing bowl and a tint brush to prepare the bleach mixture. Using the instructions provided with your bleaching product, measure the correct bleaching powder and developer ratios. Typically, a 1:2 ratio (one-part bleaching powder to two-part developer) is recommended, but always double-check the specific guidelines for your product.
Gradually add the developer into the bowl with the powder, mixing thoroughly to achieve a smooth, lump-free consistency. The developer’s strength—usually 10, 20, 30, or 40 volume—will depend on the level of lightening you wish to achieve and your hair’s natural color and condition. Avoid overmixing, as this may activate the bleach too quickly, and remember to wear gloves throughout the process to protect your hands. Once the mixture is ready, you should aim to apply it immediately for maximum effectiveness.
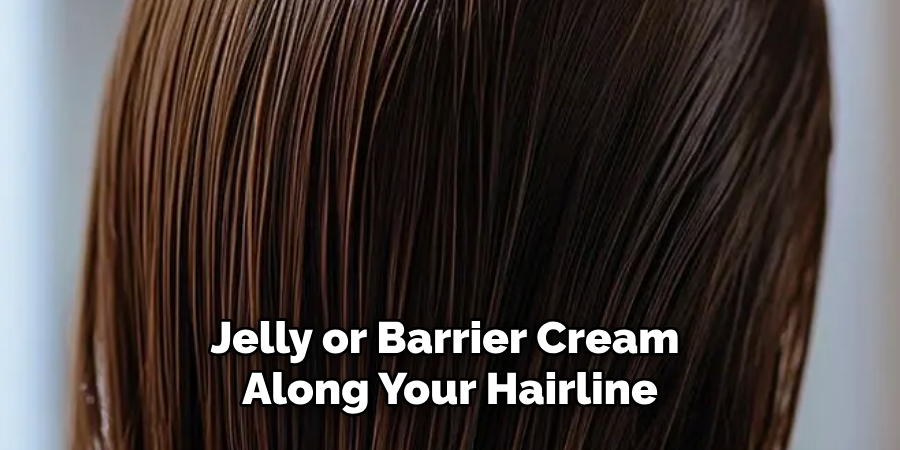
Step 3. Protect Your Skin:
Before applying the bleach mixture, take precautions to shield your skin from irritation or chemical burns. Begin by applying a generous layer of petroleum jelly or barrier cream along your hairline, ears, neck, and other areas that may come into contact with the bleach. This will create a protective layer and prevent the chemicals from causing discomfort or redness. Additionally, wear an old shirt or a protective cape to avoid staining your clothes. Using a towel around your shoulders can further help protect your skin and catch accidental drips during application. If bleach comes into contact with your skin, wipe it off immediately with a damp cloth and rinse thoroughly with cool water.
Step 4. Put on Your Gloves:
Putting on gloves is essential to protect your hands from the strong chemicals in the bleach mixture. Use high-quality, disposable gloves made of latex, nitrile, or rubber to ensure durability and a snug fit. Ensure the gloves are free from tears or holes before beginning the bleaching process, as exposure to bleach can cause skin irritation, burns, or dryness. Gloves will also prevent the bleach from staining your hands and nails, which can be challenging to clean. After putting them on, double-check the fit and flexibility to ensure they won’t inhibit your ability to apply the bleach mixture smoothly and precisely. Properly worn gloves will keep your hands safe, clean, and free from chemical exposure.
Step 5. Start Applying the Bleach:
Once you have prepared your workspace, donned your gloves, and mixed the bleach solution, you are ready to begin applying the bleach. Start with a small test area in an inconspicuous spot to ensure your chosen bleach mixture does not cause discoloration or damage. Use a brush or sponge for precise application, moving evenly and methodically to avoid streaks or uneven tones. Apply the bleach in sections, working in manageable areas to maintain control and ensure complete coverage. Be mindful of the recommended timing for your specific bleach product, as leaving the solution on for too long can damage surfaces or fibers.

Step 6. Rinse Thoroughly and Neutralize:
After the recommended time has elapsed, it’s crucial to rinse the bleached area thoroughly with clean water to remove any residual bleach. Use a damp cloth or sponge to wipe down the surface, ensuring all solution traces are eliminated. For certain surfaces or fabrics, consider using a neutralizer to halt the chemical reaction caused by the bleach and prevent further damage. Always follow the manufacturer’s instructions for the bleach product and neutralizer to maintain the integrity of the material.
Step 7. Dry and Inspect the Area:
Once the rinsing and neutralizing process is complete, allow the bleached area to dry completely. Use a clean, dry cloth to gently pat the surface or fabric if needed, or allow it to air dry naturally. After drying, carefully inspect the area to ensure the desired result has been achieved, and there are no residues or uneven spots. If necessary, repeat the process on sections that require additional treatment, always following safety precautions and product guidelines.
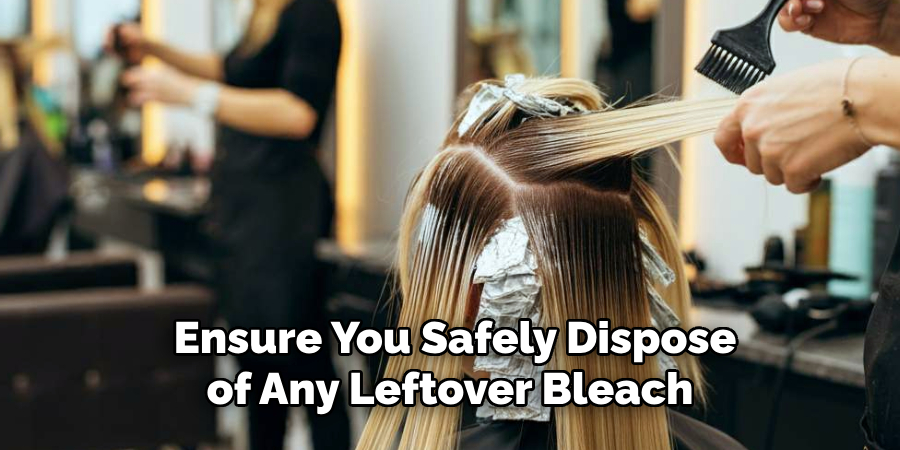
Step 8. Dispose of Materials Safely:
After completing the bleaching process, ensure you safely dispose of any leftover bleach solution, used cloths, and sponges. Dilute any remaining bleach with plenty of water before discarding it down the drain, as this reduces its environmental impact. Dispose of used materials under local waste disposal regulations, mainly if they have come into contact with harsh chemicals. Always clean your tools thoroughly if you plan to reuse them, and store any unused bleach securely in its original container, away from children and pets.
Step 9. Ventilate the Area and Final Check:
Once the bleaching process is complete, ensure the area is well-ventilated to disperse any lingering fumes. Open windows or use fans to circulate fresh air, mainly if the work is done indoors. After ventilation, the treated surfaces are inspected to confirm that the desired results have been achieved and no damage has occurred. Consider light touch-ups or consulting a professional for further assistance if you notice any issues.
Step 10. Maintain Safety and Monitor Results:
After completing the bleaching process, monitor the treated area for any unexpected changes or reactions over the next few days. This is particularly important for porous surfaces, as they may absorb bleach and release fumes later. Always prioritize safety by keeping the area secure and limiting access to children or pets until you are sure it is safe. Maintain proper storage and handling of cleaning products to ensure readiness for future use and to minimize risks.
By following these ten steps, you can successfully and safely bleach various surfaces and fabrics in your home.
Conclusion
Bleaching can be a valuable tool for brightening and revitalizing surfaces and fabrics, but it is essential to follow safety precautions and product guidelines to avoid accidents or damage.
Always wear protective gear, properly prepare the workspace, and test small areas before applying bleach. Monitor the process carefully, rinse and neutralize thoroughly, dispose of materials safely, ventilate the area after completion, and continue to monitor the treated area for any changes.
Hopefully, the article on how to touch up roots with bleach has provided you with helpful information and tips to achieve a successful outcome. Happy bleaching!
About the Author
Jane Hubbard is a passionate beauty expert with a wealth of experience in makeup, hair, and overall beauty techniques. After years of working as a hairdresser specialist, she followed her entrepreneurial spirit and started her own consultancy business.
Jane has always been driven by her desire to help others feel confident in their own skin, and she does this by sharing her knowledge, experiences, and practical beauty tips. Through her consultancy, she empowers individuals to embrace their unique beauty, offering tailored guidance that boosts both self-esteem and personal style.
Professional Focus
Specializes in makeup, hairstyling, and beauty consulting.
Provides personalized beauty advice, tips, and techniques to help individuals feel confident in their appearance.
Dedicated to staying up-to-date with the latest industry trends and developments.
Passionate about creating a comfortable and empowering experience for every client.
Education History
University of Craft and Design – Bachelor of Fine Arts (BFA) in Woodworking and Furniture Design
Woodworking Apprenticeships – Extensive hands-on training with skilled craftsmen to refine carpentry and furniture making techniques
Online Courses & Masterclasses – Continued education in advanced woodworking techniques, design principles, and specialized tools
Expertise:
Makeup artistry, hairstyling, and beauty consulting.
Personalized beauty techniques to enhance confidence and self-expression.
Educating clients on how to maintain their beauty routines at home.