
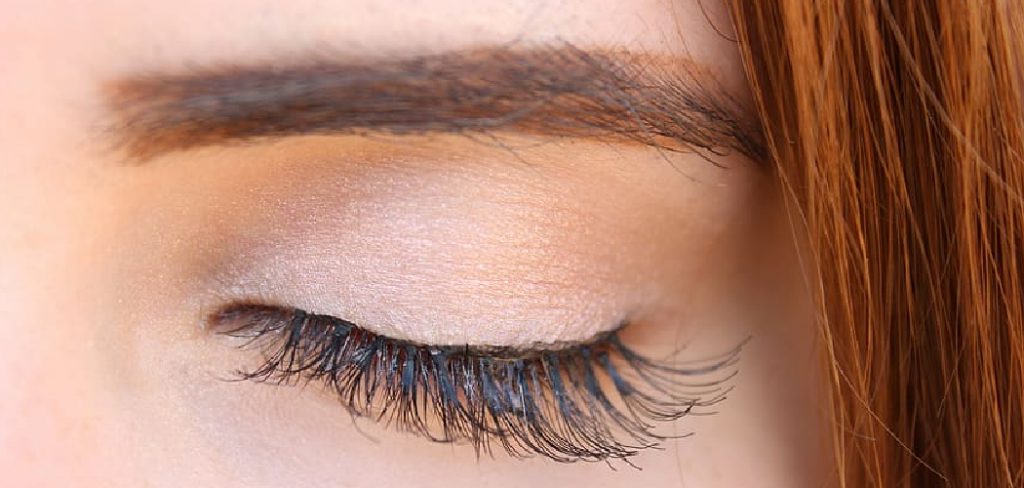
Are you tired of having to apply mascara every day? Do you want fuller, longer lashes without having to spend a fortune on expensive eyelash extensions at the salon? Look no further!
How to make brown eyelash extensions is a meticulous process that combines beauty with precision. These extensions are designed to offer a softer, more natural appearance compared to traditional black lashes, making them an ideal choice for individuals with lighter hair tones or those seeking a more subdued look.
By selecting the right materials, techniques, and shades, you can craft high-quality brown eyelash extensions that enhance the eyes beautifully while maintaining a seamless and natural effect.
This guide on brown eyelash extensions will walk you through the essential steps to make professional-grade brown eyelash extensions.
What Are the Benefits of Brown Eyelash Extensions?
Brown eyelash extensions have several benefits, making them a popular choice. Here are some of the advantages of choosing brown over traditional black extensions:
- A More Natural Look: Brown eyelash extensions blend in better with your natural lashes, making them look fuller and thicker without appearing too dramatic or artificial.
- Complements Lighter Hair Tones: For individuals with blonde, red, or light brown hair, brown lash extensions can define the eyes without overpowering their overall appearance.
- Softer Appearance: Unlike black lash extensions, which tend to give a bold and intense look, brown lashes offer a smoother effect that is perfect for everyday wear.
- Versatile: Brown eyelash extensions can be customized to suit different eye shapes and personal preferences, making them suitable for people of all ages and styles.
With these benefits in mind, let’s dive into the steps to make your own beautiful brown eyelash extensions.
What Will You Need?
- Brown Lashes: Choose high-quality, synthetic lashes in the desired length and thickness. Selecting lashes similar in color to your natural hair for a seamless look is essential. You can also opt for individual lashes or pre-made clusters.
- Lash Adhesive: Invest in a good quality, waterproof lash adhesive that is gentle on the eyes and designed explicitly for eyelash extensions.
- Tweezers: A pair of precision tweezers will help you easily pick up and place lashes.
- Eyelash Primer: Prep your natural lashes by removing any oils or residue from them using an eyelash primer. This step will ensure better adhesion of the extensions to your natural lashes.
- Mascara Wand: You can use a mascara wand to comb through the extensions and blend them with your natural lashes for a more cohesive look.
Now that you have all the necessary materials, let’s start making your brown eyelash extensions.
8 Easy Steps on How to Make Brown Eyelash Extensions
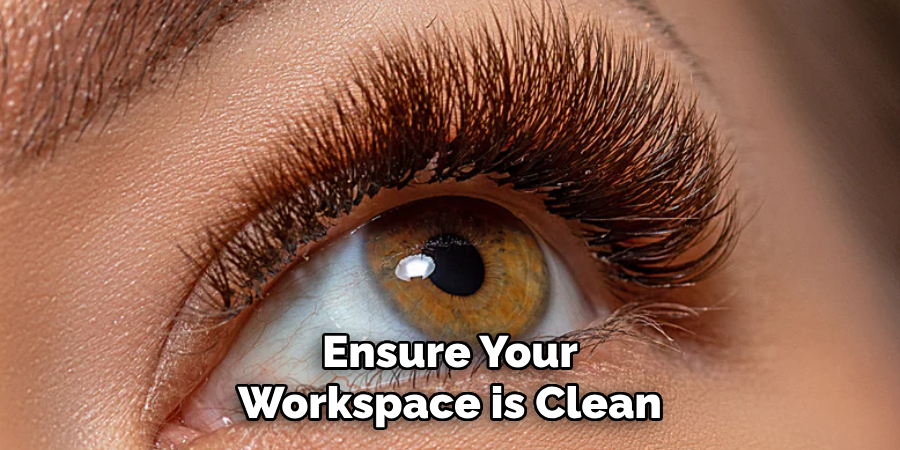
Step 1: Prepare Your Workspace
Ensure your workspace is clean, organized, and well-lit to ensure precision and safety during the application process. Lay out all the tools and materials listed above so they are within easy reach, including your lash adhesive, tweezers, lash extensions, and primer.
Disinfect your tweezers and any reusable tools to maintain proper hygiene. Having a comfortable chair and a steady surface to work on is also essential, as this will help you stay relaxed and focused throughout the process.
If you’re working on someone else, ensure they are in a comfortable position where they can remain still for the duration of the procedure. Proper workspace preparation sets the foundation for a smooth and successful application.
Step 2: Select the Right Lash Extensions
Choose the appropriate brown eyelash extensions that match the desired look and style. Consider the length, thickness, and curl type to achieve a natural or dramatic effect, depending on the preference. Ensure the extensions are made of high-quality material to provide comfortable and long-lasting wear. Having the correct lashes ready will simplify the application process and help deliver the best results.
Step 3: Prepare the Natural Lashes
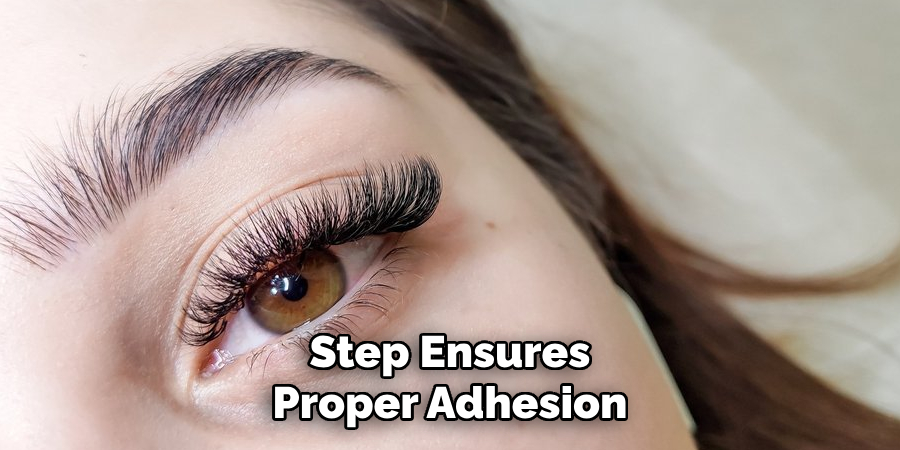
Before applying the extensions, thoroughly clean the natural lashes to remove any makeup, oil, or dirt. Use a gentle, oil-free cleanser and ensure the lashes are completely dry before proceeding.
This step ensures proper adhesion and prevents premature shedding of the lash extensions. Additionally, a lash primer can be used to condition and prep the natural lashes, creating an ideal foundation for the extension application. Proper preparation of the natural lashes enhances the longevity and overall appearance of the final look.
Step 4: Apply the Lash Extensions
Using a pair of precision tweezers, carefully pick up one lash extension at a time, dipping the base into a small amount of lash adhesive. Place the extension on the natural lash, approximately 1-2mm from the eyelid, to prevent irritation.
Begin with the inner corner and work your way outward, ensuring each extension aligns with the natural lash’s direction. Avoid clumping by spacing the extensions evenly and using appropriate lash lengths and thicknesses. Patience and precision during this step are crucial for achieving a flawless, professional look.
Step 5: Dry and Set the Extensions
Once all lash extensions have been applied, allow the adhesive to dry completely. Use a small, handheld fan or an air blower to accelerate drying, ensuring the extensions are securely bonded to the natural lashes. This step helps minimize the risk of shifting or loosening the extensions. To complete the setting process, gently brush through the lashes with a clean mascara wand to separate and align them for a natural and polished look.
Step 6: Check and Finalize the Application
After the adhesive has thoroughly dried, carefully inspect the lash extensions for any inconsistencies or imperfections. Ensure that all extensions are securely attached and aligned with the natural lashes. Remove any stray adhesive or misplaced extensions with precision tweezers if necessary.
Finally, educate the client on proper aftercare practices, such as avoiding oil-based products and excessive moisture for the first 24 hours, to maintain the longevity of the extensions. This final step ensures the client leaves with a flawless result and a clear understanding of caring for their new lashes.
Step 7: Follow-Up and Maintenance
Schedule a follow-up appointment with the client to assess the condition of their lash extensions and address any concerns they may have. Regular maintenance appointments, typically every 2-3 weeks, are essential to refill areas where natural lashes have shed and maintain a full, even look.
Remove any grown-out extensions safely during these appointments and replace them with new ones. Additionally, remind the client about aftercare guidelines, such as avoiding harsh rubbing of the eyes and using lash-safe cleansers to help extend the lifespan of their extensions and ensure their continued satisfaction.
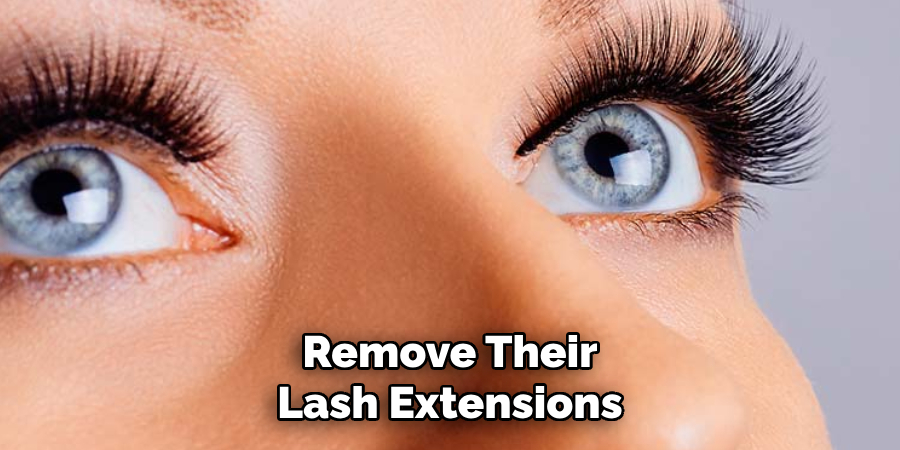
Step 8: Removal of Lash Extensions
When the client decides to remove their lash extensions, it is crucial to ensure the process is performed safely and professionally to prevent damage to their natural lashes. Use a specialized lash adhesive remover to gently dissolve the glue, allowing the extensions to come off without pulling or tugging.
Reassure the client throughout the process and conduct a final check to ensure all extensions are removed. Afterward, a nourishing lash serum or conditioner is recommended to help strengthen and rejuvenate their natural lashes.
By following these 8 easy steps, you can confidently create gorgeous and long-lasting brown eyelash extensions for yourself or your clients.
5 Things You Should Avoid
- Using Poor-Quality Materials: Always ensure the lash extensions and tools are high quality. Subpar materials can lead to breakage, poor adhesion, or an unnatural appearance, compromising the final result.
- Skipping Proper Color Matching: Brown eyelash extensions come in various shades. Avoid choosing a color that doesn’t complement your client’s natural lashes or skin tone, as this can result in a mismatched and unflattering look.
- Neglecting Adhesive Safety: Never use adhesives not explicitly designed for eyelash extensions. Using incorrect or low-quality adhesives can cause irritation, allergic reactions, or poor retention.
- Applying Without Precision: Overlapping lashes or uneven spacing ruins the seamless, natural look. Always take your time to use each lash carefully and ensure symmetry and balance.
- Ignoring Aftercare Advice: After applying the eyelash extensions, failing to provide proper aftercare instructions can lead to quicker wear or damage. Encourage your client to avoid oily products, steam, or excessive rubbing near the lashes.
What Type of Lashes Should You Use?
When choosing the right type of eyelash extensions, there are a few key factors to consider. Firstly, the material used for the lashes can include synthetic, silk, mink, or cashmere. Each material has its unique qualities and feel, so discussing it with your client and determining their preferences is essential.
Next is the curl type – J curl for a natural look, B curl for a more dramatic effect, and C curl for a cat-eye appearance. The length of the extensions should also be chosen based on your client’s natural lash length and desired outcome.
It’s important to remember that every individual has different eye shapes and sizes, so customizing the lash extensions for each client is crucial.
Conclusion
How to make brown eyelash extensions involves careful selection of materials, attention to detail, and customization to meet client needs.
Start by choosing high-quality brown lashes in the desired material, such as silk or synthetic, to ensure a natural and professional finish. Select the appropriate curl type and length that complements your client’s eye shape and preferences. To enhance the brown lashes, consider mixing shades of brown to add dimension or blending them with lighter or darker tones for a subtle, unique effect. Precision in application is key, as this ensures longevity and a flawless appearance.
By tailoring the extensions to each client’s natural features, you can achieve a realistic and stunning result emphasizing their beauty.
About the Author
Jane Hubbard is a passionate beauty expert with a wealth of experience in makeup, hair, and overall beauty techniques. After years of working as a hairdresser specialist, she followed her entrepreneurial spirit and started her own consultancy business.
Jane has always been driven by her desire to help others feel confident in their own skin, and she does this by sharing her knowledge, experiences, and practical beauty tips. Through her consultancy, she empowers individuals to embrace their unique beauty, offering tailored guidance that boosts both self-esteem and personal style.
Professional Focus
Specializes in makeup, hairstyling, and beauty consulting.
Provides personalized beauty advice, tips, and techniques to help individuals feel confident in their appearance.
Dedicated to staying up-to-date with the latest industry trends and developments.
Passionate about creating a comfortable and empowering experience for every client.
Education History
University of Craft and Design – Bachelor of Fine Arts (BFA) in Woodworking and Furniture Design
Woodworking Apprenticeships – Extensive hands-on training with skilled craftsmen to refine carpentry and furniture making techniques
Online Courses & Masterclasses – Continued education in advanced woodworking techniques, design principles, and specialized tools
Expertise:
Makeup artistry, hairstyling, and beauty consulting.
Personalized beauty techniques to enhance confidence and self-expression.
Educating clients on how to maintain their beauty routines at home.