
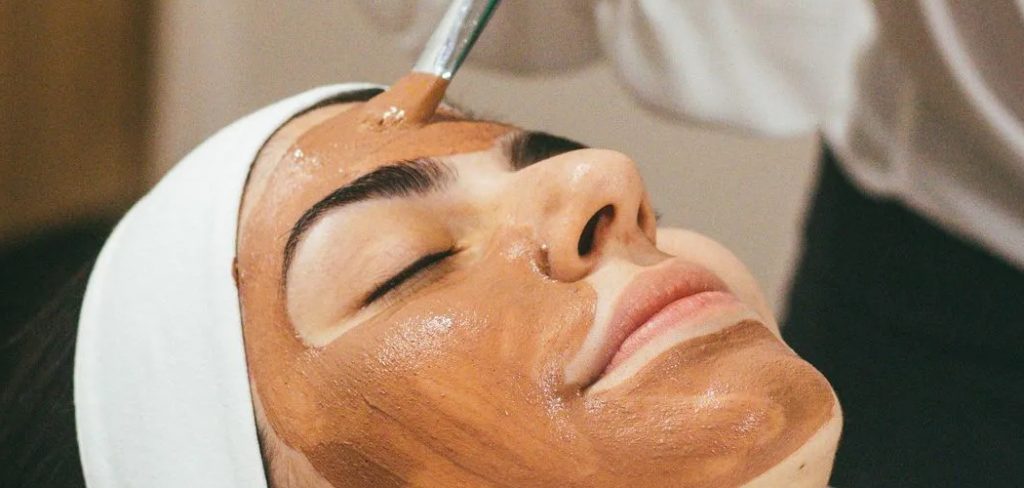
Are you having a stressful day and looking for ways to unwind? Look no further, because an eyelash lift may be just what you need!
Achieving the perfect eyelash lift and tint can enhance the natural beauty of your eyes, but sometimes the lift might feel a bit too tight or intense. Whether you’re looking for a softer curve or need relief from discomfort, learning how to relax an eyelash lift can help restore a more natural look to your lashes. This process involves simple techniques and tools that are gentle on your lashes while ensuring they maintain their health and strength.
Understanding how to relax eyelash lift can be a handy skill for anyone who wants to customize their lash appearance to suit their preferences.
What Are the Benefits of Relaxing an Eyelash Lift?
There are several benefits to relaxing an eyelash lift, including:
- Achieving a More Natural Look: Some people find that their lashes are lifted too much after the initial treatment. By learning how to relax the lift, you can soften the curve and create a more natural appearance.
- Relief From Discomfort: If your lashes feel too tight or uncomfortable, relaxing the lift can provide relief and improve overall lash health.
- Customization: By adjusting the lift, you have more control over the final appearance of your lashes. This allows for greater customization to suit your personal preferences.
- Cost-effective: Instead of having to go back to a salon to get your lashes lifted again, learning how to relax the lift can save you time and money.
- Maintaining Lash Health: Regularly relaxing the lift can help keep your natural lashes healthy. By reducing tension and allowing for more flexibility, it can prevent any damage that may occur from a tight or unnatural lash lift.
- Versatility: Relaxing the lift allows for more versatile styling of your lashes. You can choose to keep them naturally lifted or add a bit of drama by lifting them higher.
What Will You Need?
In order to properly relax the lift of your lash extensions, you will need a few tools and products. These include:
- A Lash Relaxer Solution: This is typically a cream or lotion specifically designed to relax the lift of lash extensions without causing damage.
- An Applicator Brush: This can be a disposable mascara wand or a small brush meant explicitly for applying the relaxer solution.
- A Timer: It’s essential to follow the recommended time for leaving the solution on your lashes, so having a timer handy will help you avoid leaving it on for too long.
- Cotton Pads or Swabs: These can be used to wipe away excess solution and protect your under-eye area.
- A Protective Eye Patch: Some lash relaxers come with an eye patch to protect your lower lashes during the process. If not included, you can use a small piece of tape or a cotton pad to cover them.
- Petroleum Jelly or Barrier Cream: Applying a thin layer of petroleum jelly or barrier cream around your eyes and on your eyelids can help prevent the relaxer solution from getting on your skin and causing irritation.
9 Easy Steps on How to Relax Eyelash Lift
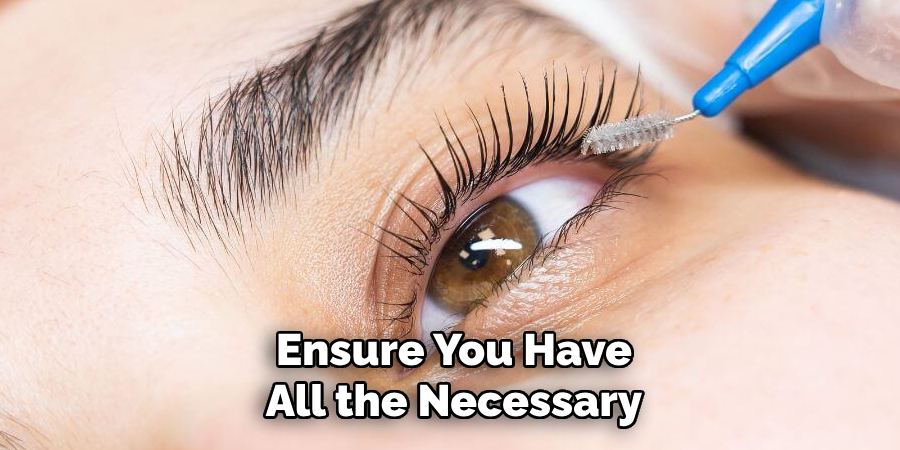
Step 1. Gather Your Materials:
Ensure you have all the necessary materials within reach before starting the process. This includes the lash perm/relaxer solution, applicator tools such as microbrushes or cotton swabs, a protective eye patch or its alternative, like petroleum jelly or barrier cream, a clean spoolie, and any other specific supplies recommended in the product instructions. Having everything ready will help the process go smoothly and safely.
Step 2. Prepare the Work Area:
Before starting, ensure your workspace is clean, well-lit, and organized. Lay out all the materials you will need, such as the lash relaxer, applicator tools, protective eye patch, petroleum jelly or barrier cream, and a mirror. Having everything within reach will help the process go smoothly and reduce the risk of interruptions. Disinfect any tools if needed to maintain hygiene and avoid potential irritation or infection.
Step 3. Clean Your Lashes:
Start by thoroughly cleaning your lashes to remove any makeup, oils, or residue. Use a gentle, oil-free makeup remover or a mild cleanser specifically designed for the delicate eye area. Dip a cotton pad or swab in the product and gently wipe your lashes, ensuring every strand is free of buildup.
This step is crucial, as any remaining residue can interfere with the application process and affect the results. Once cleaned, pat the area dry with a clean towel or tissue. Avoid using heavy creams or lotions around the eyes after cleaning, as they can create a barrier and reduce the effectiveness of the lash relaxer.
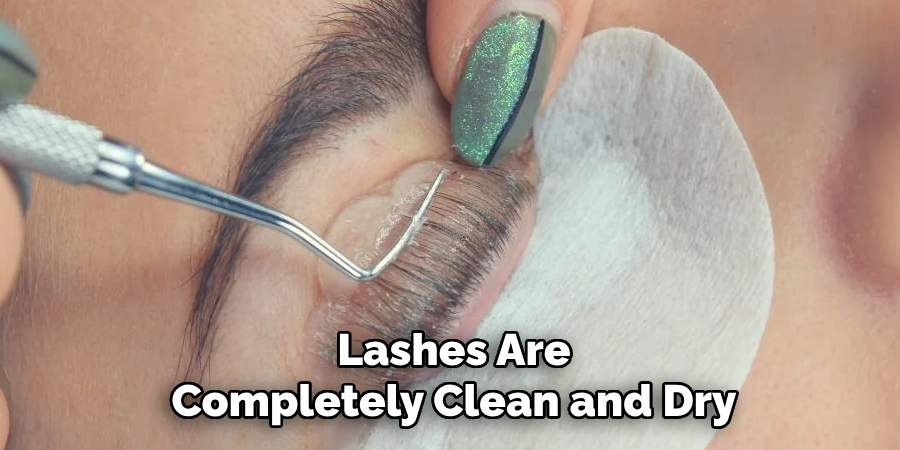
Ensuring your lashes are completely clean and dry will help them absorb product optimally and prevent irritation.
Step 4. Apply the Protective Eye Patch:
Place the eye patch, a cotton pad, or a small piece of tape under your lower lashes to protect them from the relaxer solution. This step ensures the solution doesn’t seep onto areas it shouldn’t and creates a defined barrier for a neat application. Adjust as needed for a comfortable fit while keeping the lower lashes secure.
Step 5. Apply the Lash Relaxer Solution:
Using a fine brush or applicator, carefully apply the lash relaxer solution starting at the base of the lashes and working your way up towards the tips. Be sure to coat each lash evenly for consistent results, avoiding oversaturation to prevent the product from dripping. Work methodically across the lash line, focusing on small sections at a time to maintain precision.
Allow the relaxer to sit for the recommended duration specified in the product instructions, as this ensures optimal efficacy without overprocessing. During this time, avoid moving your eyes excessively to maintain the application’s integrity. Continuously monitor for any signs of discomfort and be prepared to remove the solution immediately if irritation occurs.
Step 6. Brush Through Lashes:
Once the relaxer has been applied and has processed for the appropriate amount of time, gently use a clean, disposable lash brush or spoolie to comb through the lashes. This step helps to ensure the relaxer is evenly distributed along the lengths of the lashes, promoting consistency in the treatment from root to tip. Be careful to avoid tugging or pulling, as lashes can be more delicate during this process.
Brushing through the lashes also allows you to separate them, preventing clumping and ensuring a more natural, defined appearance. This step is essential for achieving smooth and evenly processed lashes, resulting in a polished and professional look.
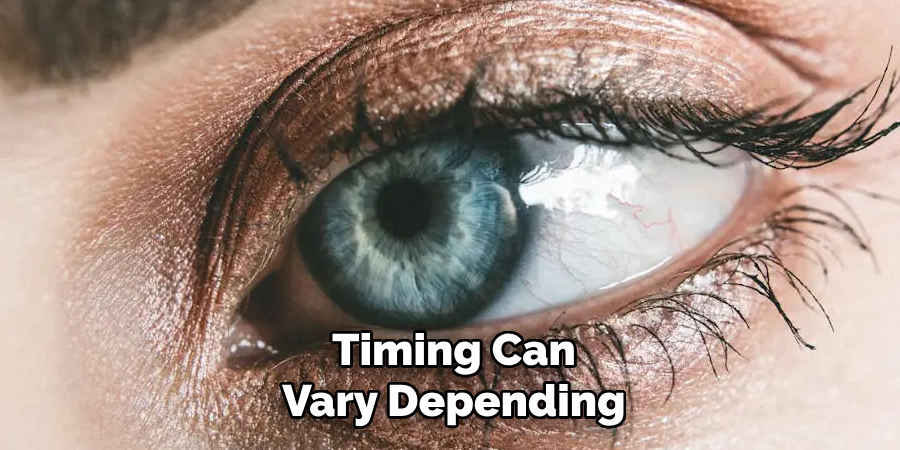
Step 7. Allow the Solution to Work:
Once the solution has been evenly applied and your lashes are properly separated, it’s crucial to allow the product enough time to work effectively. This development period ensures that the active ingredients have the opportunity to penetrate and deliver the intended results.
The timing can vary depending on the type of solution used, so always follow the manufacturer’s recommended guidelines for the best outcome. Avoid touching or disturbing your lashes during this time, as interference can disrupt the even processing and potentially lead to inconsistent results.
Step 8. Remove the Solution:
Once the processing time is complete, it’s crucial to remove the solution properly to avoid irritation or damage. Begin by using a damp cotton pad or a clean applicator to gently wipe away the product from your lashes, ensuring that no residue remains. Take your time during this step, as thorough removal is key to achieving the desired result while maintaining the health of your lashes.
Be sure to avoid tugging or pulling on your lashes, as this can weaken them or cause discomfort. If the solution is stubborn, use lukewarm water and dab softly until it dissolves completely. Always keep your eyes closed throughout the process to prevent the product from coming into contact with your skin or eyes, which could irritate.
Afterward, gently pat your lashes dry with a soft tissue or towel and inspect them to confirm that the solution has been fully removed. Proper removal plays a significant role in the overall quality of your results and prepares your lashes for the next steps of the treatment.
Step 9. Rinse Thoroughly:
After ensuring the solution has been effectively removed, rinse your lashes thoroughly with lukewarm water. This step is essential to wash away any remaining residue and to soothe the area around your eyes. Be gentle during this process, using either your fingertips or a soft, damp cloth to avoid applying excessive pressure to your lashes.
Make sure the rinsing is comprehensive, as leftover solution might lead to irritation or dryness. Gently pat your lashes and the surrounding skin with a clean towel to dry them. Taking the time to rinse properly not only protects the delicate skin around your eyes but also helps maintain the health and appearance of your lashes.
By carefully following these steps, you can safely and effectively relax your eyelash lift at home. Always consult the product instructions and avoid overusing chemical solutions to keep your lashes healthy.
Conclusion
How to relax eyelash lift at home requires patience, precision, and proper care to ensure the safety of your lashes.
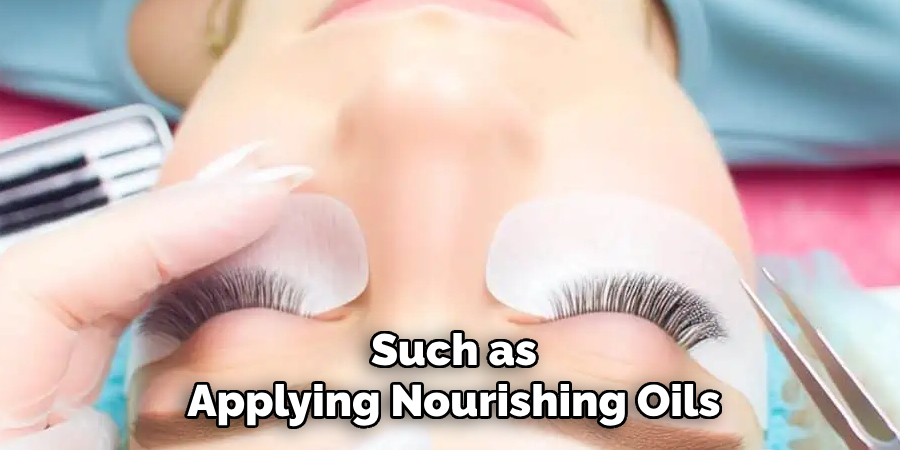
By using gentle techniques, such as applying nourishing oils or a lifting solution in moderation, you can gradually soften the curl without causing damage. Always prioritize high-quality products, follow instructions diligently, and maintain consistent aftercare practices to protect the health and appearance of your lashes.
If you are unsure or uncomfortable with the process, consulting a professional is the safest option.
About the Author
Jane Hubbard is a passionate beauty expert with a wealth of experience in makeup, hair, and overall beauty techniques. After years of working as a hairdresser specialist, she followed her entrepreneurial spirit and started her own consultancy business.
Jane has always been driven by her desire to help others feel confident in their own skin, and she does this by sharing her knowledge, experiences, and practical beauty tips. Through her consultancy, she empowers individuals to embrace their unique beauty, offering tailored guidance that boosts both self-esteem and personal style.
Professional Focus
Specializes in makeup, hairstyling, and beauty consulting.
Provides personalized beauty advice, tips, and techniques to help individuals feel confident in their appearance.
Dedicated to staying up-to-date with the latest industry trends and developments.
Passionate about creating a comfortable and empowering experience for every client.
Education History
University of Craft and Design – Bachelor of Fine Arts (BFA) in Woodworking and Furniture Design
Woodworking Apprenticeships – Extensive hands-on training with skilled craftsmen to refine carpentry and furniture making techniques
Online Courses & Masterclasses – Continued education in advanced woodworking techniques, design principles, and specialized tools
Expertise:
Makeup artistry, hairstyling, and beauty consulting.
Personalized beauty techniques to enhance confidence and self-expression.
Educating clients on how to maintain their beauty routines at home.