
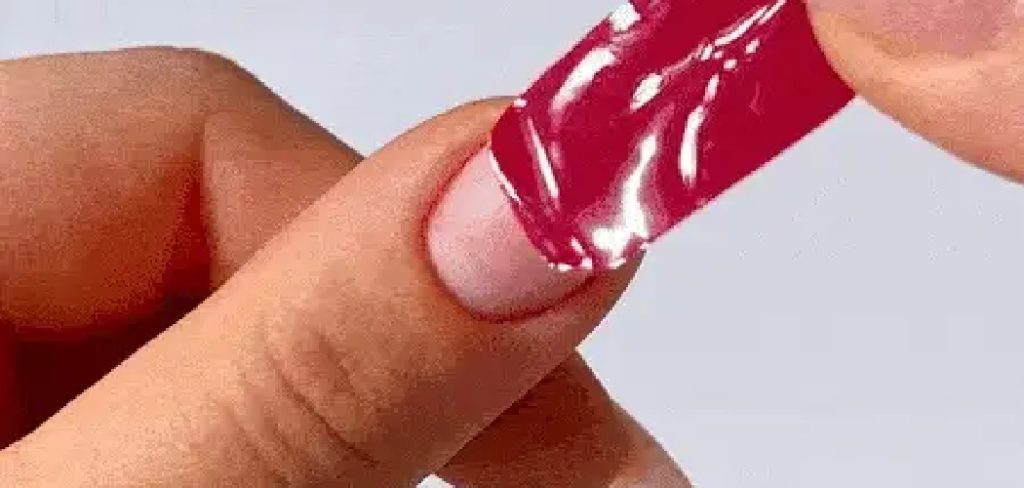
We all love the instant glamour that comes with a fresh set of press-ons or acrylics. They add length, drama, and a polished look that can make anyone feel more confident. However, the excitement often fades when it is time to take them off. The standard salon method usually involves soaking your fingertips in harsh acetone for extended periods, which can leave your skin feeling dry, tight, and irritated.
If you have sensitive skin or simply want to avoid strong chemical odors in your home, you might be looking for a gentler alternative. Fortunately, you don’t need expensive solvents to get the job done. In this guide, we will walk you through exactly how to remove fake nails with warm water, a method that protects your natural nail bed while effectively loosening the adhesive bond.
Start by gathering a bowl of warm water, ensuring it is not too hot to avoid discomfort or burns. Add a few drops of mild soap to the water to help break down the adhesive more effectively. Submerge your nails in the warm, soapy water for around 15 to 20 minutes. During this time, gently wiggle your nails to help loosen the fake nails. If you notice they are beginning to lift, you can softly ease them off using a cuticle stick or similar tool. Be patient and avoid forcing the nails off, as this could damage your natural nail bed. If needed, repeat the soaking process to fully remove stubborn remnants of adhesive.
Why Choose the Warm Water Method?
Opting for the warm water removal technique is primarily about prioritizing the health of your natural nails and the skin surrounding them. Acetone is incredibly effective at dissolving glue, but it achieves this by stripping away natural oils, often leading to brittle, peeling nails and parched cuticles. By switching to a mixture of warm water, soap, and oil, you are utilizing a method that is far less abrasive.
This technique essentially works by combining heat and lubrication. The heat softens the acrylic or adhesive tab, while the oil works its way between the artificial tip and your natural nail to break the seal gently. While this process requires a bit more patience than the chemical route, the result is softer hands and healthier nails. It is also incredibly cost-effective, as you likely already have all the necessary ingredients sitting in your kitchen or bathroom cabinet right now.
Step-by-Step Guide: The Soapy Soak Method
Step 1: Prep Your Supplies
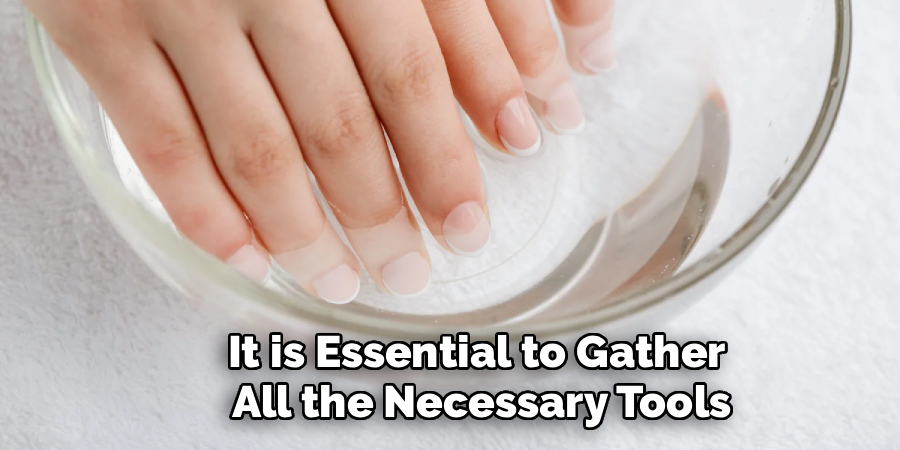
Before you begin the removal process, it is essential to gather all the necessary tools so you can remain comfortable once your hands are wet. You will need a bowl large enough to fit both hands, or two smaller bowls if you prefer to soak them separately. Grab a bottle of gentle dish soap, as this helps cut through oils, and a nourishing oil such as cuticle oil, olive oil, or coconut oil.
You will also need a nail file, nail clippers, and a wooden orange stick or a cuticle pusher. Having a clean towel nearby is also a smart move to catch any drips. Setting up a comfortable station with some entertainment is recommended since you will be sitting still for a little while.
Step 2: Trim and File Your Nails
Start by using your nail clippers to trim the fake nails down as short as possible without clipping your real nail underneath. Removing the excess length reduces the leverage on the nail bed, which minimizes the risk of painful prying later on. Once they are trimmed, take your nail file and gently buff the top surface of the fake nails.
You are not trying to file them all the way off, but rather you want to remove the shiny top coat and create a rough texture. This is a crucial step because breaking that seal allows the warm water and oil mixture to penetrate the material much faster, speeding up the time it takes for the adhesive to dissolve and the nail to lift.
Step 3: Apply Cuticle Oil
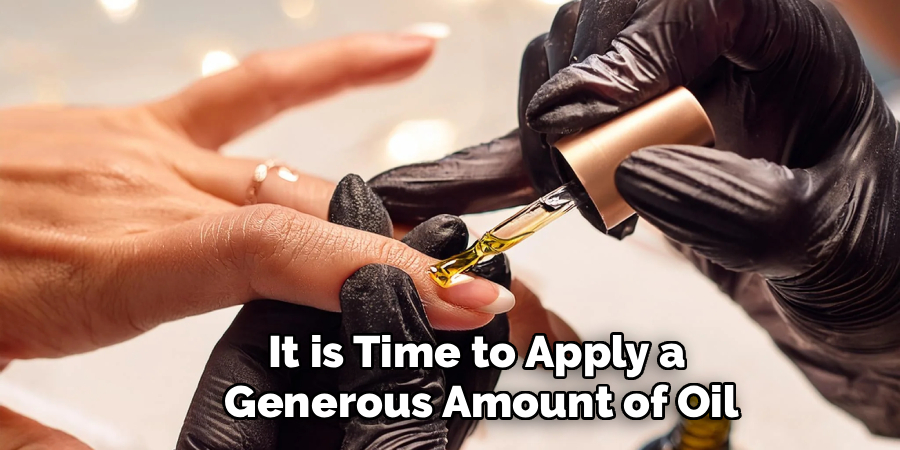
Once your nails are trimmed and roughed up, it is time to apply a generous amount of oil. Take your cuticle oil, olive oil, or coconut oil and massage it deeply into your cuticles and the skin surrounding the nail. Try to work the oil under the free edge of the fake nail as well. This step serves two important purposes in the process.
First, it acts as a protective barrier for your skin against the drying effects of the hot water and soap. Second, the oil acts as a lubricant that will eventually slip between the natural nail and the adhesive, helping the fake nail slide off more easily. Do not be stingy here; the more lubrication you have, the smoother the removal process will be for your nail plate.
Step 4: Soak in Warm Soapy Water
Now you are ready for the main event. Fill your bowl with water that is as warm as you can comfortably tolerate without burning your skin. Add a generous squirt of dish soap and a few drops of your chosen oil to the water, mixing it until it is bubbly. Submerge your fingertips completely into the solution. This soaking phase is the core component of how to remove fake nails with warm water effectively.
You need to keep your hands in the water for at least 20 to 30 minutes. The combination of heat, soap, and oil works together to expand the adhesive and break its bond with your natural nail. Relax, watch a show, or listen to a podcast while the warm solution does the heavy lifting for you.
Step 5: Gently Lift the Edges
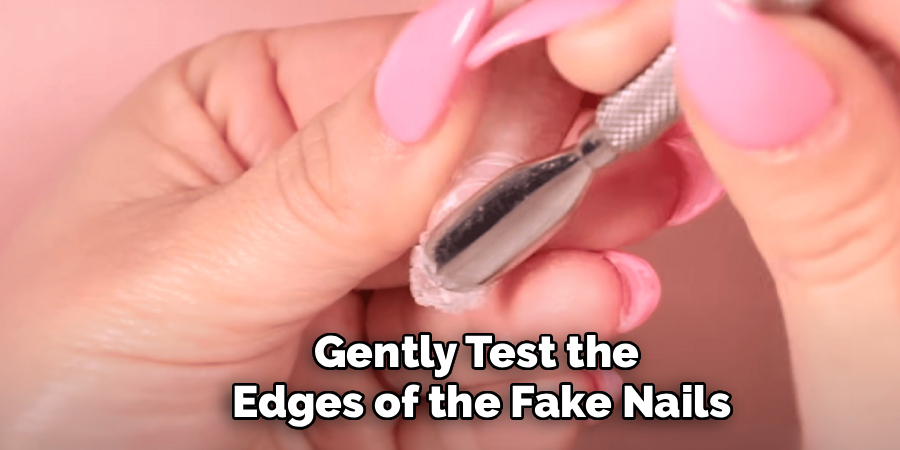
After about 20 minutes of soaking, check the progress of the nails. One by one, check to see if the nails feel loose. Take your wooden orange stick or cuticle pusher and very gently test the edges of the fake nails. You are looking for separation near the cuticle area. If you see a gap, gently nudge the stick underneath to help lift the nail further.
It is vital that you do not force this. If you feel pain or strong resistance, the glue has not dissolved enough yet. Forcing the nail off at this stage can strip layers of your natural nail, leading to damage. The goal is to encourage the nail to pop off, not to rip it off. If it doesn’t move easily, stop immediately and proceed to the next step.
Step 6: Repeat the Soak for Stubborn Nails
If you find that some nails are refusing to budge, do not panic and do not reach for the pliers. Simply reheat your water or replace it with fresh warm water, as the original bowl has likely cooled down by now. Add more soap and oil if necessary. Mastering how to remove fake nails with warm water requires patience, especially if the adhesive used was particularly strong or if you are removing acrylics rather than press-ons.
Soak your hands for another 10 to 15 minutes. While your hands are submerged, you can wiggle your fingers to help the water move around the lifted edges. This second round of heat usually does the trick for the stubborn stragglers, allowing the remaining adhesive to soften enough for safe removal.
Step 7: Aftercare and Hydration
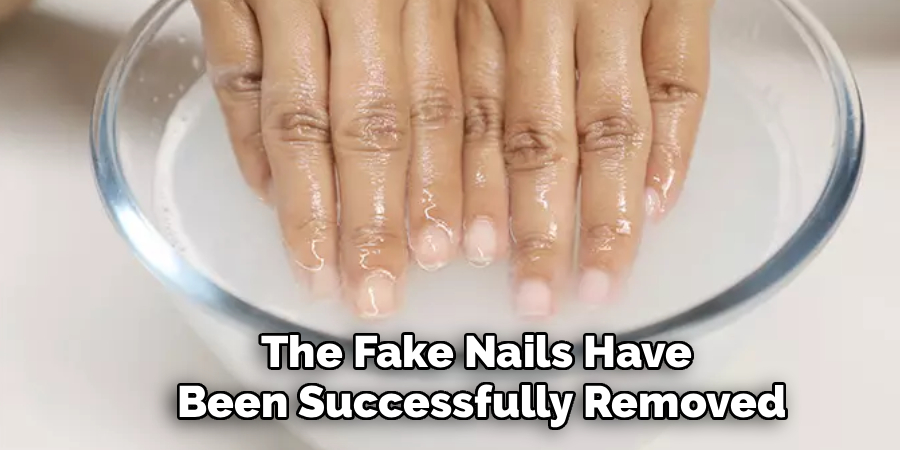
Once all the fake nails have been successfully removed, your natural nails might look a little rough or have some leftover glue residue. Use a gentle buffer block to smooth out the surface of your nails, buffing away any remaining adhesive bits. Wash your hands with clean water to remove the soapy residue and pat them dry.
Because your hands have been in water for a long time, your skin may feel a bit pruned or dry. Finish the process by applying a high-quality hand cream and another layer of cuticle oil. This restores moisture to the skin and nail bed, leaving your hands feeling soft and rejuvenated. Give your natural nails a few days to breathe before applying a new set to ensure they remain strong and healthy.
Frequently Asked Questions
Can I reuse my press-on nails after removing them with water?
Yes, in most cases, you can reuse press-on nails removed with this method. Unlike acetone, which chemically melts the plastic of the fake nail, warm water and soap only affect the adhesive. Once the nails are off, you can gently pick away the leftover glue or adhesive tab from the back of the press-on. If the nail kept its shape during the removal process, simply let it dry completely, and it should be ready for another application with fresh glue.
Does this method work for salon acrylics or dip powder?
This method works best for press-on nails and nails attached with nail glue or adhesive tabs. While it is possible to remove acrylics or dip powder with warm water, oil, and soap, it takes significantly longer than it does for press-ons. You may need to soak your hands for 45 minutes to an hour, and you will likely need to trim and file the bulk of the acrylic down significantly before soaking. For very thick acrylics, this method requires extreme patience.
Is removing nails with water better than using acetone?
“Better” depends on your priorities. If your priority is speed, acetone is faster. However, if your priority is the health of your natural nails and skin, the warm water method is superior. It avoids the harsh drying effects of chemicals, prevents your nails from becoming brittle, and eliminates the risk of inhaling chemical fumes. It is a much safer option for those with sensitive skin, eczema, or compromised natural nails.
What should I do if the nail still won’t come off?
If a nail is still stuck after forty minutes of soaking, do not rip it off. You may need to use a “floss” method in conjunction with the oil. Apply more oil to the lifted edge, then slide a piece of dental floss between the fake nail and your natural nail. Gently saw the floss back and forth to work through the adhesive. Alternatively, you can try soaking a cotton ball in vinegar and holding it against the nail, as the acidity can sometimes help break down stubborn glues.
How hot should the water be?
The water should be hot enough to be effective but not hot enough to burn or scald you. Think of it like a hot bath temperature. If it is painful to put your hand in, let it cool down. You want the heat to help expand the material and soften the glue, but safety is paramount. As the water cools down during the soaking process, keep a kettle or pitcher of hot water nearby to top up the bowl and maintain a warm temperature throughout the session.
Conclusion
Taking care of your hands doesn’t have to involve harsh chemicals or expensive trips to the salon. By using simple household ingredients like soap, oil, and heat, you can safely transition from a glamorous manicure back to your natural look without causing damage. This guide on how to remove fake nails with warm water helps you maintain the integrity of your nail bed while saving money. Remember that patience is the most important tool in your kit; rushing the process is the only way to truly damage your nails. So, put on your favorite show, relax with your warm bowl of water, and give your hands the gentle treatment they deserve.
About the Author
Jane Hubbard is a passionate beauty expert with a wealth of experience in makeup, hair, and overall beauty techniques. After years of working as a hairdresser specialist, she followed her entrepreneurial spirit and started her own consultancy business.
Jane has always been driven by her desire to help others feel confident in their own skin, and she does this by sharing her knowledge, experiences, and practical beauty tips. Through her consultancy, she empowers individuals to embrace their unique beauty, offering tailored guidance that boosts both self-esteem and personal style.
Professional Focus
Specializes in makeup, hairstyling, and beauty consulting.
Provides personalized beauty advice, tips, and techniques to help individuals feel confident in their appearance.
Dedicated to staying up-to-date with the latest industry trends and developments.
Passionate about creating a comfortable and empowering experience for every client.
Education History
University of Craft and Design – Bachelor of Fine Arts (BFA) in Woodworking and Furniture Design
Woodworking Apprenticeships – Extensive hands-on training with skilled craftsmen to refine carpentry and furniture making techniques
Online Courses & Masterclasses – Continued education in advanced woodworking techniques, design principles, and specialized tools
Expertise:
Makeup artistry, hairstyling, and beauty consulting.
Personalized beauty techniques to enhance confidence and self-expression.
Educating clients on how to maintain their beauty routines at home.