
Urban Decay’s 24/7 Glide-On Eye Pencil has a reputation for a reason: it goes on smoothly, lays down a lot of color fast, and tends to stay put once it sets. That same softness, though, is also what makes sharpening it so irritating. A dull tip should be a minor problem. With this pencil, it can turn into a little mess of smeared product, snapped-off points, and the unpleasant feeling that you are shaving away money.
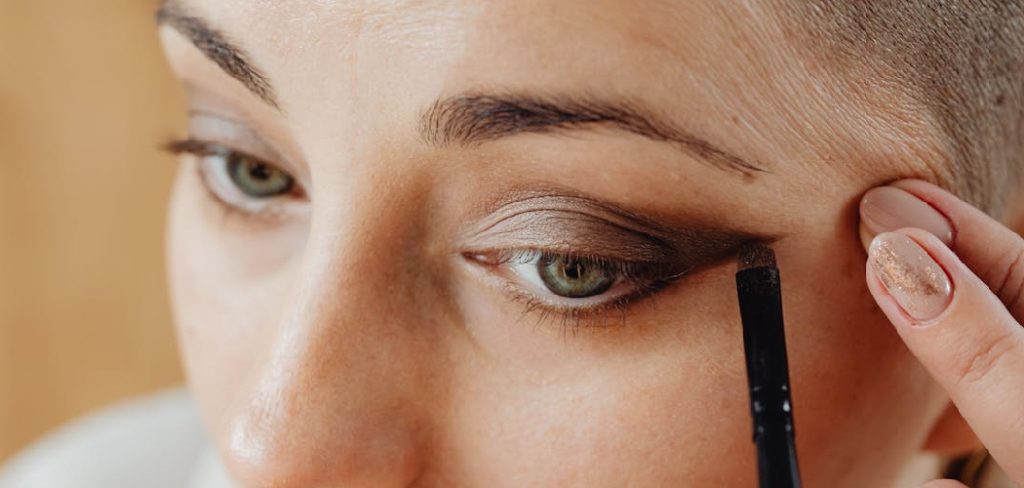
If you have ever looked at the pencil and thought, I should leave this alone before I ruin it, that reaction is understandable. The good news is that the issue usually is not the eyeliner itself. More often, it comes down to temperature, blade condition, and technique. Small adjustments help. Quite a lot, actually.
This guide on how to sharpen urban decay 24 7 eyeliner walks through how to sharpen Urban Decay 24/7 eyeliner with less breakage and less waste. It also explains why the usual “just twist it in the sharpener” method often fails with softer eye pencils.
What Makes This Eyeliner Different?
Before getting into the steps, it helps to understand what you are dealing with. Urban Decay 24/7 pencils are not like older-style kohl pencils that feel dry and slightly powdery. These are much creamier. The formula contains conditioning ingredients such as jojoba oil, vitamin E, and cottonseed oil, which likely contribute to that easy slip along the lash line.
That texture is great on the eye. In a sharpener, not always.
The center behaves more like a firm gel than a brittle pencil core, so friction affects it differently. Add a flexible outer barrel—less like traditional wood, more like a composite casing—and the usual sharpening habits can backfire. Instead of getting a clean taper, you may end up with product that bunches, drags, or breaks below the visible tip. That hidden crack is especially annoying because the pencil can seem fine for a second, then snap again on the next turn.
What You Need to Know About Sharpening
Sharpening a pencil may seem like a simple task, but there are actually a few important factors to consider in order to get the best results.
Choosing the Right Sharpener
First and foremost, you need to make sure you have the right sharpener for your type of pencil. If you’re using a traditional wooden pencil, a standard handheld sharpener with a blade should do the trick. However, if you’re using a mechanical pencil or one with a thicker lead, you may need a specific sharpener designed for those types of pencils.
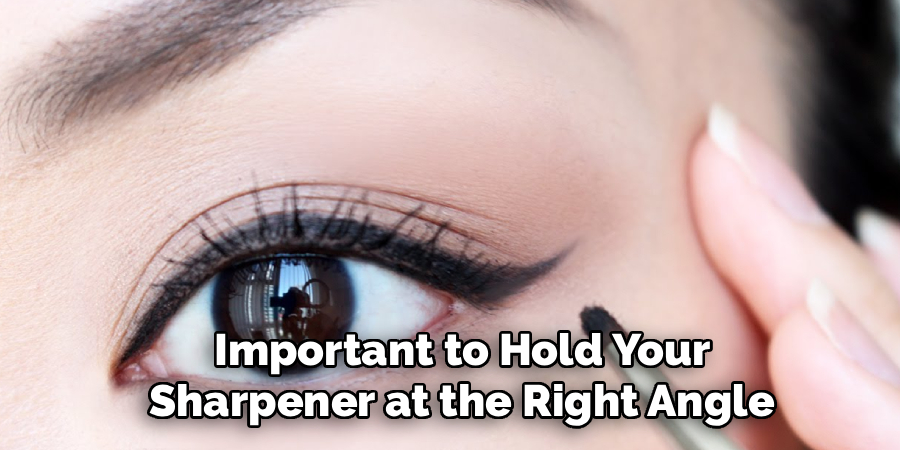
Getting the Right Angle
To get a perfectly sharpened point on your pencil, it’s important to hold your sharpener at the right angle. The best way to achieve this is by starting with the blade facing away from you and then rotating it towards yourself until you reach a 45-degree angle. This will ensure that your pencil is sharpened evenly on all sides.
Rotating the Pencil
Once you have the sharpener at the right angle, it’s time to rotate your pencil while holding it steady in the sharpener. Be sure to rotate both clockwise and counterclockwise to ensure an even point. You can also try gently moving the pencil up and down as you rotate for a smoother point.
Checking Your Work
After sharpening, be sure to check your pencil for any dull or uneven areas. If you notice any, simply repeat the sharpening process until your pencil has a smooth and evenly sharpened point.
Cleaning Your Sharpener
To keep your sharpener in good condition, it’s important to clean it regularly. Simply empty out any shavings and wipe down the blades with a damp cloth or paper towel. This will prevent build-up and ensure that your sharpener continues to work effectively.
7 Steps on How to Sharpen Urban Decay 24 7 Eyeliner
Step 1: Chill the Pencil First
This is the part people skip, and it is probably the part that matters most.
At room temperature, the 24/7 formula is soft enough to smear against the blade instead of shaving cleanly. When that happens, the core can flatten, drag, or snap. So before sharpening, place the pencil in the refrigerator for about 15 to 20 minutes. If you are in a hurry, 5 to 10 minutes in the freezer usually does the job.
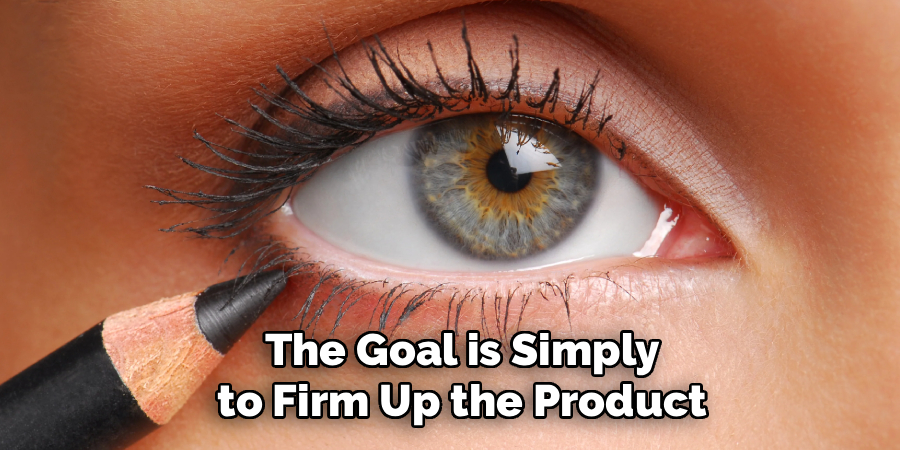
You do not need to freeze it solid. In fact, leaving it in there indefinitely is not a great idea. The goal is simply to firm up the product for a short window so it behaves more predictably under pressure.
Step 2: Use the Right Sharpener
A regular pencil sharpener may seem close enough. It usually is not.
Sharpeners made for graphite pencils are built for harder cores and wood casings. The blade angle tends to be too aggressive for creamy eye products, and that mismatch can chew up both the outer barrel and the liner inside it. If your eyeliner keeps coming out ragged, the tool may be the problem before anything else is.
A makeup sharpener is the safer choice because it is designed for softer formulas. The Urban Decay sharpener is a sensible option since it was made for the brand’s pencils, but plenty of cosmetic sharpeners will work if the blade is still sharp and the opening fits the pencil properly. A loose fit invites wobbling, and wobbling leads to breakage.
Step 3: Clean the Blade Before You Start
This sounds fussy. It is not.
Cream products leave residue behind, and that residue builds faster than most people realize. Old liner, wax, and bits of pigment can cling to the blade and create drag. Then the pencil catches. Then the tip breaks. It is not a mystery, just annoying mechanics.
Run a cotton swab with a little rubbing alcohol over the blade and the inside of the chamber. If there is visible buildup, remove that first. Then let the sharpener dry fully. Even a small amount of leftover moisture is better avoided, especially near eye products.
There is also the hygiene issue. A dirty sharpener used on eye makeup is, at best, not ideal.
Step 4: Insert the Pencil Gently
Once the pencil is chilled and the sharpener is clean, insert the tip slowly and straight.
No forcing. No jamming it in because it “won’t catch.”
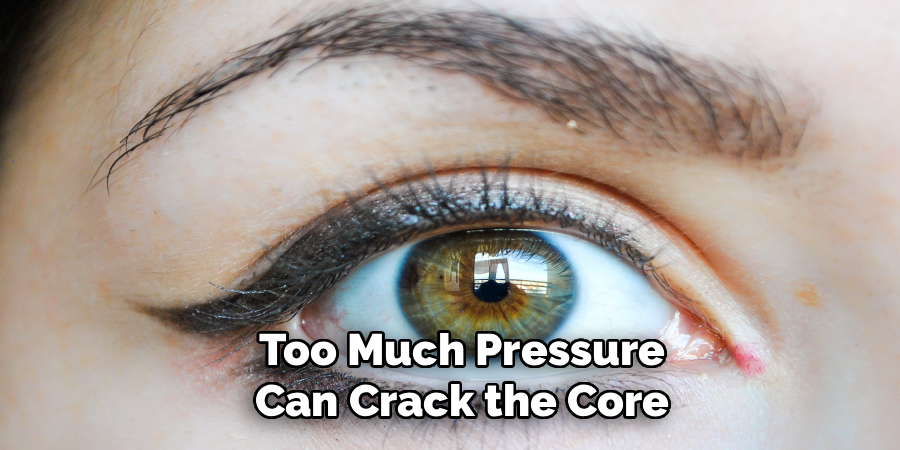
Too much pressure can crack the core further down inside the barrel, and those internal breaks are difficult to spot until the next section snaps off. Hold the sharpener in one hand and guide the pencil in with the other, making sure it sits evenly in the opening. If it looks crooked, it probably is. Pull it out and try again.
This step is less about speed than alignment.
Step 5: Turn the Sharpener, Not the Pencil
This one feels backward at first, but it often helps.
A lot of people instinctively twist the pencil while holding the sharpener still. With a firmer product, that may be fine. With a soft gel pencil formula, the twisting motion can put stress on the core and cause it to shear near the base of the exposed tip. That is when you get the maddening cycle of sharpen, snap, sharpen, snap.
Try reversing the motion: hold the pencil steady and rotate the sharpener around it. Keep the movement slow and controlled. You are not drilling through anything. A few smooth turns are usually enough.
Step 6: Check the Tip Often
Do not aim for a needle point unless you enjoy repeating this whole process.
Because the formula is soft, you generally do not need an ultra-fine tip for it to perform well. A slightly rounded point is often better for real use, especially if you are applying it along the lash line or waterline. Too sharp, and the tip may break the second it touches skin.
After every turn or two, stop and look at it. That pause saves product. It also keeps you from overdoing it in pursuit of a point that looks impressive but does not survive application.
Step 7: Wipe Off Any Loose Bits
When the shape looks right, do one last cleanup step before using it.
Freshly sharpened pencils can have tiny fragments clinging to the tip or barrel—bits of casing, soft product, or both. Those loose pieces are not something you want near your eye. Gently wipe the tip on a clean tissue or paper towel. That removes debris and slightly softens the surface again, which helps the pencil glide instead of feeling scratchy from being chilled.

A quick wipe around the outside of the barrel helps, too. It is a small thing, but it leaves the pencil in better condition for the next use.
Following these steps on how to sharpen urban decay 24 7 eyeliner will ensure that you have a clean, precise and effortless application every time.
If It Still Keeps Breaking
Sometimes you do everything “right,” and the pencil still acts up. If that happens, the sharpener blade may simply be dull.
This is easy to overlook. Cosmetic sharpeners do wear down, and once the blade loses its edge, it starts crushing instead of cutting. The result can look like user error even when it is not. If your chilled pencil keeps smearing or snapping despite gentle handling, replacing the sharpener may solve the issue faster than any trick will.
You might also notice the outer barrel looking jagged or splintered after sharpening. That usually points to uneven insertion—often the pencil went in slightly off-center and the blade caught the casing at the wrong angle. If that happens, stop, realign the pencil, and make one slow corrective turn. Not several. Usually, one is enough.
How to Get Better Results Between Sharpening?
Sharpening is only part of the story. How you use and store the pencil makes a difference, too.
When applying the liner, use a lighter hand than you think you need. The pigment payoff is strong, so pressing hard usually just flattens the fresh tip. That means you will need to sharpen again sooner, which means more waste.
Cap it tightly after each use as well. If the pencil is exposed to air too often, the formula can start to dry down or pull away from the casing over time. Once that happens, sharpening tends to get less clean and more unpredictable.
Storage matters more than many makeup articles admit. A cool, dry place is best. Not a sunny windowsill. Not next to a heat source. A steamy bathroom is also not ideal if you can avoid it. Excess warmth may soften the core, and repeated temperature swings do the pencil no favors.
Keeping the Pencil in Good Shape
If you want the eyeliner to stay creamy and usable, storage and handling matter almost as much as sharpening technique. Keep the pencil in a cool, dry place and make sure the cap clicks shut after every use. That helps preserve the formula and reduces the chance of it drying out.
If you travel with it, store it in a makeup bag where the tip is less likely to get crushed and the cap is less likely to pop off. This is not glamorous advice, admittedly, but it does prevent the kind of damage that makes the next sharpening session much harder than it needs to be.
Final Thoughts
Sharpening a soft eyeliner should not feel like a high-stakes task, though with this formula, it can come close. Still, once you adjust for how creamy the product is, the process becomes much easier. Chill the pencil. Use a proper makeup sharpener. Clean the blade. Go slowly.
That is really the whole system.
Once you get the hang of it, you can keep using Urban Decay 24/7 for the thing it does well—rich color, smooth application, a clean line—without bracing yourself for the sharpening part every time. Thanks for reading this guide on how to sharpen urban decay 24 7 eyeliner.
About the Author
Jane Hubbard is a passionate beauty expert with a wealth of experience in makeup, hair, and overall beauty techniques. After years of working as a hairdresser specialist, she followed her entrepreneurial spirit and started her own consultancy business.
Jane has always been driven by her desire to help others feel confident in their own skin, and she does this by sharing her knowledge, experiences, and practical beauty tips. Through her consultancy, she empowers individuals to embrace their unique beauty, offering tailored guidance that boosts both self-esteem and personal style.
Professional Focus
Specializes in makeup, hairstyling, and beauty consulting.
Provides personalized beauty advice, tips, and techniques to help individuals feel confident in their appearance.
Dedicated to staying up-to-date with the latest industry trends and developments.
Passionate about creating a comfortable and empowering experience for every client.
Education History
University of Craft and Design – Bachelor of Fine Arts (BFA) in Woodworking and Furniture Design
Woodworking Apprenticeships – Extensive hands-on training with skilled craftsmen to refine carpentry and furniture making techniques
Online Courses & Masterclasses – Continued education in advanced woodworking techniques, design principles, and specialized tools
Expertise:
Makeup artistry, hairstyling, and beauty consulting.
Personalized beauty techniques to enhance confidence and self-expression.
Educating clients on how to maintain their beauty routines at home.