

Makeup does much more than play up the features you already have. Used well, it can rework the whole architecture of your face—softening a sharp jaw, inventing cheekbones where none seem to exist, even shaving years off your apparent age. Film artists rely on these tricks daily, and there’s no secret club keeping the rest of us out. You can learn them too.
Maybe you’ve got a costume party circled on the calendar. Maybe special effects makeup has caught your eye, or you’re just curious about how far the illusion can stretch. Either way, this guide on how to look like a different person with makeup walks through the process one step at a time. You’ll get a sense of how facial structure actually works, the specific moves that shift your appearance, and the little slip-ups that tend to give the whole thing away. Let’s get into it.
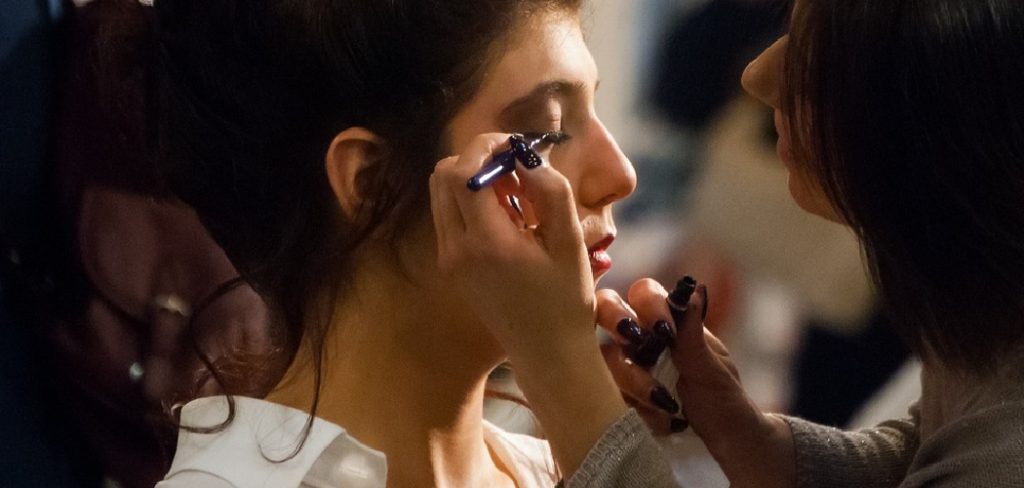
Understanding Facial Structure
You can’t reshape what you don’t understand. So before reaching for a single brush, it helps to look at your face as a landscape of light and shadow. The parts that catch the light—cheekbones, brow bone, the ridge of your nose—seem to step forward. The shadowed bits, like the hollows under your cheeks or the dip of your temples, fall back.
Every transformation hinges on bending this play of light to your will. Drop a darker shade where you want depth, lay a lighter one where you want attention, and you’re effectively repainting your bone structure. Contouring and highlighting both grow out of this single idea. Get comfortable with it, and looking like someone else stops feeling like magic and starts feeling like craft.
7 Simple Step-By-Step Guidelines on How to Look Like a Different Person With Makeup
Ready? Work through these seven steps in order. Each one leans on the one before it, so resist the urge to jump ahead—the results suffer when you do.
Step 1: Start With a Clean, Prepped Canvas
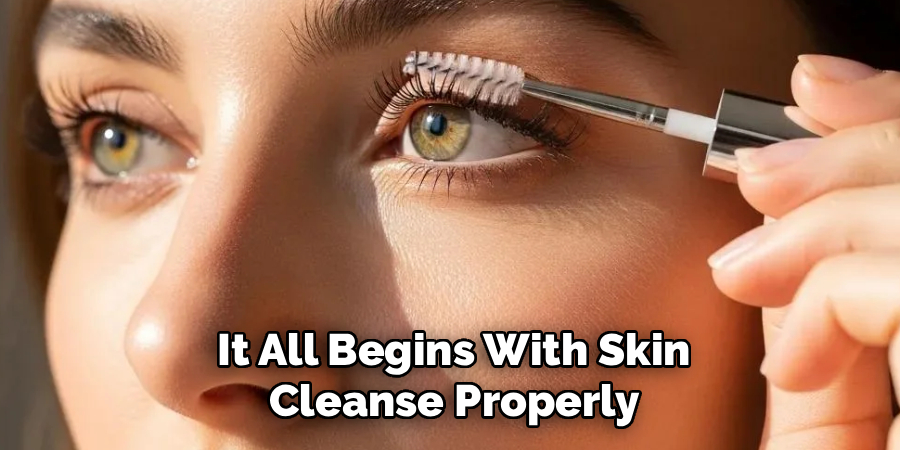
It all begins with skin. Cleanse properly to lift away oil and residue that might mess with how your products settle. Then moisturize, matching the formula to your skin type, and give it a minute to sink in.
Now, primer. When you’re after a dramatic change, this step really isn’t optional. Primer lays down a smooth, even surface so foundation and concealer can grip and hold for hours. Skip it, and heavy makeup may crease, slide, or flake apart—which tends to break the spell the moment someone looks closely.
Step 2: Neutralize Your Natural Features
To build a new face, you first have to quiet the old one. Full-coverage foundation and concealer handle this. Sweep foundation evenly across everything, brows included, if you’re planning to redraw them later.
Then go in with concealer over any natural color or definition you’d rather erase—redness, under-eye shadows, the borders of your lips. You’re aiming for something close to a blank slate. The more neutral your starting point, the more room you have to place new features wherever you like.
Step 3: Reshape With Contour
This is where things get interesting. Pick a contour shade two to three tones deeper than your skin, and make sure it leans cool and ashy rather than warm. Warm shades read as bronzer, which adds glow, not the shadow you’re after.
Apply it wherever you want something to recede or slim. Thin lines down each side of the nose narrow it. A sweep into the hollows beneath your cheekbones carves them out. A touch along the hairline can shorten a tall forehead. Then blend, and keep blending. Hard edges look like makeup; soft gradients pass for real shadow.
Step 4: Bring Forward With Highlight
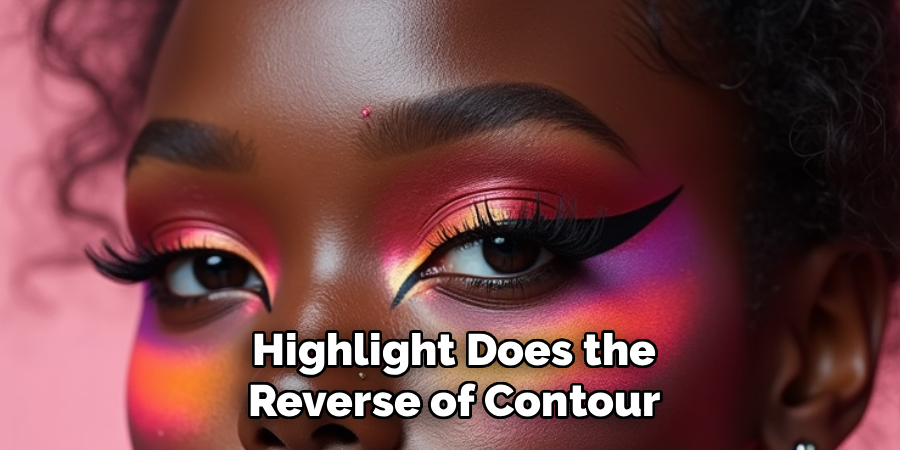
Highlight does the reverse of contour, and the two really only work as a pair. Reach for a concealer or highlight product two to three shades lighter than your skin to pull certain spots forward.
The usual targets: the tops of your cheekbones, the center of your forehead, the bridge of your nose, your cupid’s bow. Want a broader nose or fuller-looking features? Place the highlight there instead. That contrast—dark shadow against bright light—is what conjures the sense of fresh dimension across your face.
Step 5: Transform Your Eyes
Few features shift a look as fast as the eyes. To open them up, line your waterline with a nude or white pencil and reach for false lashes. To change their apparent shape, play with the liner. A wing tilts the eyes upward; liner along the lower lash line can make them appear rounder.
Don’t rush past the brows. They may be the single most defining feature on a face. Conceal your natural ones, then redraw them higher, lower, thicker, or at a new angle, and you’ll notice your whole expression seems to change. That alone can make you read as a different person.
Step 6: Redefine Your Lips
Lips give you a quick way to mess with proportion. Use lip liner to overdraw or underdraw your natural shape. Going slightly beyond your border reads as fuller; covering the edges with foundation and drawing inside makes lips look smaller.
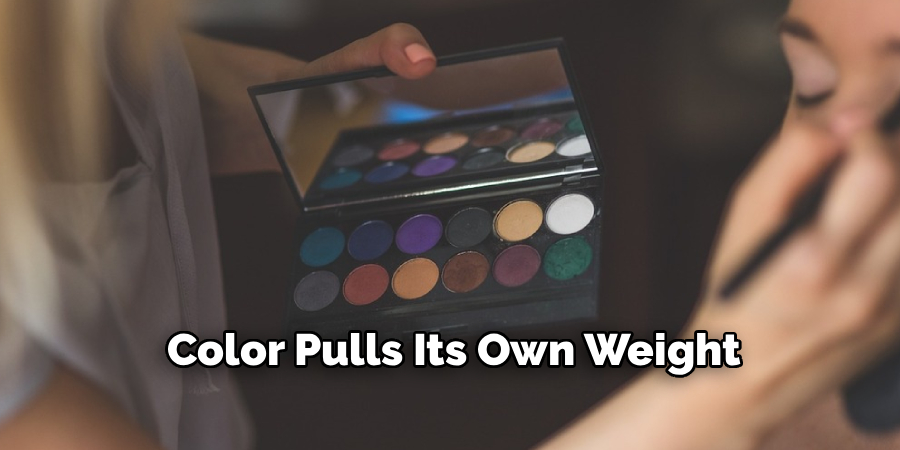
Color pulls its own weight. Bold, dark shades push lips forward and tug the eye downward, while nudes let them fade into the background. Choose a shade and shape that fit whatever character or look you’re chasing, then fill in completely so the finish looks deliberate rather than half-done.
Step 7: Set Everything in Place
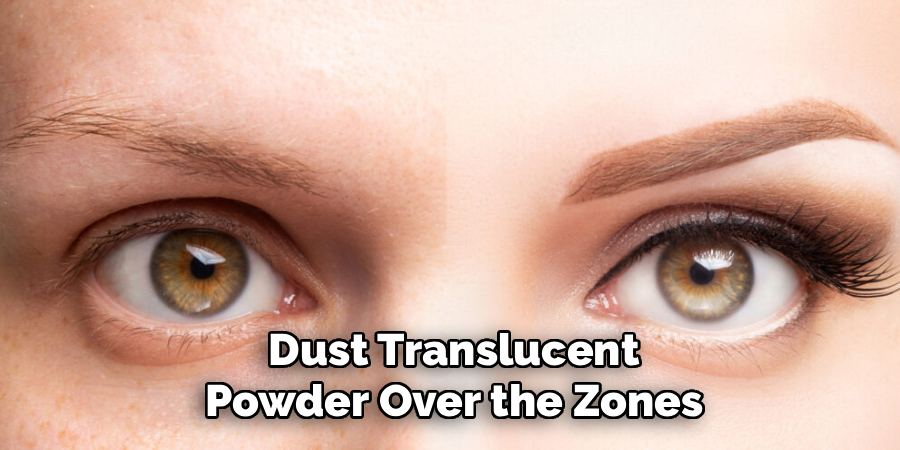
None of this survives if it slides off after an hour. Setting locks the work down. Dust translucent powder over the zones that tend to crease—under the eyes especially, and around the nose.
Finish with a setting spray to fuse the layers and stretch out their lifespan. A decent spray also cuts that powdery, cakey look, leaving skin reading as skin. Once everything’s set, your new face is ready for the room, or the lens.
Following these steps on how to look like a different person with makeup can be a fun and creative way to change up your appearance. Whether it’s for a special occasion or just for everyday experimentation, makeup allows you to transform into whoever you want to be.
Common Mistakes to Avoid
Even careful beginners stumble on a handful of predictable errors. Patchy blending tops the list—any visible seam between contour and highlight tends to expose the whole illusion. Then there’s the wrong contour undertone, which can leave you looking muddy or oddly orange instead of softly shadowed. Heavy-handedness causes trouble as well, since thick layers crease and turn mask-like under strong light.
And skipping primer or setting? That usually shows up a few hours in, when the look starts to slide. Go slowly, build in thin layers, and blend past the point you think is enough.
Tips for a More Convincing Transformation
Lighting matters more than almost anything. Apply your makeup in conditions close to where it’ll actually be seen, because indoor light hides flaws that daylight will happily reveal. Good brushes and sponges earn their keep too—the right tool makes blending easier and the finish smoother. Pull up reference photos of the person or look you’re chasing, and study where their shadows and highlights fall.
Practice counts as well; your first try rarely matches your fifth. And remember that hair, accessories, and even posture all feed the illusion. Transformation doesn’t stop at the jawline.
Temporary vs Everyday Transformation Looks
Not every transformation has the same job, so the techniques should bend to the occasion. Temporary looks—Halloween, theater, cosplay, a photoshoot—leave plenty of room for drama. Heavy contour, extreme brow reshaping, intense color: all fair game, because the look only has to hold up for a short window and make a statement while it does.
Everyday transformations ask for restraint. The goal shifts toward enhancing and gently reshaping rather than disguising. Softer contour, subtle brow tweaks, gentler color—these give you a refreshed version of yourself that still reads well in daylight and at conversational distance. Knowing which approach suits the moment may save you from looking overdone at brunch, or underwhelming when you actually wanted to turn heads.
Frequently Asked Questions
Can Makeup Really Make You Look Like a Completely Different Person?
Yes, though how far you get depends on your skill and your products. Professional artists turn actors into different ages, characters, and even other species using these same principles of light and shadow. With practice, you can convincingly reshape your nose, redefine a jawline, or alter your eye shape. The whole thing comes down to contour, highlight, and patient blending—plus a feel for how light moves across your particular face.
How Long Does a Full Makeup Transformation Take?
Usually somewhere between one and three hours, depending on your experience and how ambitious the look is. Beginners should pad that estimate, since rushing tends to produce blending mistakes and uneven coverage. The more you practice and learn the contours of your own face, the faster it goes. Special effects or character work may run longer still, sometimes demanding extra hours and materials well beyond standard cosmetics.
What Products Do I Need to Get Started?
A starter kit looks like this: primer, full-coverage foundation, concealer, a cool-toned contour, a highlight product, setting powder, and setting spray. Decent brushes and a damp sponge handle the blending. For eye and lip changes, add eyeliner, false lashes, a brow product, and lip liner. Expensive brands aren’t the point early on—put your energy into technique with affordable, dependable products first.
Your Transformation Starts With Practice
Looking like a different person is a real skill, and skills sharpen with repetition. At heart, the principles stay simple: push light and shadow around, blend until you can’t see the seams, and sweat the small details. Begin with the seven steps above, try them on different features, and don’t let a rough first attempt put you off.
Grab your brushes, set up some decent lighting, and have a go. With a bit of patience and a willingness to experiment, you may surprise yourself with how much you can change—one carefully placed shadow at a time. Thanks for reading this guide on how to look like a different person with makeup.

About the Author
Jane Hubbard is a passionate beauty expert with a wealth of experience in makeup, hair, and overall beauty techniques. After years of working as a hairdresser specialist, she followed her entrepreneurial spirit and started her own consultancy business.
Jane has always been driven by her desire to help others feel confident in their own skin, and she does this by sharing her knowledge, experiences, and practical beauty tips. Through her consultancy, she empowers individuals to embrace their unique beauty, offering tailored guidance that boosts both self-esteem and personal style.
Professional Focus
Specializes in makeup, hairstyling, and beauty consulting.
Provides personalized beauty advice, tips, and techniques to help individuals feel confident in their appearance.
Dedicated to staying up-to-date with the latest industry trends and developments.
Passionate about creating a comfortable and empowering experience for every client.
Education History
University of Craft and Design – Bachelor of Fine Arts (BFA) in Woodworking and Furniture Design
Woodworking Apprenticeships – Extensive hands-on training with skilled craftsmen to refine carpentry and furniture making techniques
Online Courses & Masterclasses – Continued education in advanced woodworking techniques, design principles, and specialized tools
Expertise:
Makeup artistry, hairstyling, and beauty consulting.
Personalized beauty techniques to enhance confidence and self-expression.
Educating clients on how to maintain their beauty routines at home.