
Are you seeking a natural, cost-effective alternative to expensive hair styling products? Look no further because making your own hair paste at home is easier than you think!
How to make hair paste is not only a fun DIY project but also a healthier alternative to store-bought products that often contain harsh chemicals. Hair paste is a versatile styling product that offers a medium to strong hold with a matte finish, perfect for adding texture and volume without the greasy shine.
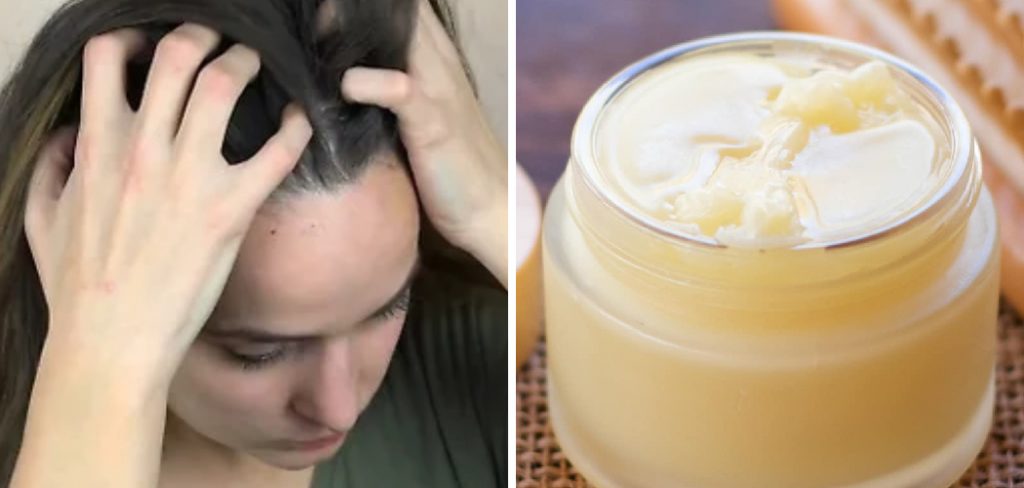
Whether you want to style short, medium, or long hair, making your own paste allows you to control the ingredients, ensuring that you know exactly what you’re putting onto your hair and scalp. This guide will walk you through a simple process to create an effective and natural hair paste using common household ingredients.
What Will You Need?
To make your own hair paste, you’ll need a few basic ingredients that you may already have in your pantry. Here’s what you’ll need:
- Beeswax or Soy Wax: This natural ingredient is the key component of hair paste, providing hold and texture.
- Carrier Oil: To add moisture and nourishment to your hair, you can use any carrier oil, such as coconut, almond, or jojoba oil.
- Essential Oils: These are optional but can add a pleasant scent to your hair paste. Popular choices include lavender, rosemary, and peppermint essential oils.
- Water: A small amount of water will help to emulsify the ingredients and create a smooth consistency.
- Double Boiler or Heatproof Bowl: You’ll need a heat source to melt the beeswax and mix all the ingredients together. If you don’t have a double boiler, you can use a heatproof bowl placed over a pot of boiling water.
- Glass Jar with Lid: This will be used to store your hair paste once it’s made.
Now that you have all your ingredients ready let’s get started on making your very own hair paste!
10 Easy Steps on How to Make Hair Paste
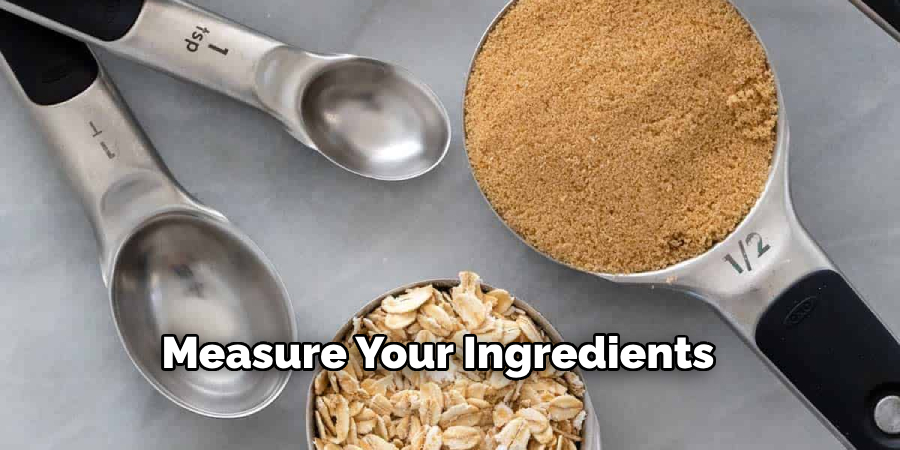
Step 1. Measure Ingredients:
Begin by measuring out your ingredients. For a basic hair paste recipe, you’ll need approximately 2 tablespoons of beeswax or soy wax, 2 tablespoons of your chosen carrier oil, a few drops of essential oil (if using), and a small amount of water, about 1-2 teaspoons. Measuring the ingredients accurately ensures that the texture and consistency of your paste will be just right.
Step 2. Melt the Wax:
Place the beeswax or soy wax in a double boiler or a heatproof bowl set over a pot of simmering water. Allow the wax to melt slowly, stirring occasionally to ensure it melts evenly. It’s important not to rush this step, as melting the wax slowly will help preserve the ingredients’ beneficial properties.
Step 3. Add Carrier Oil:
Once the wax has completely melted, it’s time to add your chosen carrier oil to the mixture. Slowly pour in 2 tablespoons of coconut, almond, jojoba, or your preferred carrier oil while continually stirring the mixture. Adding the oil gradually ensures that it combines thoroughly with the melted wax, creating a smooth, integrated base for your hair paste. Carrier oils help achieve the right consistency and provide essential nutrients that can benefit your hair, such as vitamin E, fatty acids, and antioxidants.
Step 4. Mix in Water:
After the wax and carrier oil are fully blended, add a small amount of water to the mixture. Begin with about 1 teaspoon and stir continuously. The water emulsifies the mixture, giving your hair paste a soft, pliable texture. If the paste seems too thick, you can add a bit more water, a few drops at a time, until you reach the desired consistency. The emulsification process will cause the mixture to turn slightly opaque as it blends together uniformly.
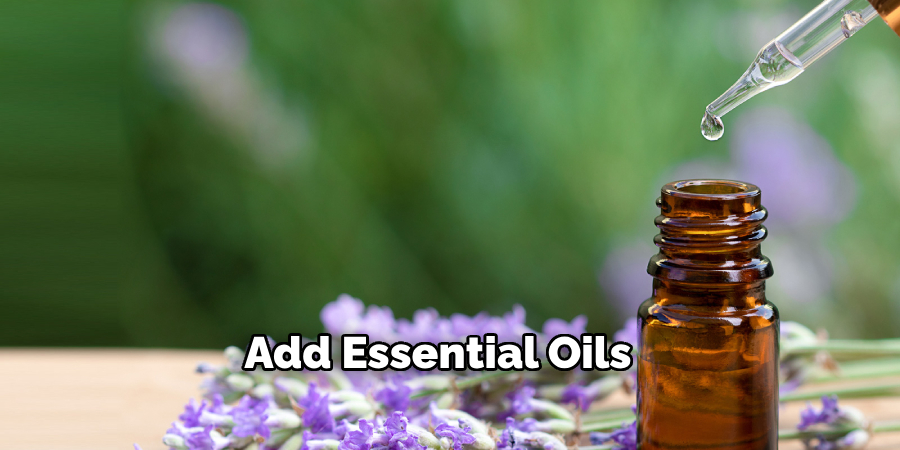
Step 5. Add Essential Oils (Optional):
If you choose to add essential oils, now is the time to do so. Add a few drops (3-5) of your selected essential oils into the mixture while stirring. Essential oils can enhance your hair paste with a pleasant fragrance and offer additional hair care benefits. For example, lavender oil is known for its calming properties, rosemary oil can stimulate hair growth, and peppermint oil provides a refreshing, invigorating scent. Be mindful not to add too much, as essential oils are highly concentrated and a little goes a long way.
Step 6. Stir Until Smooth:
Continue stirring the mixture until all ingredients are well combined and the hair paste reaches a smooth, homogeneous texture. This step is crucial to ensure that the paste does not have lumps and that the wax and oils are fully emulsified. The stirring process facilitates the even distribution of all ingredients, enhancing the overall effectiveness and quality of your homemade hair paste.
Step 7. Remove from Heat:
Once the mixture is well-blended and smooth, remove the double boiler or heatproof bowl from the heat source. Continue stirring for a few more minutes off the heat to ensure the mixture remains well-combined as it cools down. Removing it from heat promptly prevents overcooking, preserving the beneficial properties of the oils and wax.
Step 8. Let It Cool Slightly:
Allow the mixture to cool slightly, but not completely, before transferring it to its storage container. Cooling for about 5-10 minutes should be sufficient. The mixture should be cool enough to handle but still pliable to pour easily into your glass jar. Cooling slightly helps to avoid condensation inside the jar, which could affect the texture and longevity of your hair paste.
Step 9. Transfer to Glass Jar:
Carefully pour the warm hair paste mixture into a clean, dry glass jar with a lid. Ensure that the jar is sterilized to prevent any contamination. Use a spatula to scrape out any remaining mixture from the bowl and into the jar. Seal the jar with its lid securely to maintain the freshness and efficacy of your hair paste.
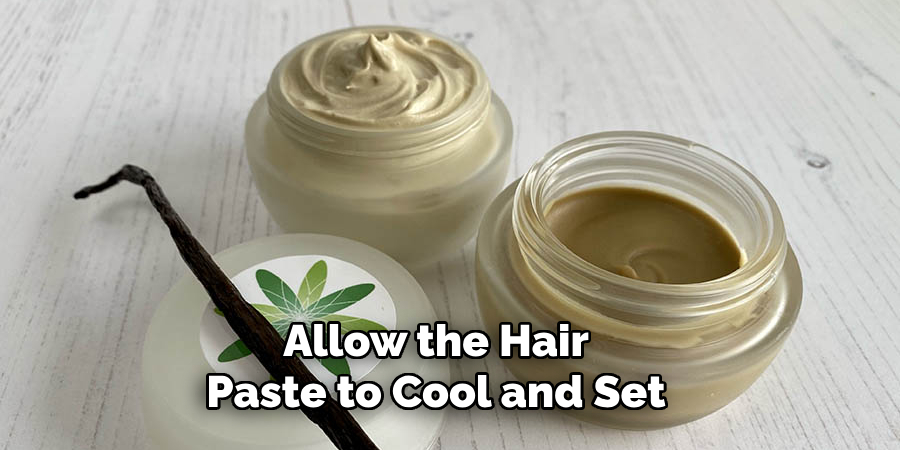
Step 10. Let It Set:
Allow the hair paste to cool and set completely at room temperature before using it. This setting time can take a few hours, but the paste must solidify and achieve the right texture. Once set, your homemade hair paste is ready to use. Simply scoop a small amount with your fingertips, rub it between your palms to warm it up, and apply it to your hair as desired.
Enjoy your natural, DIY hair paste and the versatility it brings to your styling routine!
5 Additional Tips and Tricks
- Choose the Right Ingredients: Opt for natural ingredients like beeswax, shea butter, and essential oils to ensure your hair paste is both effective and gentle on the scalp.
- Experiment with Ratios: Finding the perfect consistency may require some trial and error. Experiment with different ratios of wax, oils, and liquid ingredients to achieve a texture that suits your hair type.
- Use a Double Boiler: Melting ingredients such as beeswax can be tricky. Utilizing a double boiler helps to heat them evenly and prevent burning, ensuring a smooth mixture.
- Add Essential Oils: Incorporating essential oils adds a pleasant fragrance and imparts additional benefits such as nourishment and scalp stimulation. Popular choices include peppermint, lavender, and tea tree oil.
- Test Small Batches First: Create small test batches before making a large batch. This approach allows you to fine-tune your recipe and make adjustments as necessary without wasting ingredients.
With these additional tips and tricks, you can create a custom hair paste that meets your needs and promotes healthy and nourished hair.
5 Things You Should Avoid
- Using Artificial Chemicals: Avoid adding synthetic chemicals or artificial fragrances as they can be harsh on your scalp and hair, potentially causing irritation or allergic reactions.
- Overheating Ingredients: When melting waxes and oils, refrain from using high heat. Overheating can degrade the quality of the ingredients, resulting in a less effective hair paste.
- Skipping Preservatives: If you plan to store your hair paste for an extended period, do not skip adding natural preservatives like vitamin E or rosemary extract to prevent mold and bacteria growth.
- Ignoring Allergies: Be cautious about potential allergens. Always check for allergens in the ingredients and consider performing a patch test to ensure the hair paste doesn’t cause adverse reactions.
- Storing Improperly: Improper storage can compromise the quality of your hair paste. To maintain its consistency and effectiveness, avoid storing it in direct sunlight or in overly humid environments.
By steering clear of these common pitfalls, you’ll be well on your way to crafting a high-quality hair paste that is effective and safe to use.
Conclusion
How to make hair paste can be a rewarding and highly customizable experience. By carefully selecting high-quality, natural ingredients and paying attention to the process, you ensure a product that is tailored to your specific needs and preferences.
Remember to experiment with ratios and small batches for optimal consistency and effectiveness. Utilizing tools like a double boiler can make the process smoother while adding essential oils can provide both fragrance and additional benefits. Equally important is avoiding common mistakes such as overheating ingredients, neglecting preservatives, and ignoring potential allergens.
With these guidelines in mind, you’ll be equipped to produce a hair paste that not only enhances your styling regimen but also promotes healthier, more nourished hair.
About the Author
Jane Hubbard is a passionate beauty expert with a wealth of experience in makeup, hair, and overall beauty techniques. After years of working as a hairdresser specialist, she followed her entrepreneurial spirit and started her own consultancy business.
Jane has always been driven by her desire to help others feel confident in their own skin, and she does this by sharing her knowledge, experiences, and practical beauty tips. Through her consultancy, she empowers individuals to embrace their unique beauty, offering tailored guidance that boosts both self-esteem and personal style.
Professional Focus
Specializes in makeup, hairstyling, and beauty consulting.
Provides personalized beauty advice, tips, and techniques to help individuals feel confident in their appearance.
Dedicated to staying up-to-date with the latest industry trends and developments.
Passionate about creating a comfortable and empowering experience for every client.
Education History
University of Craft and Design – Bachelor of Fine Arts (BFA) in Woodworking and Furniture Design
Woodworking Apprenticeships – Extensive hands-on training with skilled craftsmen to refine carpentry and furniture making techniques
Online Courses & Masterclasses – Continued education in advanced woodworking techniques, design principles, and specialized tools
Expertise:
Makeup artistry, hairstyling, and beauty consulting.
Personalized beauty techniques to enhance confidence and self-expression.
Educating clients on how to maintain their beauty routines at home.