
Are you tired of using heat on your hair to achieve curls? Are you seeking a way to achieve beautiful, bouncy curls without damaging your hair? Look no further!
How to prep hair for heatless curls is essential for achieving beautiful, long-lasting results without the risk of damage from styling tools. The key to successful heatless curling lies in the right techniques and products that create the perfect foundation. This process begins with clean, slightly damp hair, which allows for better curl retention and definition. Additionally, using appropriate styling products, such as mousse or curl cream, can enhance your hair’s texture and hold.
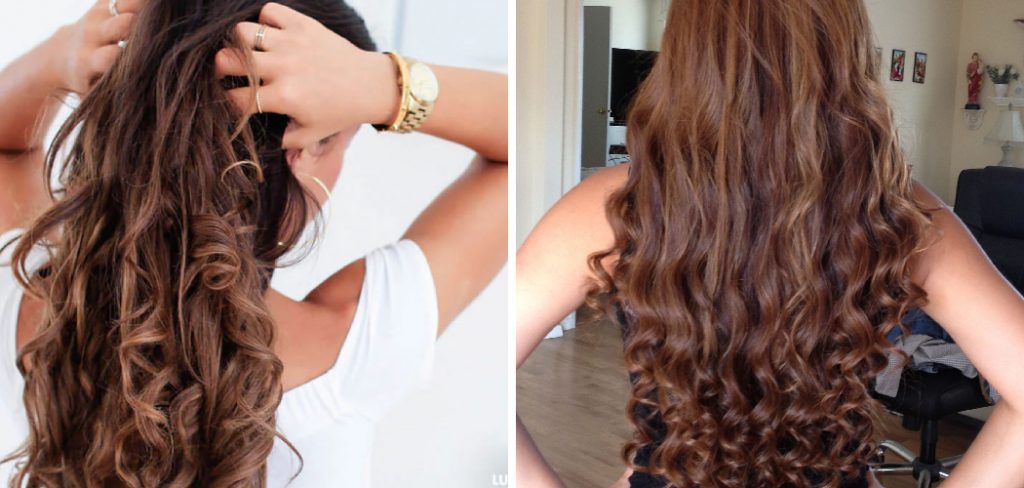
By following a few simple steps to prep your hair properly, you’ll set yourself up for effortlessly stunning curls that maintain their shape throughout the day.
What Will You Need?
Before diving into the steps, gathering all the necessary tools and products is essential. Here are a few items you’ll need to achieve heatless curls:
- Wide-tooth comb or detangling brush
- Hair clips or hair ties
- Heat protectant serum or spray (optional)
- Styling product of choice (mousse, curl cream, etc.)
- Boar bristle brush (for smoothing out curls)
- Satin/silk scarf or bonnet (to preserve curls overnight)
Now that you have everything ready, let’s start prepping your hair for heatless curls.
10 Easy Steps on How to Prep Hair for Heatless Curls
Step 1: Start with Clean Hair
To prepare your hair effectively for heatless curls, wash it with a gentle shampoo, free from sulfates and harsh chemicals. This removes any product buildup, allowing your hair to breathe and making it more responsive to styling. After shampooing, follow up with a nourishing conditioner to replenish moisture and add smoothness. Focus on applying the conditioner to the ends of your hair, as this area tends to be drier and more prone to damage. Rinse thoroughly with cool water, which can help seal the hair cuticles and enhance shine.
Once your hair is clean and conditioned, gently squeeze out excess water with your hands and wrap it in a microfiber towel or an old t-shirt to reduce frizz. This sets a solid foundation for the upcoming steps, ensuring that your curls are stunning but also healthy and well-defined.
Step 2: Detangle Your Hair
It’s time to detangle once your hair is fresh and gently towel-dried. Use a wide-tooth comb or a detangling brush to carefully work through any knots, starting from the ends and moving upward to prevent breakage. This gentle approach will help maintain your hair’s integrity while ensuring that it’s ready for styling. If your hair is prone to tangling, consider applying a heat-protectant serum or leave-in conditioner to provide extra slip and hydration.
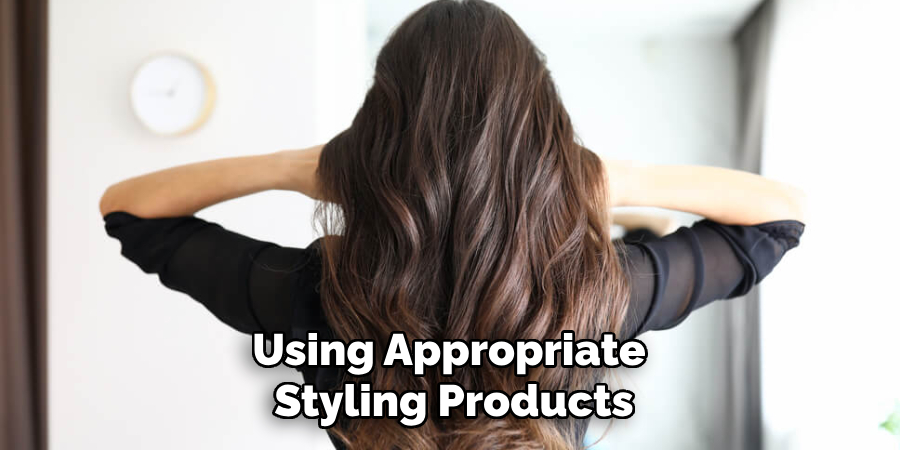
Step 3: Apply Your Styling Product
With your hair detangled and slightly damp, it’s time to apply your chosen styling product. Depending on your hair type and the desired curl definition, you can use a mousse for added volume or curl cream for more defined, bouncy curls. Start by dispensing a small amount of product into your palms and evenly distribute it throughout your hair, focusing on the mid-lengths and ends where curls are most prominent.
Ensure that you thoroughly coat every strand to ensure consistent curl formation. For added texture, scrunch your hair gently as you apply the product, encouraging natural curl formation and enhancing the overall look.
Step 4: Section Your Hair
To achieve the best results when styling your heatless curls, sectioning your hair appropriately is important. Begin by parting your hair down the middle or to one side, depending on your preferred style. Then, use hair clips or ties to divide your hair into manageable sections—typically, four to six sections work well. This will allow you to focus on curling each part systematically, ensuring that all the hair gets the attention it deserves for uniform curl definition. When working with smaller sections, it will also be easier to style your hair without missing any strands, leading to a fuller and more polished look.
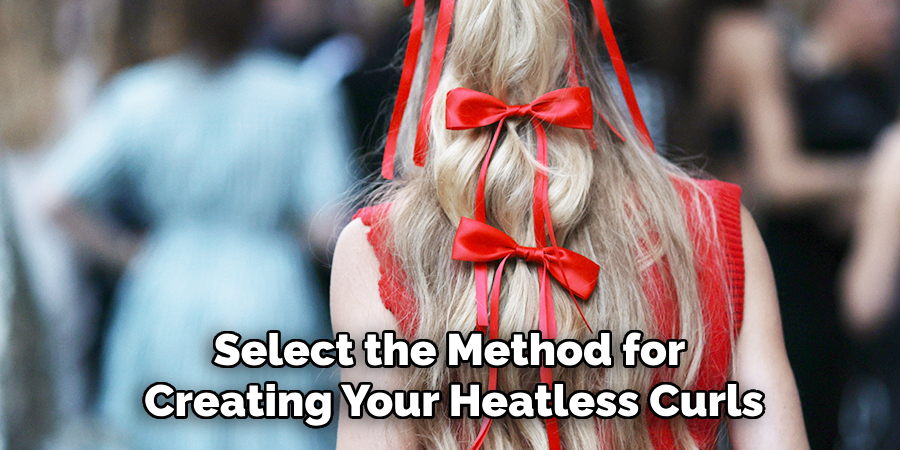
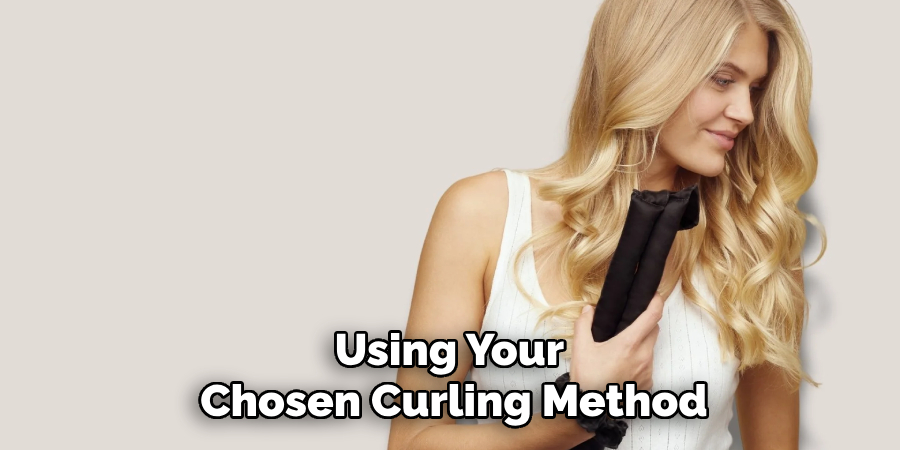
Step 5: Choose Your Curling Method
Now that your hair is prepped and sectioned, it’s time to select the method for creating your heatless curls. You can use various techniques depending on your comfort level and the results you wish to achieve. Some popular options include using braids, twists, or curlers like flexi-rods or rag curls. If you’re looking for loose, beachy waves, consider braiding each section into a tight braid and securing the ends with hair ties.
For tighter curls, twisting each section into a spiral and securing it with a clip can yield beautiful results. Alternatively, you can wrap sections of hair around curlers, ensuring that each strand is secured neatly. Whichever method you choose, the key is to ensure the hair is not too wet, as this can weigh down the curls and prevent them from holding their shape effectively.
Step 6: Secure Your Curls
Once you’ve styled your sections using your chosen curling method, the next step is to secure them properly. If you’re using braids or twists, simply use a small hair tie or clip to hold them in place. For flexible curlers, ensure that each section is wrapped tightly and the ends are tucked securely to prevent any unraveling. If you’re using rags or fabric strips, knot them gently to keep the hair in place without causing any damage.
Allow your curls to set for several hours or overnight for maximum curl definition. This setting time is crucial as it lets the hair adapt to the new shape, ensuring that your curls look great and last longer throughout the day.
Step 7: Unravel and Fluff Your Curls
After allowing your curls to set, it’s time to unravel them carefully. Gently remove any hair ties or clips you used to secure your curling method, ensuring they do not disturb the curl pattern. If you used braids or twists, slowly undo them from the ends to minimize frizz. Once all the sections are unraveled, use your fingers to separate the curls for added volume gently. Avoid using a brush at this stage, as it can lead to frizz and disrupt the defined curls. Instead, lightly fluff your hair at the roots to create a fuller appearance, ensuring the final look remains bouncy and beautifully shaped.
Step 8: Define Your Curls
To elevate the look of your heatless curls, defining them further can enhance their shape and longevity. Begin by using a small amount of curl-defining gel or a lightweight mousse. Apply the product sparingly to your hands, then gently scrunch it into your curls, focusing on areas needing a little extra definition. This step will help to hold the curls in place without making them feel heavy or crunchy.
After applying the product, you can use a diffuser attachment on your hairdryer set to low heat to lightly dry and put the curls, adding more bounce and definition. Finally, finish with a light spritz of hairspray to secure the style, ensuring your curls maintain their stunning shape throughout the day.
Step 9: Maintain Your Curls
Adopting a good maintenance routine is essential to keep your beautiful, heatless curls looking fresh and defined. Avoid heavy products that can weigh down your curls or lead to buildup on your hair. Instead, opt for lightweight leave-in conditioners and curl-enhancing sprays that nourish without compromising bounce. Sleeping with a silk or satin pillowcase can also help reduce frizz and maintain curl integrity overnight.
If your curls start to lose shape throughout the day, a quick refresh can be achieved by lightly misting them with water or a curl refresher spray then scrunching them back into shape. With some care and attention, your curls can remain vibrant and stunning for longer, allowing you to enjoy your fabulous look with minimal effort.
Step 10: Experiment with Different Styles
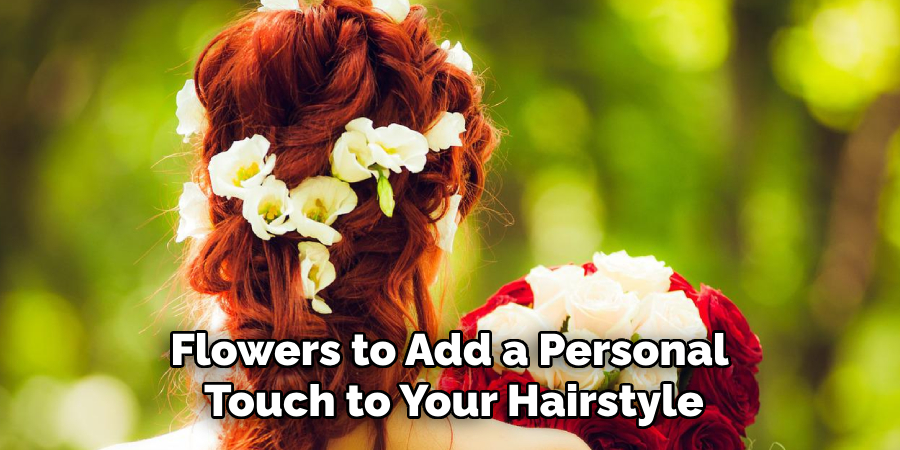
Now that you’ve mastered the art of creating heatless curls, why not explore different styling options to keep your look fresh? Depending on the occasion or your mood, you can experiment with various hairstyles using your curls as a base. Consider loosely tying your curls into a half-up style for a romantic look, allowing the rest to cascade down your shoulders. Alternatively, gather your curls into a low bun or a sleek ponytail for a more polished appearance, leaving a few curls out to frame your face. You can also play with accessories such as headbands, clips, or flowers to add a personal touch to your hairstyle.
By following these steps and tips, you can achieve beautiful, heatless curls without damaging your hair with excessive heat styling.
Conclusion
How to prep hair for heatless curls is a crucial step in achieving gorgeous, defined waves without damaging your strands.
Start by ensuring your hair is clean and slightly damp, as this allows for better curl retention. Use lightweight styling products that nourish your hair while providing hold, and section your hair correctly to promote even curling. Choosing the correct curling method tailored to your hair type and texture will significantly influence the outcome, so don’t hesitate to experiment with different techniques.
Remember, patience is vital; allow your curls ample time to set for optimal results. With these preparation steps, you can enjoy beautiful, bouncy curls that last while maintaining the health of your hair.
About the Author
Jane Hubbard is a passionate beauty expert with a wealth of experience in makeup, hair, and overall beauty techniques. After years of working as a hairdresser specialist, she followed her entrepreneurial spirit and started her own consultancy business.
Jane has always been driven by her desire to help others feel confident in their own skin, and she does this by sharing her knowledge, experiences, and practical beauty tips. Through her consultancy, she empowers individuals to embrace their unique beauty, offering tailored guidance that boosts both self-esteem and personal style.
Professional Focus
Specializes in makeup, hairstyling, and beauty consulting.
Provides personalized beauty advice, tips, and techniques to help individuals feel confident in their appearance.
Dedicated to staying up-to-date with the latest industry trends and developments.
Passionate about creating a comfortable and empowering experience for every client.
Education History
University of Craft and Design – Bachelor of Fine Arts (BFA) in Woodworking and Furniture Design
Woodworking Apprenticeships – Extensive hands-on training with skilled craftsmen to refine carpentry and furniture making techniques
Online Courses & Masterclasses – Continued education in advanced woodworking techniques, design principles, and specialized tools
Expertise:
Makeup artistry, hairstyling, and beauty consulting.
Personalized beauty techniques to enhance confidence and self-expression.
Educating clients on how to maintain their beauty routines at home.