
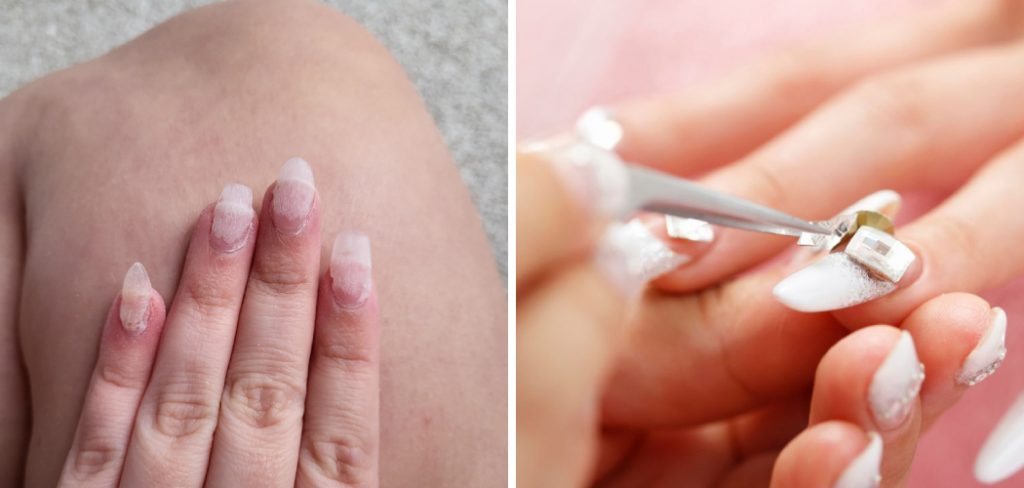
Are you tired of getting your natural nails damaged by nail glue? Well, you’re not alone. Many people struggle to protect their nails from the harsh chemicals in nail glue. But don’t worry, we’ve got you covered! In this guide, we’ll give you some tips and tricks on how to protect nails from nail glue.
Maintaining healthy nails can be challenging, especially when frequently using nail glue for extensions or nail art. While nail glue provides strong adherence for manicures, it can sometimes lead to weakened, brittle nails if not handled properly. Therefore, protecting your natural nails from the potential harm of nail glue is crucial for preserving their strength and beauty.
In this guide, we will explore essential tips and techniques for minimizing damage and ensuring healthy nails despite regular use of nail glue.
What Will You Need?
To effectively protect your nails from nail glue, you will need a few essential items:
- Nail polish remover
- Cuticle oil
- Base coat
- Clear top coat
- Moisturizing hand cream
Once you have these items, you can follow the steps below to protect your nails from nail glue.
10 Easy Steps on How to Protect Nails From Nail Glue
Step 1: Prep Your Nails
The foundation of any good manicure starts with proper nail preparation. Begin by thoroughly cleaning your nails to remove dirt, oils, or old nail polish. Use a gentle nail polish remover to cleanse your nails, ensuring that the surface is completely free from residues. This not only provides a clean slate for the nail glue but also helps achieve stronger adhesion.
Next, gently push back your cuticles using a cuticle pusher. Be mindful not to cut or damage the cuticle area, as this can lead to infections or irritation. Pushing back the cuticles creates more space for the nail glue to bond with your natural nail, ensuring a smoother application.
After prepping your cuticles, take a nail buffer and lightly buff the surface of your nails. Buffing helps to remove the natural shine of your nails and creates a slightly rough texture, which allows the glue to adhere more effectively. Be gentle during this process to avoid thinning your nails.
Finally, apply a nourishing cuticle oil to keep your nail beds hydrated and healthy. This step is essential because the moisturizing properties of cuticle oil prevent the nails and surrounding skin from becoming dry and brittle due to the adhesive.
Step 2: Apply a Base Coat
Applying a base coat is a critical step in protecting your natural nails from the potentially damaging effects of nail glue. Start by selecting a high-quality base coat that is designed to create a protective barrier between your nail and the glue. Gently brush a thin layer of the base coat across each nail, ensuring even coverage. Allow the base coat to dry completely before proceeding.
A base coat not only shields your nails from harsh chemicals but also provides a smooth surface for the glue to adhere to, which can prolong the longevity of your manicure. Additionally, many base coats are fortified with vitamins and minerals that promote nail health, helping to keep your nails strong and less prone to peeling or breaking.
Step 3: Use Nail Guards
Nail guards are thin adhesive strips that can be applied to your natural nails before applying false nails or using nail glue. These guards act as a protective barrier, preventing the glue from directly contacting your natural nails. To use nail guards, simply peel them from the backing and place them on your natural nails, ensuring they cover the entire nail surface. Once all your nails are covered with the guards, you can apply the nail glue as usual. Nail guards are an excellent option for those who frequently use nail glue, as they provide an extra layer of protection and are easy to remove when you’re ready to change your look.
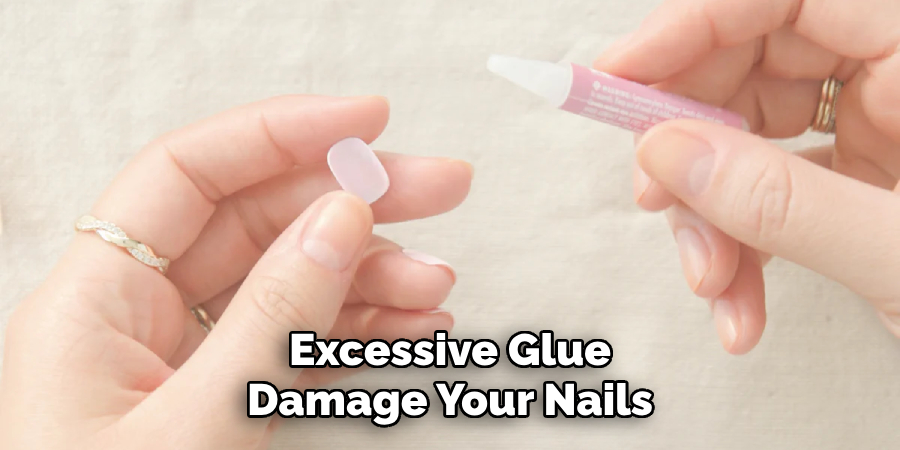
Step 4: Be Mindful of Glue Application
When applying nail glue, it’s essential to use it sparingly. Excessive glue increases the risk of damaging your nails and makes removing it more challenging. Apply a thin, even layer of glue to the false nail or nail tip, then press it gently onto your natural nail. Hold it in place for a few seconds to ensure a secure bond. Avoid applying glue directly to your natural nail, as this can increase the likelihood of damage.
Step 5: Avoid Over-pulling
Once your false nails are applied, avoid pulling or tugging on them excessively. Over-pulling can weaken the glue’s bond and cause your natural nails to tear or peel. Instead, handle your nails gently to maintain their integrity and prevent unnecessary stress on the adhesive bond.
Step 6: Apply a Clear Top Coat
A clear top coat acts as another layer of protection for your nails. After applying your false nails and allowing the glue to dry, apply a layer of clear top coat over the entire nail. This not only seals the nail art but also adds a protective barrier that helps to reinforce the base coat and glue. Additionally, a top coat can give your nails a glossy finish, enhancing their overall appearance.
Step 7: Regular Moisturization
Keeping your nails and hands well-moisturized is crucial for maintaining their health and preventing brittleness. Use a moisturizing hand cream daily, focusing on your nails and cuticles. This helps to counteract the drying effects of nail glue and keeps your nails flexible and less prone to cracking or breaking. Regular moisturizing keeps your nails and surrounding skin in optimal condition.
Step 8: Limit Exposure to Water
Prolonged exposure to water can weaken the bond of nail glue and cause your false nails to lift or detach. Whenever possible, limit the time your hands spend in the water. Wear gloves while doing household chores such as washing dishes or cleaning, and avoid soaking your hands for extended periods.
Step 9: Gentle Removal Process
When it’s time to remove your false nails, do so with care to avoid damaging your natural nails. Soak your nails in warm, soapy water for a few minutes to loosen the adhesive. Gently lift the false nail from the edge, using a cuticle pusher or an orangewood stick to help ease it off. Avoid forcefully prying the nail off, as this can strip layers from your natural nail and cause significant damage.
Step 10: Post-removal Care
After removing your false nails, your natural nails will benefit from some tender loving care. Cleanse your nails thoroughly with a gentle nail polish remover to remove any residual glue. Apply a nourishing cuticle oil and a strengthening nail treatment to help restore your nails’ health. Allow your nails to rest for a few days before reapplying nail glue or false nails to give them time to recover.
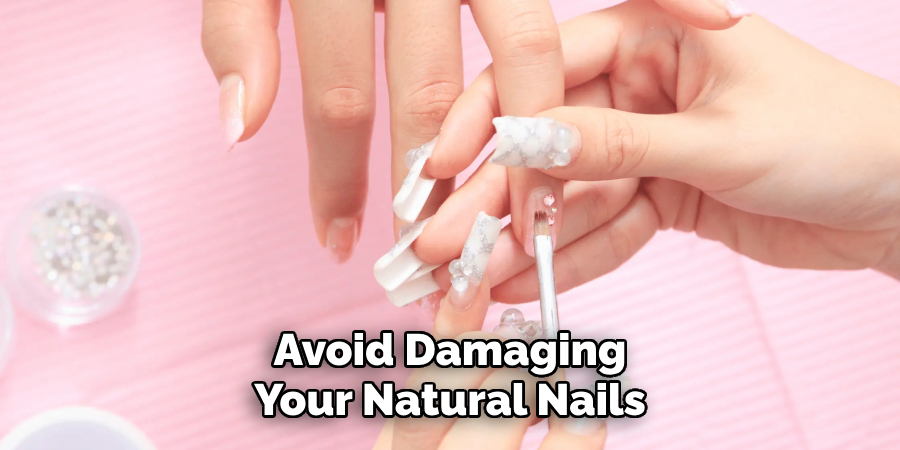
By following these steps and practicing proper nail care, you can enjoy the beauty of false nails without causing damage to your natural nails.
5 Additional Tips and Tricks
- Limit Exposure Time: Try to minimize the amount of time your nails are exposed to glue by working quickly and efficiently. The less time the glue has to bond, the easier it will be to remove.
- Choose Quality Products: Invest in high-quality nail glues and nail products. Premium products often contain less harsh chemicals, which can help maintain the health of your nails.
- Oil Your Nails: Regularly apply cuticle oil or natural oils like coconut or olive oil to your nails. This keeps them hydrated and less prone to brittleness, making it easier to withstand the use of nail glue.
- Soak Off Gently: When removing the glue, soak your nails in warm, soapy water or use an acetone-based remover designed explicitly for nail glue. This ensures that you can gently dissolve the adhesive without pulling or tearing at your nails.
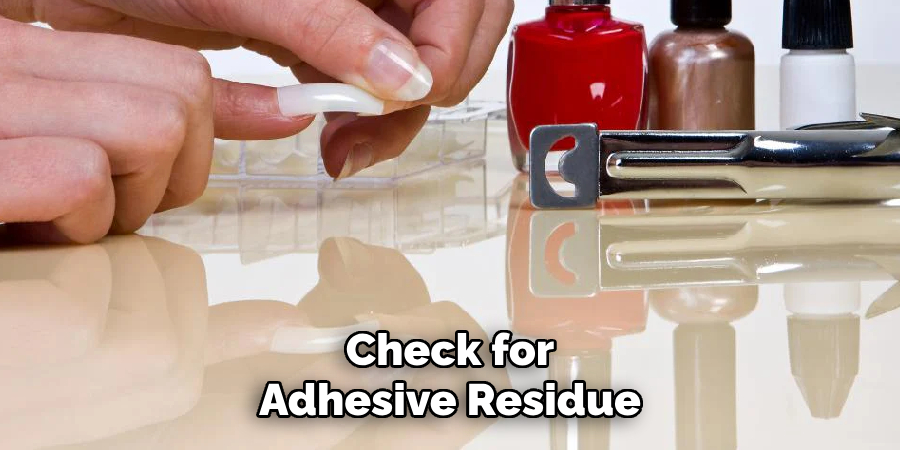
- Check for Adhesive Residue: After removing your false nails, make sure to check for any leftover adhesive on your natural nails. Use a cotton swab soaked in nail polish remover or acetone to remove any residue gently.
With these additional tips and tricks, you can ensure that your experience with nail glue is as safe and effective as possible.
5 Things You Should Avoid
- Avoid Overuse: Using nail glue too frequently can weaken your natural nails. Give your nails a break between applications to allow them to recover and strengthen.
- Avoid Rough Removal: Never forcibly pull or peel off glued-on nails. This can cause significant damage to the nail bed, resulting in thin, brittle, or split nails.
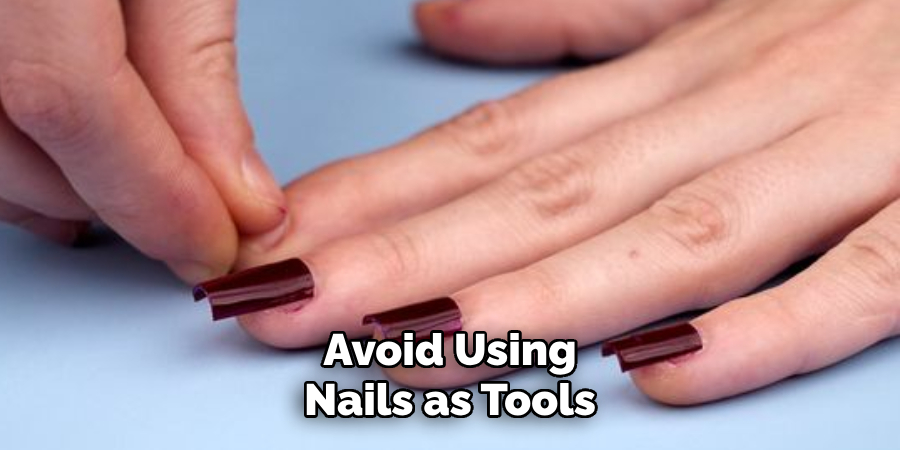
- Avoid Using Nails as Tools: Resist the temptation to use your nails for tasks like opening cans or prying objects. This stresses the adhesive bond and your natural nails unnecessarily, increasing the likelihood of damage.
- Avoid Excess Glue: Too much glue can seep onto the skin around your nails, leading to irritation or an allergic reaction. Apply glue sparingly and precisely to avoid this issue.
- Avoid Submersion in Water: Prolonged exposure to water can weaken the adhesive bond and damage your natural nails. Protect your nails by wearing gloves when doing activities like washing dishes or cleaning.
By steering clear of these common mistakes, you can protect your nails and maintain their health while using nail glue.
Conclusion
In conclusion, how to protect nails from nail glue requires a combination of proper techniques, high-quality products, and mindful practices.
Limiting exposure time, investing in premium nail products, and regularly moisturizing with oils creates a strong foundation for healthy nails. Gentle removal methods and careful residue checks further ensure that your nails remain intact and undamaged. Additionally, avoiding common pitfalls such as overuse, rough removal, and using your nails as tools will help maintain their integrity.
By following these guidelines, you can enjoy the benefits of nail glue without compromising the health and beauty of your natural nails.
About the Author
Jane Hubbard is a passionate beauty expert with a wealth of experience in makeup, hair, and overall beauty techniques. After years of working as a hairdresser specialist, she followed her entrepreneurial spirit and started her own consultancy business.
Jane has always been driven by her desire to help others feel confident in their own skin, and she does this by sharing her knowledge, experiences, and practical beauty tips. Through her consultancy, she empowers individuals to embrace their unique beauty, offering tailored guidance that boosts both self-esteem and personal style.
Professional Focus
Specializes in makeup, hairstyling, and beauty consulting.
Provides personalized beauty advice, tips, and techniques to help individuals feel confident in their appearance.
Dedicated to staying up-to-date with the latest industry trends and developments.
Passionate about creating a comfortable and empowering experience for every client.
Education History
University of Craft and Design – Bachelor of Fine Arts (BFA) in Woodworking and Furniture Design
Woodworking Apprenticeships – Extensive hands-on training with skilled craftsmen to refine carpentry and furniture making techniques
Online Courses & Masterclasses – Continued education in advanced woodworking techniques, design principles, and specialized tools
Expertise:
Makeup artistry, hairstyling, and beauty consulting.
Personalized beauty techniques to enhance confidence and self-expression.
Educating clients on how to maintain their beauty routines at home.