
Spray tans are a popular way to achieve a sun-kissed glow without the harmful effects of UV exposure. However, one common concern is how to protect your nails from discoloration or stains during the tanning process.
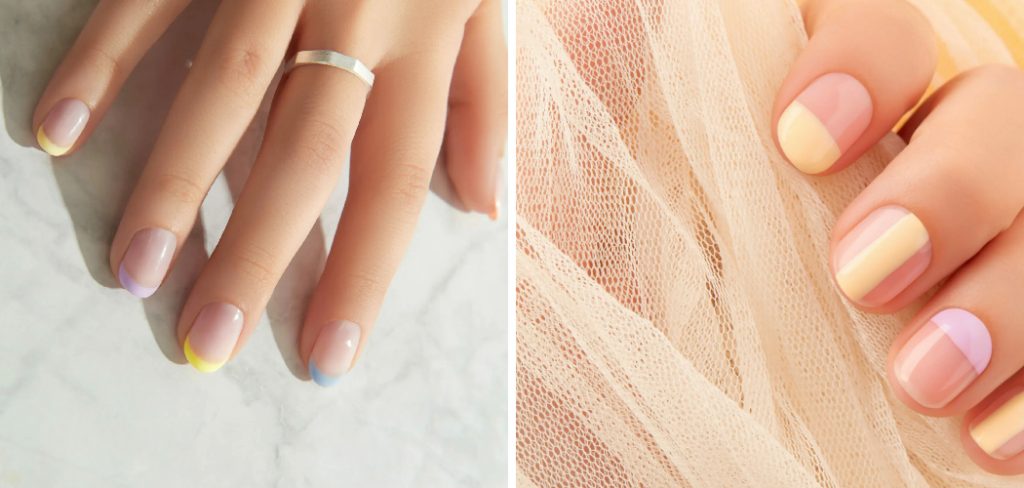
Whether you’re a fan of natural nails, polished nails, or acrylics, taking the right steps can ensure your spray tan leaves only a radiant complexion while your nails remain pristine. This guide on how to protect nails from spray tan will walk you through essential tips and best practices for keeping your nails in perfect condition when getting a spray tan.
Why Does a Spray Tan Affect Nails?
Before we dive into the tips, it’s essential to understand why and how a spray tan can affect your nails. The culprit is DHA (dihydroxyacetone), the active ingredient in most self-tanning products. When DHA comes into contact with amino acids in the skin, it produces a brown color, giving you that golden glow.
However, DHA can also react with keratin protein found in nails, leading to discoloration or staining. This reaction usually happens when there is excess DHA on the hands or when it seeps under nail polish or acrylics.
8 Simple Step-by-step Guidelines on How to Protect Nails From Spray Tan
Step 1: Prepare your Nails
The first and most crucial step to protecting your nails from a spray tan is proper preparation. Begin by thoroughly cleaning your nails, ensuring they are free from any dirt, oil, or residual nail polish. This helps to create a clean surface that can effectively resist any staining agents. If you’re wearing nail polish or acrylic nails, check for any chips or cracks and make necessary repairs to seal off any possible entry points for the solution.
For those with natural nails, consider applying a clear base coat; this acts as a barrier between the DHA and your nail’s keratin. By taking the time to properly prepare your nails, you’ll pave the way for a more flawless and stain-free tanning experience.
Step 2: Protect Your Cuticles
Your cuticles are just as susceptible to staining as your nails, so it’s essential to protect them as well. Before you begin your spray tan, generously apply a thick layer of petroleum jelly or a rich, moisturizing balm to your cuticles and the surrounding skin. This creates a protective barrier that prevents the DHA in the spray tan from seeping into delicate areas around your nails.
Be thorough in your application, making sure to cover the sides and tips of your fingers where staining is most likely to occur. By taking this extra step, you can ensure that both your nails and cuticles remain free from any unwanted discoloration, contributing to an overall flawless appearance post-tan.
Step 3: Use Gloves or Barrier Cream
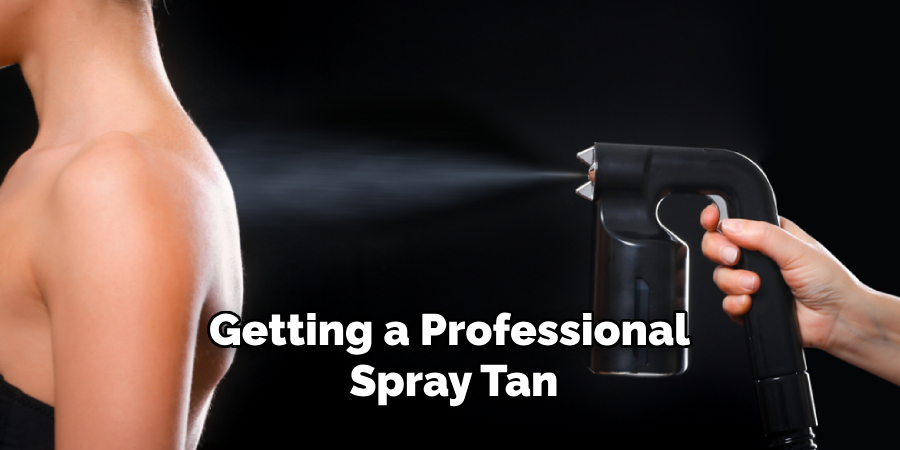
If you’re getting a professional spray tan, your technician will likely provide you with gloves to wear during the tanning process. However, if you’re doing it yourself at home, make sure to use gloves or a barrier cream on your hands and nails. This provides an extra layer of protection between your skin and the DHA solution, ensuring that none of it comes into direct contact with your nails.
When using gloves, make sure they fit snugly and cover all areas that may come into contact with the solution. Alternatively, choose a barrier cream specifically designed for spray tanning and apply it generously to your hands and nails before beginning the tanning process.
Step 4: Be Mindful of Drying Time
After your spray tan, be mindful of the drying time recommended by your technician or self-tanning product instructions. Avoid touching any surfaces with your hands during this time, as this can cause the solution to transfer onto your nails.
If you’re getting a spray tan at a salon, make sure to bring flip flops or open-toed shoes to avoid ruining your pedicure during drying time. Additionally, avoid wearing tight clothing that may come into contact with your freshly-tanned skin and cause the solution to transfer onto your nails.
Step 5: Wash Your Hands After Tanning
Once the recommended drying time has passed, it’s essential to thoroughly wash your hands with warm water and mild soap. This helps to remove any excess DHA from your hands and nails, preventing further staining or discoloration. Be gentle when washing, as harsh scrubbing may damage or chip off any nail polish or acrylics you may be wearing.
After washing, pat your hands dry with a soft towel instead of rubbing them vigorously, which can also damage or affect your nail polish.
Step 6: Moisturize Regularly
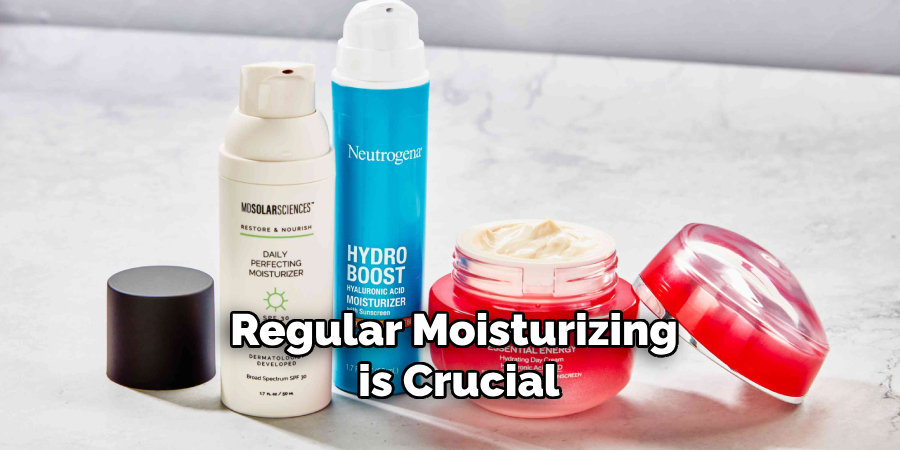
Regular moisturizing is crucial for maintaining both your tan and nail health. After washing your hands post-tan, apply a rich, hydrating lotion or hand cream to keep your skin and cuticles nourished. Focusing on hydration helps maintain the integrity of your tan, prevents it from fading unevenly, and keeps your nails looking their best.
Opt for a fragrance-free, non-comedogenic moisturizer to avoid any adverse reactions, and make moisturizing a daily habit, especially in the days following your spray tan. Keeping your hands and nails hydrated not only offers protection but also enhances the overall appearance of your beautiful, golden glow.
Step 7: Avoid Harsh Chemicals
In the days following your spray tan, avoid using any harsh chemicals or cleaners that may come into contact with your hands and nails. Cleaning products, dish soaps, and even certain beauty products can cause the DHA in your spray tan to break down, leading to uneven fading and potential nail staining.
If you must use these products, make sure to wear gloves or wash your hands immediately after use. This will help prevent any unwanted reactions between the chemicals and your tan.
Step 8: Be Gentle
Last but not least, be gentle with your hands and nails in the days following your spray tan. Avoid excessive hand washing, harsh exfoliation, or activities that may cause damage to your nails. It’s also best to avoid swimming pools and hot tubs as chlorine can affect both your tan and nail health.
By taking these simple steps, you can protect your nails from staining while still enjoying a beautiful, natural-looking tan. With proper preparation and care, you can have flawless skin and perfect nails all at once! So go ahead and rock that golden glow with confidence- your nails will thank you for it too!
Following these steps on how to protect nails from spray tan will help ensure that your spray tan and nail health coexist harmoniously.
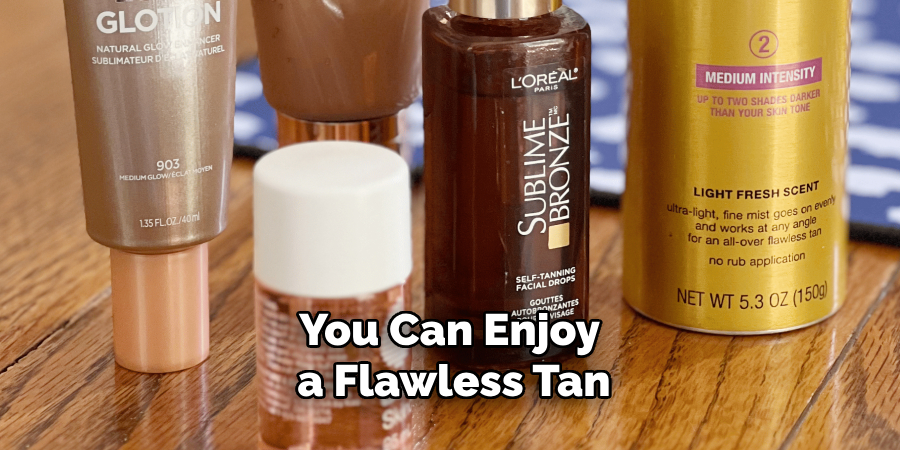
By taking the time to properly prepare, protect, and care for your nails, you can enjoy a flawless tan without any unwanted staining or damage. Keep these tips in mind before your next spray tanning session, and you’ll be well on your way to achieving the perfect sun-kissed look from head to toe!
Tips for Protecting Nails From Spray Tan
Now that we know the cause let’s look at some simple yet effective ways to protect your nails from spray tan:
Trim and Clean Your Nails Beforehand:
Make sure to trim your nails before getting a spray tan to minimize the surface area where DHA can react. Also, be sure to wash your hands thoroughly with soap and warm water to remove any dirt or oils that may interfere with the tanning solution.
Use Petroleum Jelly or Barrier Cream:
Apply petroleum jelly or a barrier cream around your nails, cuticles, and under nail tips to create a protective barrier between your nails and the tanning solution. Be sure to avoid getting any of these products on your actual nails as they can prevent the DHA from developing evenly.
Cover Your Nails During the Spray Tan:
Consider covering your nails with tape, stickers, or cling wrap during the spray tan process. This will provide an extra layer of protection and prevent any stray droplets of tanning solution from coming into contact with your nails.
Ask for a Hand-tan Solution:
If you’re getting a professional spray tan, make sure to ask for a hand-tan solution specifically designed for the hands. These solutions contain less DHA and are more gentle on the nails, reducing the chances of nail discoloration.
Avoid Getting Nail Services Beforehand:
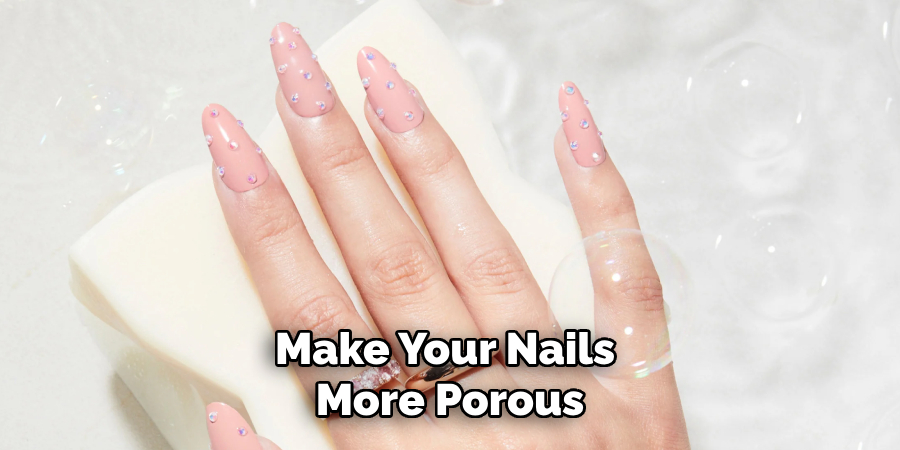
It’s best to avoid getting manicures or pedicures before a spray tan as they can make your nails more porous, making them susceptible to staining. If you must get your nails done, do it at least 24 hours before or after your tanning session.
Rinse Your Hands Immediately After:
After your spray tan, be sure to rinse off the excess solution from your hands with lukewarm water. This will help remove any DHA that may have gotten on your nails and prevent further reaction.
Conclusion
In summary, taking proactive measures to protect your nails from spray tan can make a significant difference in maintaining both your tan and nail health.
By following the tips on how to protect nails from spray tan outlined, such as trimming and cleaning your nails beforehand, using petroleum jelly or barrier cream, and covering your nails during the tanning process, you can effectively prevent unwanted staining. Remember to rinse your hands immediately after tanning and apply moisturizer regularly to keep your nails and skin hydrated.
Additionally, avoiding harsh chemicals and being gentle with your nails in the days following your spray tan will help preserve your flawless glow. Embrace these simple yet effective practices to enjoy a beautiful, natural-looking tan without compromising the health and appearance of your nails.
About the Author
Jane Hubbard is a passionate beauty expert with a wealth of experience in makeup, hair, and overall beauty techniques. After years of working as a hairdresser specialist, she followed her entrepreneurial spirit and started her own consultancy business.
Jane has always been driven by her desire to help others feel confident in their own skin, and she does this by sharing her knowledge, experiences, and practical beauty tips. Through her consultancy, she empowers individuals to embrace their unique beauty, offering tailored guidance that boosts both self-esteem and personal style.
Professional Focus
Specializes in makeup, hairstyling, and beauty consulting.
Provides personalized beauty advice, tips, and techniques to help individuals feel confident in their appearance.
Dedicated to staying up-to-date with the latest industry trends and developments.
Passionate about creating a comfortable and empowering experience for every client.
Education History
University of Craft and Design – Bachelor of Fine Arts (BFA) in Woodworking and Furniture Design
Woodworking Apprenticeships – Extensive hands-on training with skilled craftsmen to refine carpentry and furniture making techniques
Online Courses & Masterclasses – Continued education in advanced woodworking techniques, design principles, and specialized tools
Expertise:
Makeup artistry, hairstyling, and beauty consulting.
Personalized beauty techniques to enhance confidence and self-expression.
Educating clients on how to maintain their beauty routines at home.