
If you’re a fan of manicures, but don’t have the time to make regular trips to the salon, Color Street Nail Polish Strips are an easy way to add some sparkle and flair! Looking for a way to update your craft projects with something unique and eye-catching? Color Street nail polish strips are the perfect solution. However, if you ever want to change out your design or remove the strips entirely, it can be more complicated than expected.
Available in a variety of vivid colors, patterns, and glittery designs, these adhesive strips can take any craft project to the next level – but what happens if you want to remove them from an item of clothing or furniture that has been decorated with them? In this blog post, we will cover easily and effectively how to remove color street nail polish strips so that you can switch up your crafts whenever you’d like.
Can You Remove Color Street Nail Polish Strips?
The good news is, yes! You can easily remove Color Street nail polish strips from any surface without damaging them. The key to success here is using the right products and taking your time. Also, make sure you’re working on a flat, sturdy surface and use clean items to help with the removal.
Things to Remember While Removing Color Street Nail Polish Strips
Before you start, it’s important to remember that the adhesive used on Color Street strips is quite strong and can be difficult to remove if not done properly. Here are some helpful tips for successful removal:
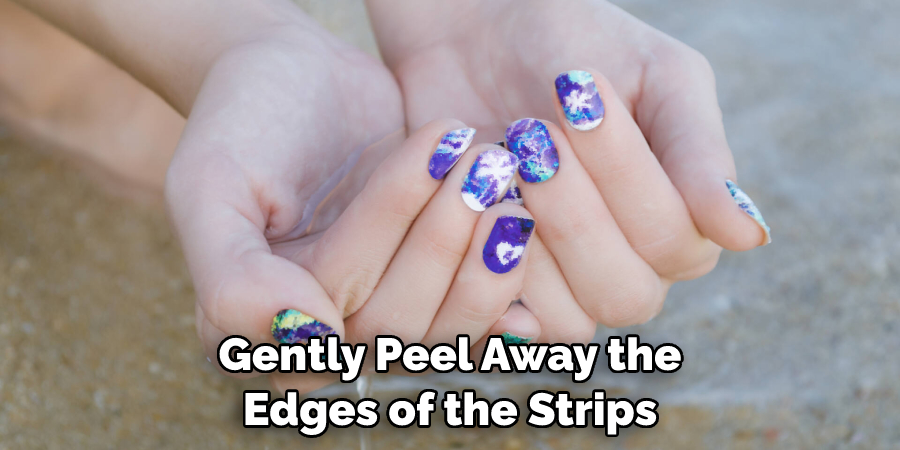
- Start by gently peeling away the edges of the strip. Do not pull too hard, or you could end up damaging your project.
- If the strip doesn’t come off easily, try using an adhesive removal solution to help loosen it up and make it easier to remove.
- Once all of the strips have been removed, use rubbing alcohol or nail polish remover to get rid of any leftover residue on the project surface.
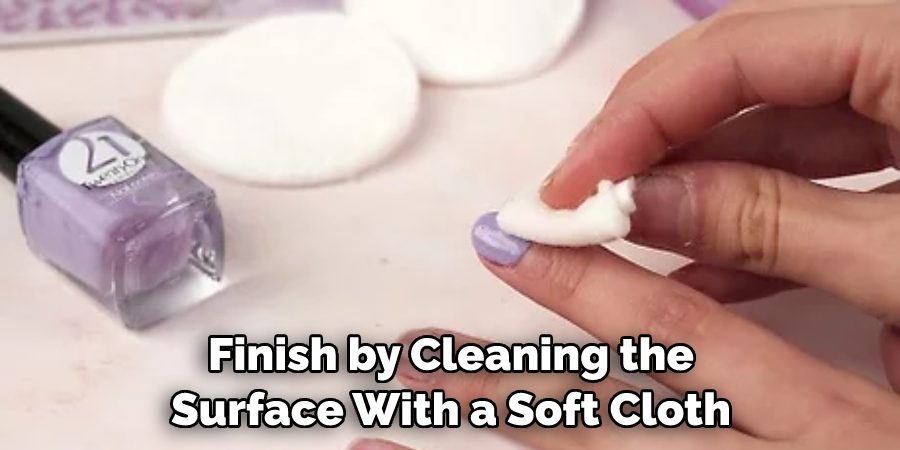
- Finally, finish by cleaning the surface with a soft cloth.
Removing Color Street nail polish strips is an easy and relatively painless process, so don’t be afraid to update your projects whenever you feel like it! Just remember to take your time and use the right products for successful removal. With these tips, you’ll be able to switch up your crafts in no time.
Required Items
- Nail Polish Remover or Rubbing Alcohol
- Adhesive remover solution
- Soft cloth
- Flat, sturdy surface to work on.
10 Ways How to Remove Color Street Nail Polish Strips
1. Peel Away
Gently peel away the edges of the strips. Peeling too hard can damage your project, so take it slow. Also, keep in mind that the adhesive is quite sticky and may resist removal. While pulling away, help it out with a fingernail or tweezers and pull slowly and gently.
2. Heat Things Up
If the strips are still refusing to come off, try using a hair dryer on medium-low heat to warm up the adhesive. This will make it easier for you to remove the strip without damaging your project. Also, make sure you keep the hair dryer at least 6 inches away from the surface.
3. Use Solvents
If heat isn’t enough to get rid of the strips, try using an adhesive remover spray or solution on the area. This will help loosen up the adhesive and make it easier for you to remove without damaging your project.
4. Use Rubbing Alcohol
If the strips have been particularly stubborn, try using rubbing alcohol or nail polish remover to get rid of the residue left behind from the adhesive. Make sure to test on a small area first, as some surfaces may not react well with these products.
5. Scrape Away
Using a razor blade or credit card, you can gently scrape away the remaining adhesive residue. Start at one end of the strip and slowly move your way across until you have removed all of the pieces. Be careful not to press too hard, as this may damage your project.
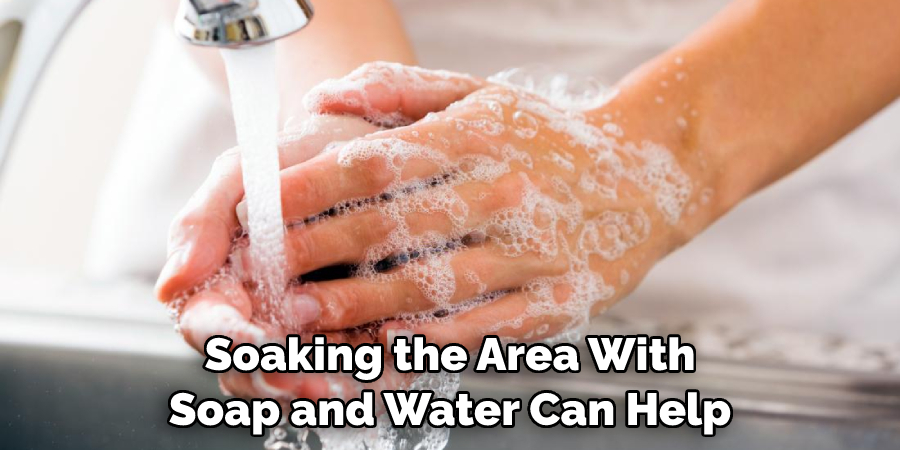
6. Use Soap and Water
Soaking the area with soap and water can help break down the adhesive and make it easier to remove. Make sure you use a soft cloth when removing the strips, as anything too abrasive could damage your project.
7. Use an Eraser
Using an eraser or rubber cement eraser can help remove any remaining residue from the adhesive. This is especially helpful for getting into small crevices and tight spaces.
8. Try a Magic Eraser
A magic eraser can help remove any stubborn adhesive residue that is left behind. Just make sure to test on a small area first before using it on the entire project, as this could cause damage if used incorrectly.
9. Use WD-40
WD-40 can help soften the adhesive and make it easier to remove. Just be sure to use a cloth or paper towel when applying it, as using your bare hands could cause skin irritation. Using WD-40 can also help protect the surface from further damage.
10. Finish With a Cloth
Finish by cleaning the surface with a soft cloth or paper towel to get rid of any remaining residue and dust particles. This will not only make your project look nice and clean, but it will also help ensure that you don’t have any lasting adhesive residue left over.
Once the strips have been removed, you should be left with a clean and smooth project surface.
By following these steps on how to remove Color Street nail polish strips, you can easily switch up your projects when the time comes without worry or frustration. Just remember to take your time and use the right products for successful removal. With these helpful tips, you’ll be able to switch up your crafts in no time.
8 Safety Measures to Follow
Color Street nail polish strips offer a convenient and mess-free way to get salon-quality manicures. But like any product, there are steps you need to take when using them to ensure that the removal process is both safe and effective.
1. Read the instructions carefully. Before attempting to remove Color Street nail polish strips, make sure you read the instructions on how to do it properly. This will ensure that you know exactly what steps need to be taken and avoid any accidents or injury.
2. Protect your nails and skin. When performing the removal process, make sure you wear gloves to protect your hands and nails from any potential irritation or damage that could be caused by the remover chemicals.
3. Use a gentle remover product. Color Street nail polish strips are designed to last up to 14 days, so it’s important to use a gentle remover product that won’t damage your nails. Remover products specifically designed for Color Street strips are available, but you can also use a mild acetone-based remover.
4. Take your time. Don’t rush the process! Allow each nail to fully soak in the remover before trying to remove the strip – this will ensure that it comes off as easily and painlessly as possible.
5. Start in the center. When removing the strips, start from the center of each nail and work your way outwards to make sure that all of the product is removed. It’s also important to be extra gentle around the cuticles, as this can cause irritation if you’re too rough.
6. File away any residue. Once the strip is fully removed, take some time to file away any residual product on your nails so that they are smooth and even. This will also help to prevent any further damage or irritation.
7. Wash your hands thoroughly. After the removal process is complete, make sure you wash your hands thoroughly with soap and water to remove any traces of the remover product.
8. Moisturize your nails. After removing Color Street nail polish strips, it’s important to moisturize your hands and nails with a cuticle oil or nourishing lotion to restore hydration and keep them healthy.
Following these steps will help ensure that the removal process is both safe and effective, so you can enjoy your Color Street manicures without any worries! By following these steps, you can ensure that the removal process of Color Street nail polish strips is done safely and effectively.
Conclusion
All in all, with this guide on how to remove color street nail polish strips removing Color Street Nail Polish Strips, is a straightforward process that can be done easily at home. Though you may have to repeat the process a few times until all remnants of color are gone, it will be worth it in the end. And after you’re finished, why not use the removed strips to make your own craft item? Use some imagination and find unique ways to repurpose them. Create something special for yourself or as a gift for someone else.
You can even save up the nail strips over time for larger projects like jewelry boxes or framed artwork. Whatever you decide to do with your Polished Strips, let us know! We’d love to see what amazing creations our readers come up with!
About the Author
Jane Hubbard is a passionate beauty expert with a wealth of experience in makeup, hair, and overall beauty techniques. After years of working as a hairdresser specialist, she followed her entrepreneurial spirit and started her own consultancy business.
Jane has always been driven by her desire to help others feel confident in their own skin, and she does this by sharing her knowledge, experiences, and practical beauty tips. Through her consultancy, she empowers individuals to embrace their unique beauty, offering tailored guidance that boosts both self-esteem and personal style.
Professional Focus
Specializes in makeup, hairstyling, and beauty consulting.
Provides personalized beauty advice, tips, and techniques to help individuals feel confident in their appearance.
Dedicated to staying up-to-date with the latest industry trends and developments.
Passionate about creating a comfortable and empowering experience for every client.
Education History
University of Craft and Design – Bachelor of Fine Arts (BFA) in Woodworking and Furniture Design
Woodworking Apprenticeships – Extensive hands-on training with skilled craftsmen to refine carpentry and furniture making techniques
Online Courses & Masterclasses – Continued education in advanced woodworking techniques, design principles, and specialized tools
Expertise:
Makeup artistry, hairstyling, and beauty consulting.
Personalized beauty techniques to enhance confidence and self-expression.
Educating clients on how to maintain their beauty routines at home.