

Getting a salon-quality manicure at home used to feel out of reach, but that changed the moment gel-hybrid polishes hit the shelves. If you’ve ever admired glossy, chip-resistant nails and wondered how to use miracle gel nail polish without a bulky UV lamp, you’re in exactly the right place. This clever two-step system gives you long-lasting shine and bold color that dries under regular light, so you skip the pricey salon visit entirely.
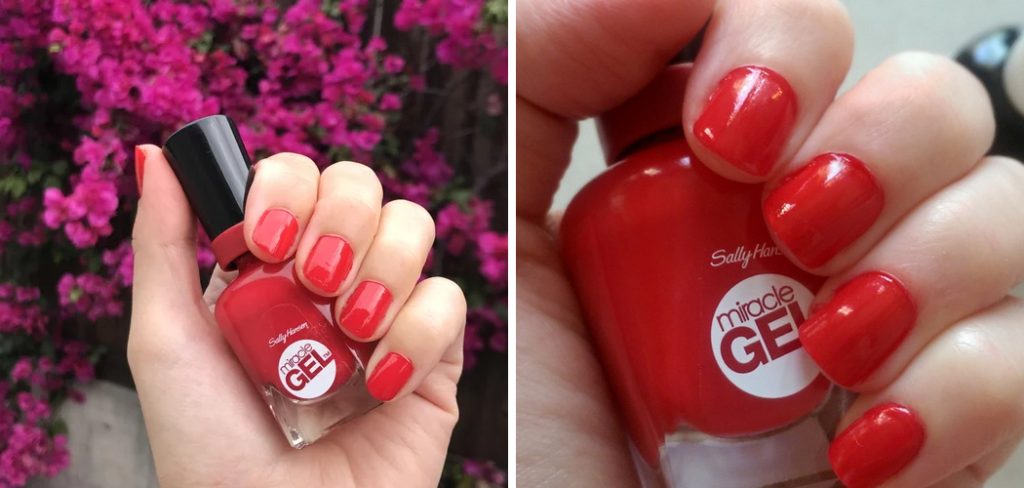
Miracle gel is beginner-friendly and forgiving, which makes it a favorite for first-timers and busy people alike. You don’t need special training or expensive tools to pull off a flawless finish. With a little know-how and a steady hand, you can create a manicure that lasts up to a week or more without peeling, smudging, or fading.
In this friendly, expert-backed guide, we’ll walk you through everything step by step. You’ll learn how to prep, paint, and seal your nails the right way, plus get answers to the questions people ask most. Let’s help you master this simple system and enjoy beautiful nails at home.
Why Using Miracle Gel Polish Matters
Choosing a gel-hybrid formula gives you real advantages over standard polish. The color stays vibrant and glossy for days, resisting the chips and dullness that plague ordinary lacquers. That means fewer touch-ups, less wasted product, and more time enjoying your look instead of fixing it. For anyone juggling a busy schedule, that durability is a genuine game-changer.
The best part is the convenience. Unlike traditional gel systems, this one cures under natural or household light, so you avoid the cost and hassle of a UV lamp. Removal is gentler too, since you simply soak the polish off with remover rather than filing it away. That protects your natural nails and keeps them healthier over time, giving you salon-worthy results without the salon commitment or expense.
Step-by-Step Guide To How to Use Miracle Gel Nail Polish
Step 1: Prep Your Nails
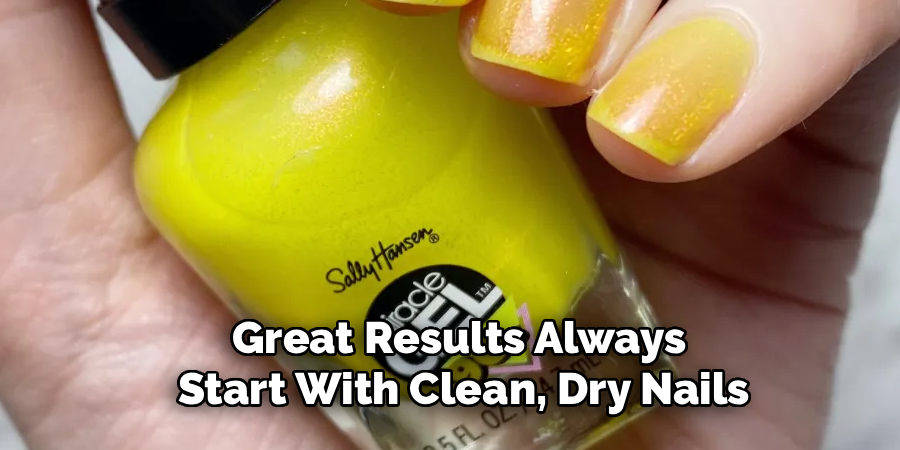
Great results always start with clean, dry nails, so give this step your full attention. Begin by removing any old polish completely, then wash your hands to clear away oils and lotion. Trim and shape each nail with a file, working in one direction to prevent splits and rough edges. Gently push back your cuticles for a neat canvas, but never cut them, since that can lead to irritation.
Once your nails are shaped, buff the surface lightly to smooth out ridges. Wipe everything down with a lint-free pad soaked in remover or rubbing alcohol. This removes leftover residue and helps the color grip better, giving you a longer-lasting finish.
Step 2: Apply The Base Coat
The base coat is your foundation, and it does more than you might think. It smooths the nail surface, boosts adhesion, and protects your natural nail from staining. Shake the bottle gently, then wipe the brush against the neck to remove excess product. Apply one thin, even layer across each nail, starting near the cuticle and sweeping toward the tip in smooth strokes.
Keep the coat light rather than heavy, because thick layers take longer to set and can look uneven. Cover the whole nail, including the very edge of the tip, to seal in your work. Then let it dry naturally for a couple of minutes before moving on.
Step 3: Paint The First Color Coat
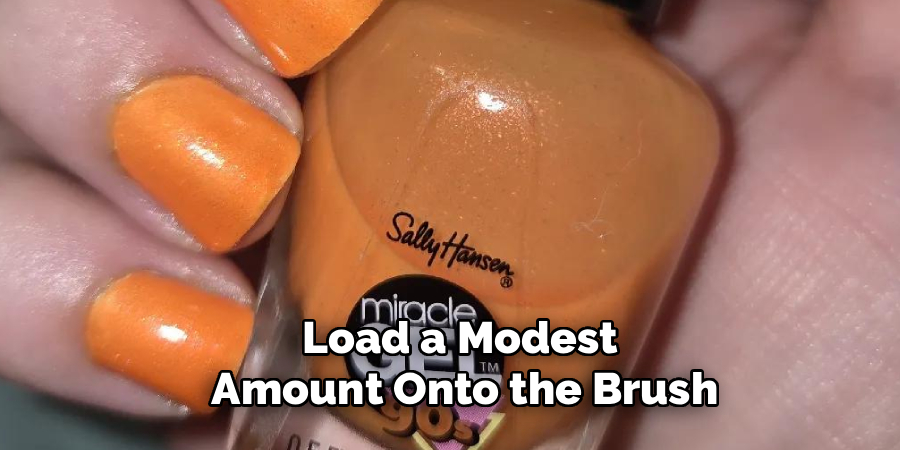
Now for the fun part where your color comes to life. Learning how to use miracle gel nail polish well comes down to patience and thin layers, so resist the urge to glob it on. Load a modest amount onto the brush, then paint down the center of the nail first. Follow with one stroke on each side to cover the surface evenly.
Don’t worry if this first coat looks a little sheer or streaky, because that’s completely normal. A single layer rarely gives full coverage, and building color gradually creates the smoothest, most professional result. Let this coat dry for two to three minutes before adding more.
Step 4: Add The Second Color Coat
The second coat is where your manicure truly transforms, delivering rich, opaque color and that signature glossy depth. Using the same light-handed technique, apply another thin layer over the first. Work quickly but carefully, painting down the middle and then along each side of the nail. Cap the tip again by running the brush along the free edge, which helps prevent early chipping.
If your shade is very pale or pastel, you might need a third thin coat for full coverage, and that’s perfectly fine. Just keep each layer thin and allow proper drying time between them. Rushing here causes bubbles, dents, and uneven patches, so give it a moment.
Step 5: Seal With The Top Coat
The top coat is the secret behind that long-lasting, mirror-like shine, so never skip it. This layer locks in your color, adds serious durability, and creates the glossy finish that makes gel-hybrid polish so appealing. Apply a generous but controlled layer over each fully dried color coat, once again sealing the tip for extra protection against chips.
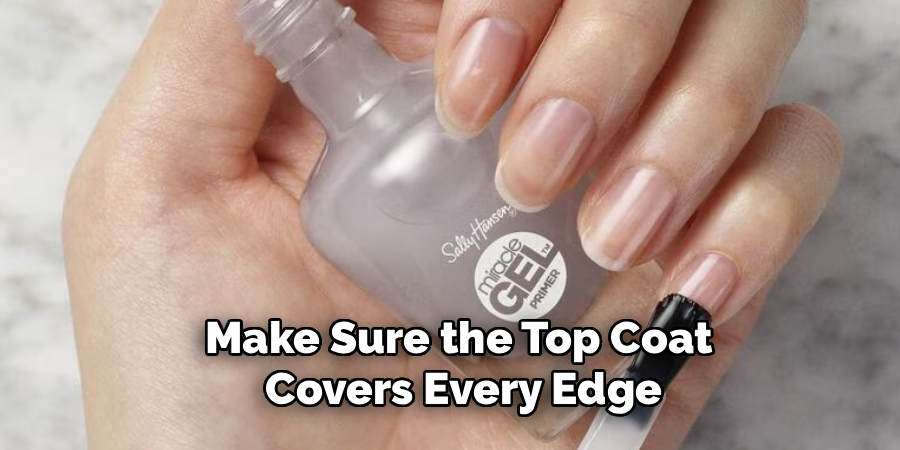
Make sure the top coat covers every edge and corner of the nail. Any spot you miss becomes a weak point where lifting and peeling can start. Once applied, avoid touching anything for several minutes. This is the stage where mastering how to use miracle gel nail polish pays off with a finish that lasts.
Step 6: Let It Cure In Regular Light
One of the biggest perks of this system is that it cures without a UV or LED lamp. Instead, your polish hardens under normal daylight or standard indoor lighting, which makes the whole process wonderfully simple. After your top coat is on, keep your hands still and let the polish set in the open air for at least ten to fifteen minutes.
While it may feel dry to a light touch fairly quickly, full hardening takes a bit longer. Give it plenty of time before doing anything demanding with your hands. The longer you wait, the stronger and more chip-resistant your manicure becomes, so patience genuinely rewards you here.
Step 7: Care For Your Manicure
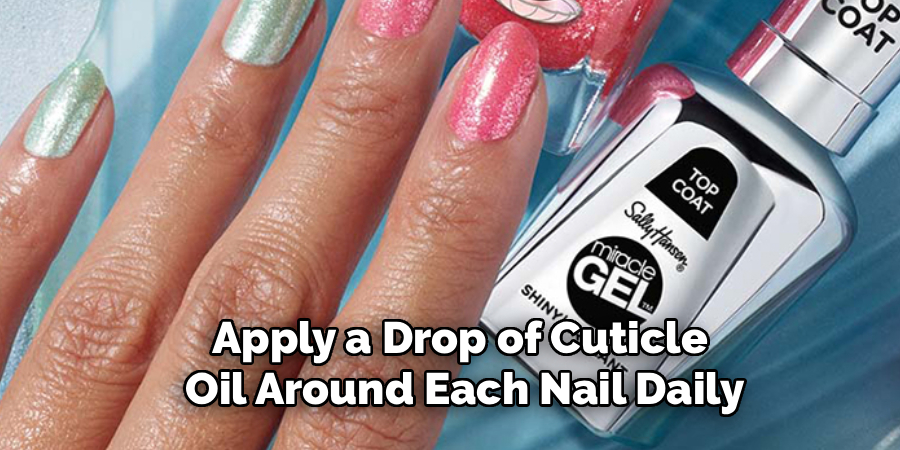
Your work isn’t quite finished once the polish sets, because good aftercare keeps your nails looking fresh for days. Apply a drop of cuticle oil around each nail daily to nourish the skin and add flexibility, which helps prevent cracking. Wear gloves when washing dishes or cleaning, since harsh water and chemicals speed up wear and dullness.
Try to avoid using your nails as tools for scraping or opening things, as that’s a fast track to chips. When you’re ready to remove the polish, soak cotton pads in remover, press them onto your nails, and wait before gently wiping away. This gentle method protects your natural nails beautifully.
Frequently Asked Questions
Do I Need A UV Lamp For This Polish?
No, and that’s one of its greatest strengths. This gel-hybrid formula cures under regular daylight or normal indoor lighting, so you don’t need a UV or LED lamp at all. Simply apply your coats, then let your nails set in the open air for ten to fifteen minutes. This makes the system affordable, portable, and perfect for at-home manicures without any special equipment.
How Long Does The Manicure Last?
With proper application, your manicure can last up to a week or even longer without chipping or peeling. The secret lies in thin, even coats, capping the tips, and never skipping the top coat. Daily habits matter too, so wearing gloves for chores and applying cuticle oil helps extend the wear. Careful prep and gentle aftercare make the biggest difference in longevity.
Can I Use Regular Nail Polish Remover?
Yes, standard acetone-based nail polish remover works perfectly for taking off this polish. Soak a cotton pad in remover, press it firmly against the nail, and hold it there for a short while to break down the layers. Then wipe gently rather than scraping. This soak-off method is gentle on your natural nails and far kinder than filing, which protects your nail health over time.
Why Is My Polish Peeling Early?
Early peeling usually points to a prep or application issue. If your nails weren’t fully clean and oil-free before painting, the polish struggles to grip. Skipping the base coat, applying layers too thickly, or forgetting to seal the tips also causes lifting. Make sure each coat dries properly and always cap the free edge. Correcting these small habits dramatically improves how long your color stays put.
Can Beginners Really Get Good Results?
Absolutely, this system was practically made for beginners. The forgiving formula, air-drying feature, and simple two-step color process mean you don’t need professional training to succeed. Focus on thin coats, patience between layers, and thorough prep, and you’ll be amazed at your results. Even your first attempt can look polished and clean, and your technique only gets better with a little practice.
Conclusion
Creating a stunning, long-lasting manicure at home is completely within your reach, and now you have the roadmap to do it. The key takeaways are simple. Start with clean, well-prepped nails, apply a protective base coat, then build your color in thin, even layers. Seal everything with a glossy top coat, let it cure in regular light, and finish with gentle daily care to keep your nails looking their best.
Once you understand how to use miracle gel nail polish, you’ll wonder why you ever booked expensive salon appointments. This friendly, foolproof system saves you money, protects your natural nails, and delivers vibrant color that lasts for days. So grab your favorite shade, set aside a little time, and treat yourself to a manicure you’ll be proud to show off. Your best nails yet are just a few thin coats away, so go ahead and give it a try today.

About the Author
Jane Hubbard is a passionate beauty expert with a wealth of experience in makeup, hair, and overall beauty techniques. After years of working as a hairdresser specialist, she followed her entrepreneurial spirit and started her own consultancy business.
Jane has always been driven by her desire to help others feel confident in their own skin, and she does this by sharing her knowledge, experiences, and practical beauty tips. Through her consultancy, she empowers individuals to embrace their unique beauty, offering tailored guidance that boosts both self-esteem and personal style.
Professional Focus
Specializes in makeup, hairstyling, and beauty consulting.
Provides personalized beauty advice, tips, and techniques to help individuals feel confident in their appearance.
Dedicated to staying up-to-date with the latest industry trends and developments.
Passionate about creating a comfortable and empowering experience for every client.
Education History
University of Craft and Design – Bachelor of Fine Arts (BFA) in Woodworking and Furniture Design
Woodworking Apprenticeships – Extensive hands-on training with skilled craftsmen to refine carpentry and furniture making techniques
Online Courses & Masterclasses – Continued education in advanced woodworking techniques, design principles, and specialized tools
Expertise:
Makeup artistry, hairstyling, and beauty consulting.
Personalized beauty techniques to enhance confidence and self-expression.
Educating clients on how to maintain their beauty routines at home.