
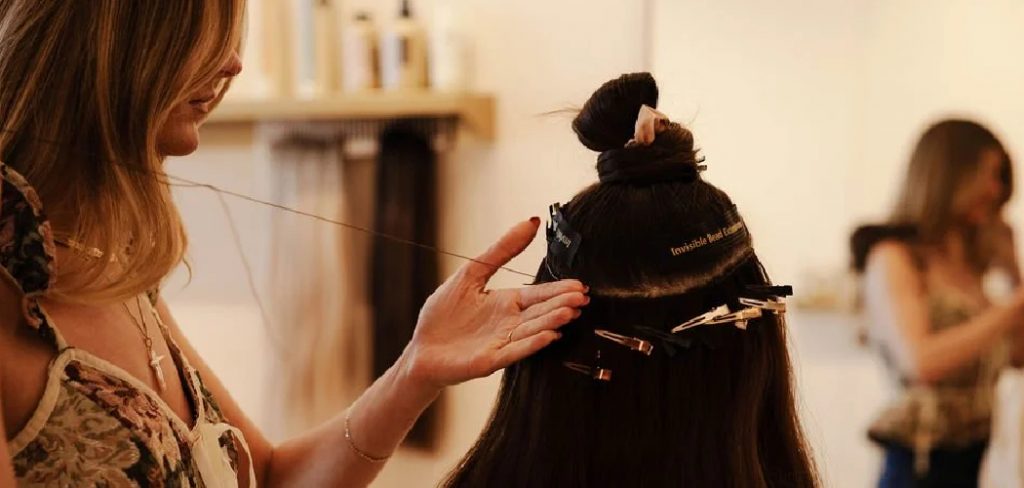
Adding a bit of sparkle to your hair can instantly elevate your look, and hair tinsel is the perfect way to do it.
This fun and stylish hair accessory has gained immense popularity for its ability to add a touch of shimmer and personality without any permanent commitment. Whether you’re getting ready for a festival, a special occasion, or just want to brighten up your everyday style, hair tinsel is a fantastic choice. Using beads to secure the tinsel makes the application process simple and secure, allowing you to enjoy your dazzling new look with confidence.
In this guide on how to put in hair tinsel with beads, we’ll cover everything you need to know to achieve the perfect look.
What are the Benefits?
Hair tinsel offers several advantages that make it a go-to accessory. First and foremost, it adds an incredible sparkle to your hair that catches the light with every movement.
Unlike dyes or permanent treatments, tinsel is completely temporary. You can wear it for a day, a week, or even a few months, and remove it whenever you’re ready for a change. The application process, especially with beads, is straightforward and doesn’t require a trip to the salon.
It’s a damage-free way to experiment with your style, and since the tinsel strands are so fine, they blend seamlessly with your natural hair.
What Will You Need?
Before you begin, gathering the right materials will make the process smooth and successful. Here’s a list of everything you’ll need:
- Hair Tinsel Strands
- Micro Link Beads (choose a color that matches your hair root)
- A Latch Hook or Looping Tool
- Pliers (specifically designed for hair extensions)
- A Rat-Tail Comb for sectioning
- Hair Clips to hold back sections of hair
10 Easy Steps on How to Put in Hair Tinsel with Beads
Ready to add some dazzling sparkle to your hair? Applying hair tinsel with beads is a surprisingly simple and enjoyable process that you can easily do at home. It’s a fantastic way to experiment with your look for a special event or just to add a bit of fun to your daily style. This method is secure, long-lasting, and gentle on your hair. Follow these ten detailed steps to master the technique and achieve a flawless, shimmering finish that will have heads turning. Let’s get started on your transformation!

Step 1: Prepare Your Hair and Tinsel
First things first, let’s get your station ready. Begin with hair that is clean, completely dry, and thoroughly brushed. Working with smooth, tangle-free hair will make the process much easier and prevent any snags. Oily or damp hair can cause the beads to slip, so a fresh start is key. Decide where you want your tinsel to shine. For a bold statement, apply it near your part or around your face. For a more subtle, all-over shimmer, you can scatter the strands throughout different layers of your hair.
Once your hair is prepped, prepare your tinsel. You can choose a single color or get creative by mixing a few different shades. Take one to three strands of tinsel—using more will create a more dramatic effect. Align the ends and fold them perfectly in half. This will create a small, neat loop at the top, which is essential for securing the tinsel within the bead.
Step 2: Load the Bead onto the Looping Tool
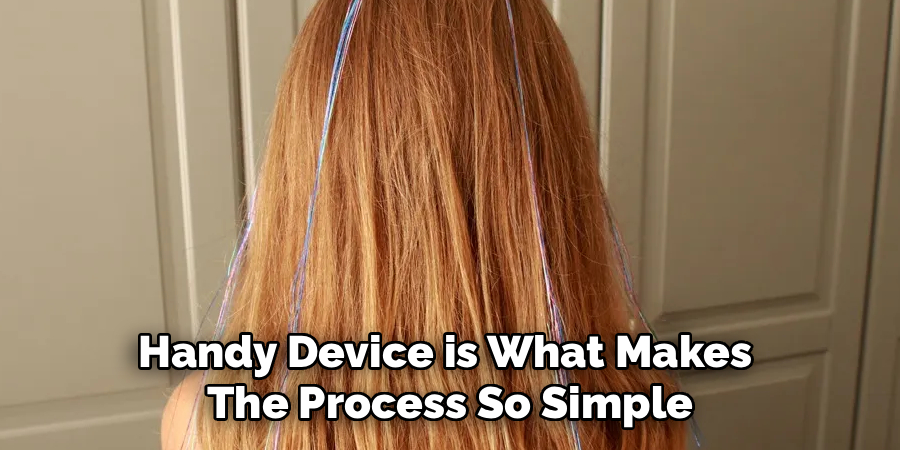
Now, pick up your looping tool. This handy device is what makes the process so simple. Take one micro link bead and slide it onto the shaft of the tool. The small latch or hook at the end will keep the bead from sliding off before you’re ready. Make sure the bead is oriented correctly so you can easily pull the hair through it in the next step. Having the bead pre-loaded and ready to go will help you work efficiently. Choose beads that match your root color for a seamless, discreet look.
Step 3: Section a Small Strand of Hair
Using the pointed end of a rat-tail comb, carefully separate a very small section of hair where you want to place the first strand of tinsel. The amount of hair is important; it should be thin enough to glide easily through the micro link bead. A good rule of thumb is to grab a section equivalent to about 20 to 40 individual hair strands. If you try to use too much hair, the bead won’t be able to clamp down tightly, and your tinsel will not be secure. Use a hair clip to pin back the surrounding hair, isolating the strand you’ll be working with.
Step 4: Hook the Hair
With the bead already loaded onto your looping tool, it’s time to grab the hair. Use the hook at the end of the tool to catch the small section of hair you just isolated. Position the hook close to the scalp, about a quarter-inch to a half-inch away from the roots. This placement is crucial because it ensures the tinsel will lie flat against your head and blend naturally with your hair, rather than sticking out at an odd angle. It also prevents any uncomfortable pulling on your scalp.
Step 5: Pull the Hair Through the Bead
Now for the magic trick. Hold the section of hair taut and gently pull the looping tool away from your scalp. As you pull, the tool will draw the hair through the micro link bead. The bead will slide off the tool and onto the hair strand. You should now have a small section of your hair threaded through the bead. You can slide the bead up and down the hair shaft a bit to find the perfect resting spot before you lock it in place.
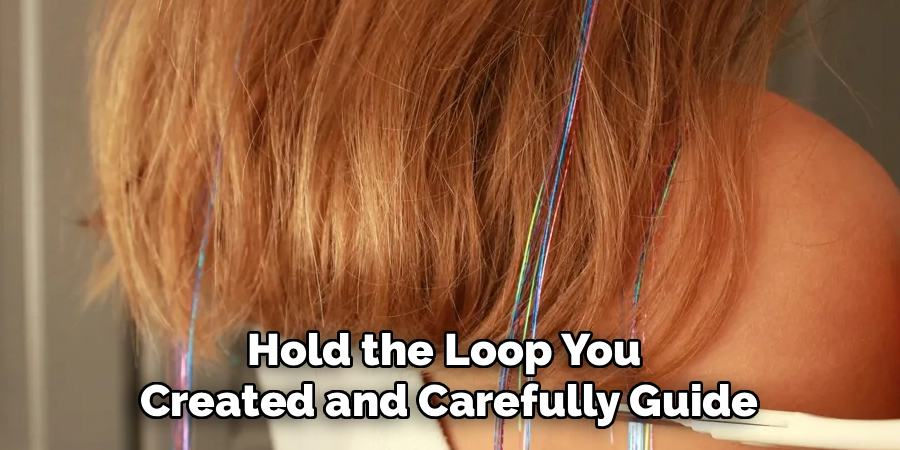
Step 6: Insert the Tinsel into the Bead
Take the folded tinsel you prepared earlier. Hold the loop you created and carefully guide the loose ends of the tinsel through the bead that is now on your hair. The tinsel should sit alongside the natural hair inside the bead. The small loop of the tinsel should remain just above the bead, while the long, glittery ends hang down. Make sure the tinsel strands are distributed evenly on either side for a balanced look.
Step 7: Position the Bead Correctly
This is your final chance for adjustments. Gently slide the bead up the hair shaft toward your scalp, stopping about a quarter-inch away from the skin. Placing the bead directly on the scalp can create tension and lead to discomfort or even hair breakage, so this small gap is important. The bead should feel snug and secure against the hair but not tight against your head. Double-check that both the hair and the tinsel are sitting correctly inside the bead.
Step 8: Clamp the Bead Shut
Take your hair extension pliers and carefully position them over the micro link bead. Ensure the bead is lying flat against your head. Squeeze the pliers down with firm, steady pressure. This will flatten the bead completely, creating a secure lock that holds both your hair and the tinsel firmly in place. Once clamped, give the tinsel a very gentle tug to confirm it is secure. A properly clamped bead will not slide or move.
Step 9: Trim the Tinsel
Your tinsel is now securely attached, but it’s probably much longer than your actual hair. To create a natural, blended look, you need to trim it. Let the tinsel fall naturally with your hair. Using a sharp pair of scissors, cut the tinsel strands so they are the same length as your hair or slightly longer if you prefer. Cutting them helps the tinsel mix in beautifully, catching the light as your hair moves.
Step 10: Repeat and Admire
You did it! You’ve successfully applied your first strand of hair tinsel. Now you can repeat the process to add as much sparkle as you desire. You can cluster them together for a pop of color or scatter them throughout your hair for an ethereal, all-over shimmer. Once you’re finished, step back and admire your new, dazzling look. Enjoy the fun and glamour that a little bit of tinsel can bring.
5 Things You Should Avoid
- Placing Beads Too Close to the Scalp: Applying the bead directly on the scalp can pull on the hair root, causing pain and potential hair damage. Always leave a small gap.
- Using Too Much Hair: Overloading the bead with too much hair will prevent it from clamping shut properly, causing the tinsel to slip out quickly.
- Applying to Unwashed Hair: Oily or dirty hair can cause the bead to lose its grip over time. Always start with clean, dry hair for the best results.
- Using Regular Pliers: Household pliers can damage the bead or your hair. Invest in pliers specifically designed for hair extensions for a safe and effective application.
- Clamping the Bead Sideways: Ensure you clamp the bead flat. Clamping it on its side can create a sharp edge that may irritate your scalp or snag other hairs.
Frequently Asked Questions
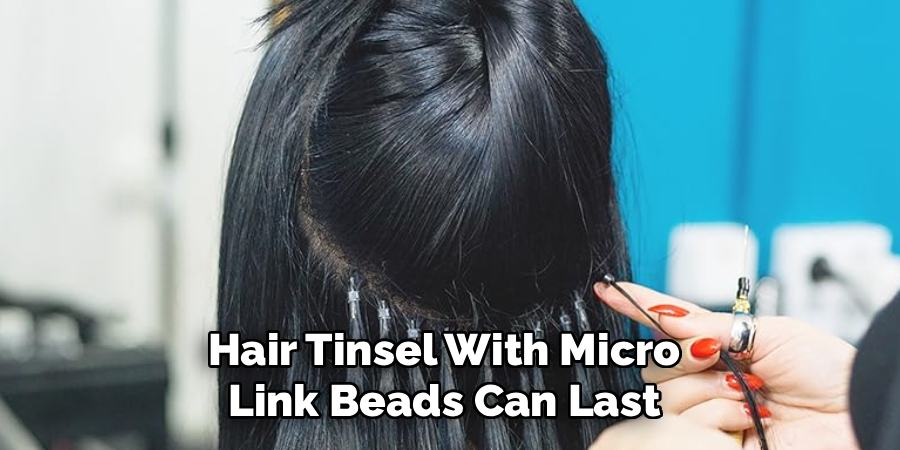
How Long Does Hair Tinsel Last When Applied With Beads?
When applied correctly, hair tinsel with micro link beads can last anywhere from a few weeks to two months. The longevity depends on your hair type, how fast your hair grows, and your hair care routine. As your hair grows, the bead will naturally move down the hair shaft.
Can I Wash and Style My Hair With Tinsel in It?
Yes, you can wash, blow-dry, and style your hair as usual. Hair tinsel is heat-resistant, so you can use curling irons and straighteners on a low to medium setting. Just be gentle when brushing around the beads to avoid snagging them and pulling them out.
How Do I Remove the Hair Tinsel?
To remove the tinsel, simply use the hair extension pliers to gently squeeze the bead in the opposite direction that you clamped it. Squeezing the narrow sides will cause the bead to open back into its round shape. Once open, the bead and tinsel will slide right off the hair strand.
Conclusion
Applying hair tinsel with beads is a simple and effective way to add a touch of glamour to your look.
With just a few tools and a little practice, you can easily master this technique at home. The process is quick, damage-free, and offers a fun way to express your personal style.
Hopefully, the article on how to put in hair tinsel with beads has provided you with all the necessary information and tips to get started. So go ahead, grab your supplies, and get ready to shine with your beautiful, sparkling new hair.
About the Author
Jane Hubbard is a passionate beauty expert with a wealth of experience in makeup, hair, and overall beauty techniques. After years of working as a hairdresser specialist, she followed her entrepreneurial spirit and started her own consultancy business.
Jane has always been driven by her desire to help others feel confident in their own skin, and she does this by sharing her knowledge, experiences, and practical beauty tips. Through her consultancy, she empowers individuals to embrace their unique beauty, offering tailored guidance that boosts both self-esteem and personal style.
Professional Focus
Specializes in makeup, hairstyling, and beauty consulting.
Provides personalized beauty advice, tips, and techniques to help individuals feel confident in their appearance.
Dedicated to staying up-to-date with the latest industry trends and developments.
Passionate about creating a comfortable and empowering experience for every client.
Education History
University of Craft and Design – Bachelor of Fine Arts (BFA) in Woodworking and Furniture Design
Woodworking Apprenticeships – Extensive hands-on training with skilled craftsmen to refine carpentry and furniture making techniques
Online Courses & Masterclasses – Continued education in advanced woodworking techniques, design principles, and specialized tools
Expertise:
Makeup artistry, hairstyling, and beauty consulting.
Personalized beauty techniques to enhance confidence and self-expression.
Educating clients on how to maintain their beauty routines at home.