
Cleaning your makeup brushes is a crucial step for flawless application and healthy skin, but the process doesn’t end once the suds are rinsed away. Properly drying your brushes is just as important. It preserves their shape, extends their lifespan, and prevents the growth of bacteria and mold within the bristles.
Many people overlook this final step, leading to damaged brushes and potential skin issues. This guide on how to dry makeup brushes will walk you through the best methods for drying your makeup tools, ensuring they remain in perfect condition for years to come. You will learn the correct techniques, the tools you need, and the common mistakes to avoid.
Understanding Why Proper Drying Matters
The way you dry your makeup brushes has a significant impact on their longevity and performance. When brushes are left to dry improperly, water can seep down into the ferrule—the metal band that connects the bristles to the handle. This trapped moisture is a breeding ground for bacteria and mold, which can then be transferred to your skin, causing breakouts, irritation, and even infections.
Furthermore, the water can dissolve the glue holding the bristles in place, causing them to shed and ruining the brush’s shape. A frayed or misshapen brush will not apply makeup evenly, defeating the purpose of having high-quality tools. Taking the time to dry them correctly protects your investment, your skin, and the quality of your makeup application.
Tools and Materials You’ll Need
Before you begin, gathering a few simple items will make the drying process smooth and effective. You don’t need expensive gadgets; most of these can be found around your home.
- A clean, dry, lint-free towel
- A hair tie or rubber band
- A sturdy horizontal surface, like a countertop or shelf edge
- Optional: A brush drying rack or stand
- Optional: Brush guards to help maintain bristle shape
7 Simple Step-By-Step Guidelines on How to Dry Makeup Brushes
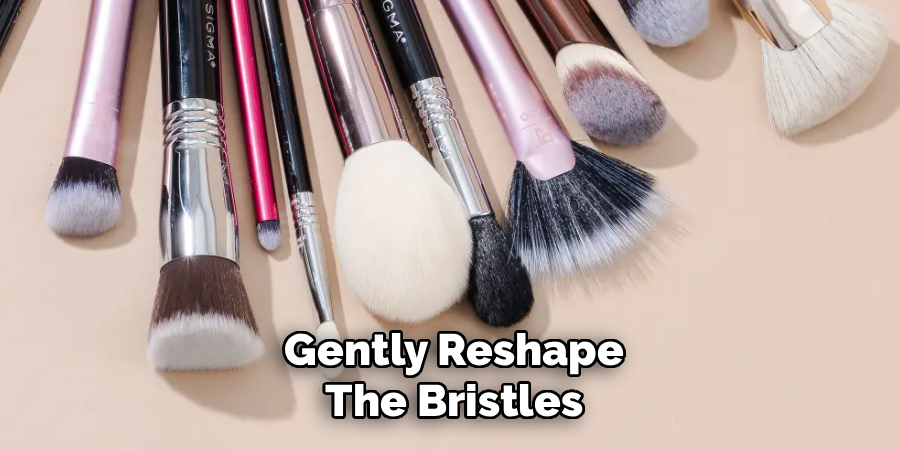
Step 1: Gently Reshape the Bristles
After washing your brushes and rinsing them thoroughly, the first and most critical action is to gently squeeze out any excess water. Use your clean fingers to press the bristles together, moving from the base of the brush head towards the tips. Be careful not to pull or tug, as wet bristles are delicate and can easily be pulled out. The goal is simply to remove as much water as possible without causing any damage. This initial squeeze significantly cuts down on the overall drying time.
Step 2: Choose Your Drying Location
The environment where you dry your brushes is just as important as the method you use. You need a well-ventilated area with good air circulation to speed up the drying process and prevent the growth of mildew. Avoid placing your wet brushes in a confined space like a drawer, a medicine cabinet, or a sealed makeup bag. These enclosed areas trap moisture and create the perfect dark, damp environment for bacteria and mold to thrive, which completely negates the cleaning you just did.
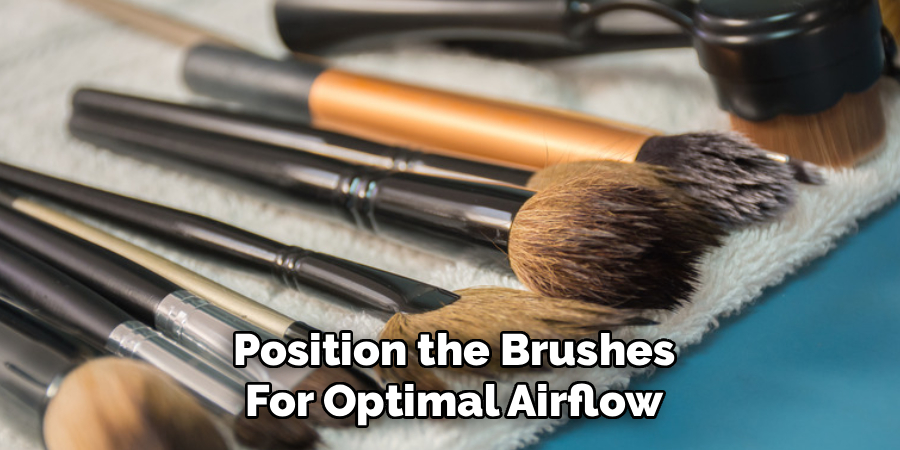
Step 3: Position the Brushes for Optimal Airflow
The key to preventing water damage is to position your brushes so that gravity works in your favor. Never stand your brushes upright in a cup or holder to dry with the bristles facing up. This position allows water to trickle down the bristles, straight into the ferrule. The trapped moisture will quickly weaken the glue that binds the bristles, leading to shedding, and can cause the wooden handle to swell and crack over time. This is one of the fastest ways to ruin a good quality makeup brush.
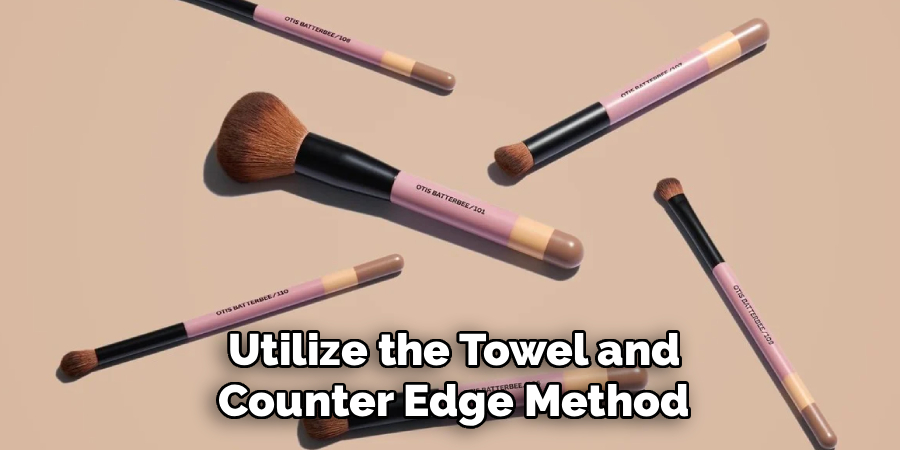
Step 4: Utilize the Towel and Counter Edge Method
This is one of the simplest and most effective ways to dry your brushes without any special equipment. All you need is a clean towel and a flat surface with an edge, like a kitchen counter, a bathroom vanity, or a bookshelf. First, fold your towel lengthwise a few times to create a slightly elevated roll. Place this rolled towel about an inch or two back from the edge of the counter. This small bump will serve as a prop for your brush handles.
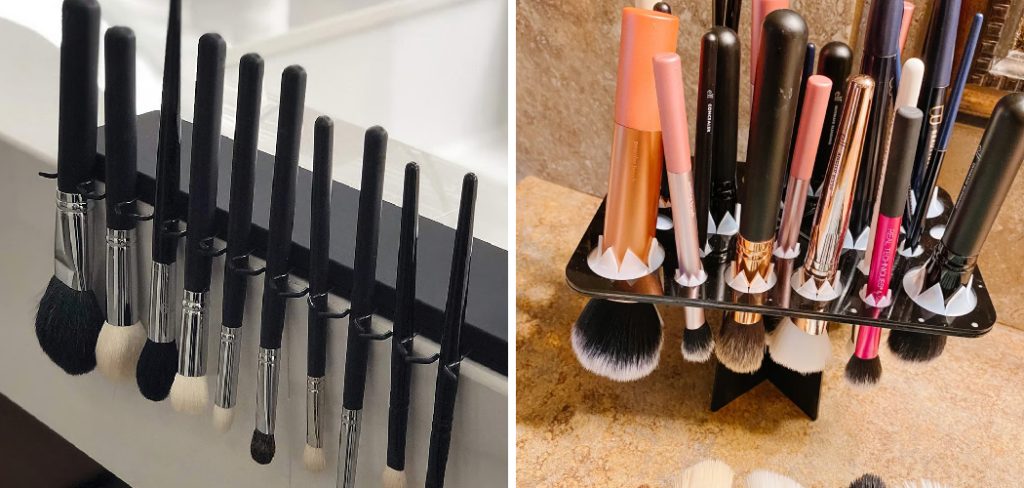
Step 5: Hang Brushes Upside Down for Best Results
For the absolute best drying results, hanging your brushes upside down is the gold-standard method. This position completely eliminates the risk of water seeping into the ferrule and handle, guaranteeing the longevity of your tools. While there are commercially available brush drying racks designed for this purpose, you can easily create a DIY version using common household items. This technique ensures that gravity pulls every last drop of moisture away from the critical parts of the brush.
Step 6: Consider Using Brush Guards
Brush guards are small, mesh sleeves that slide over the bristles of your makeup brushes. They are an invaluable tool for helping your brushes maintain their perfect shape as they dry. After washing and gently squeezing out excess water, you simply slide the brush guard over the bristles, starting from the handle and moving towards the tip. The flexible mesh gently compresses the bristles, holding them in their intended shape and preventing them from fanning out or fraying as they dry.
These are especially useful for delicate brushes like eyeshadow blending brushes, precision liner brushes, or fluffy powder brushes that can easily lose their form. Once the brush guard is on, you can proceed with any drying method, whether it’s laying them over a counter edge or hanging them upside down. The guards allow for ample airflow, so they won’t slow down the drying time. When the brushes are fully dry, you can slide the guards off to reveal perfectly shaped, like-new bristles ready for precise application.
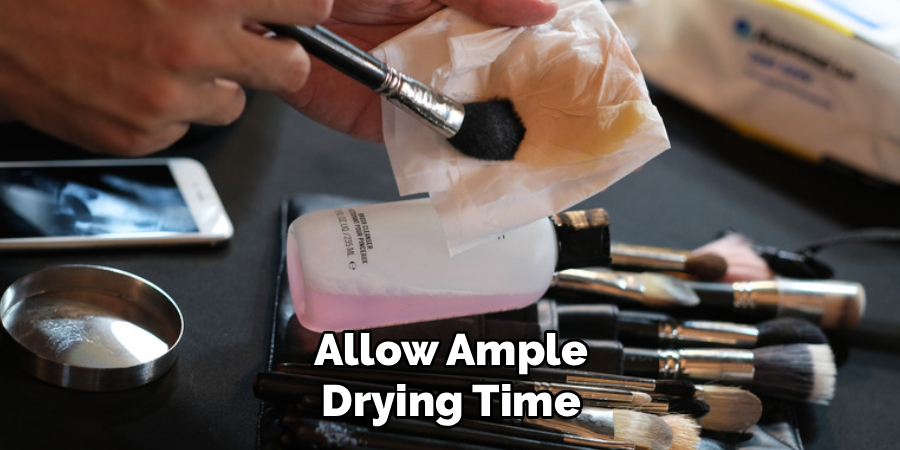
Step 7: Allow Ample Drying Time
Patience is a virtue, especially when it comes to drying your makeup brushes. The exact drying time will vary depending on several factors, including the size and density of the brush, the material of the bristles (natural hair often takes longer than synthetic), and the humidity of the room. Small eyeshadow brushes might be dry in as little as four to six hours, while large, dense kabuki or powder brushes can take up to 24 hours to dry completely.
Resist the temptation to use your brushes before they are 100% dry to the touch, all the way to the core of the bristles. Using a damp brush can result in a streaky, uneven makeup application and, more importantly, can introduce bacteria into your products. To check for dryness, gently run your thumb through the center of the bristles. If you feel any hint of coolness or moisture, give them more time. It is always better to wait a little longer to ensure they are perfectly dry and ready for use.
Follow these detailed steps on how to dry makeup brushes to ensure your brushes dry perfectly every time, maintaining their integrity and hygiene.
Tips for Beginners
If you are new to a dedicated brush care routine, a few extra tips can make the process easier. First, try to wash your brushes in the evening. This gives them a long, uninterrupted period (overnight) to dry thoroughly, so they are ready for you to use in the morning. Second, don’t wash all your brushes at once if you have a large collection. Start with a small batch, like just your eye brushes or your face brushes.
This makes the task feel less overwhelming and ensures you have enough space to dry them properly without overcrowding. Finally, consistency is key. Set a weekly reminder to clean your brushes to keep them in top condition.
Common Mistakes to Avoid
Proper drying is straightforward, but a few common errors can ruin your brushes. Avoid using any form of direct heat, such as a blow dryer, as the high temperature will fry the bristles and melt the glue. Never dry your brushes standing upright in a cup, as this allows water to pool in the ferrule and handle.
Don’t lay them flat on a towel without elevating the heads, as this traps moisture underneath. Also, avoid putting them away before they are completely dry, which can lead to mold and a musty smell.
Frequently Asked Questions
Q1: Can I Use a Hair Dryer to Speed Up the Process?
A1: It is highly recommended that you avoid using a hairdryer on your makeup brushes. The intense, direct heat can be incredibly damaging. For natural hair bristles, it can cause them to become brittle, singed, and frizzy, permanently altering their texture and ability to pick up and blend product. For synthetic bristles, the heat can actually melt the fine fibers. Furthermore, the heat can weaken or melt the glue inside the ferrule that holds the bristles in place, leading to significant shedding and eventual ruin of the brush.
Q2: How Long Does It Take for Makeup Brushes to Dry?
A2: The drying time for makeup brushes can vary significantly, typically ranging from 6 to 24 hours. Several factors influence this timeframe. Smaller, less dense brushes like those for eyeshadow or concealer will dry faster, often within 6-8 hours. However, large, densely packed brushes, such as kabuki, foundation, or powder brushes, hold much more water and can take a full 24 hours to dry completely. The humidity in your home also plays a role; brushes will dry more slowly in a more humid environment. Always check that the very center of the brush is dry before use.
Conclusion
Mastering how to dry your makeup brushes is a fundamental part of a good beauty hygiene routine. By following these steps on how to dry makeup brushes—from reshaping the bristles to allowing ample drying time—you protect your tools from damage and your skin from harmful bacteria.
Whether you choose to hang your brushes or lay them over a counter’s edge, the key is to ensure water drips away from the handle and ferrule. Investing a little time in this process after each wash will pay off by extending the life of your brushes, ensuring they perform beautifully for every application.
About the Author
Jane Hubbard is a passionate beauty expert with a wealth of experience in makeup, hair, and overall beauty techniques. After years of working as a hairdresser specialist, she followed her entrepreneurial spirit and started her own consultancy business.
Jane has always been driven by her desire to help others feel confident in their own skin, and she does this by sharing her knowledge, experiences, and practical beauty tips. Through her consultancy, she empowers individuals to embrace their unique beauty, offering tailored guidance that boosts both self-esteem and personal style.
Professional Focus
Specializes in makeup, hairstyling, and beauty consulting.
Provides personalized beauty advice, tips, and techniques to help individuals feel confident in their appearance.
Dedicated to staying up-to-date with the latest industry trends and developments.
Passionate about creating a comfortable and empowering experience for every client.
Education History
University of Craft and Design – Bachelor of Fine Arts (BFA) in Woodworking and Furniture Design
Woodworking Apprenticeships – Extensive hands-on training with skilled craftsmen to refine carpentry and furniture making techniques
Online Courses & Masterclasses – Continued education in advanced woodworking techniques, design principles, and specialized tools
Expertise:
Makeup artistry, hairstyling, and beauty consulting.
Personalized beauty techniques to enhance confidence and self-expression.
Educating clients on how to maintain their beauty routines at home.