
Getting your makeup right for photos is an art and a skill that anyone can learn with a little patience and attention to detail. The right makeup can enhance your natural beauty and make you feel confident in front of the camera, ensuring your features stand out in every shot.
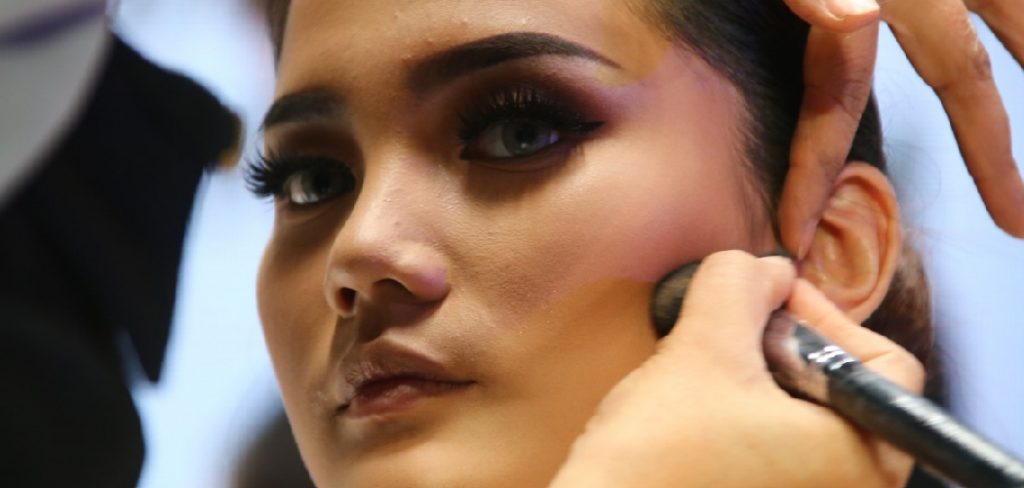
Whether you’re preparing for a special event, a professional headshot, or a fun photo shoot with friends, understanding how to apply makeup for photos will help you achieve a flawless, long-lasting look. In this guide on how to do makeup for photos, we’ll cover everything you need to know—from tools and techniques to pro tips and answers to common questions.
What is Makeup for Photos?
Makeup for photos is a specialized approach to makeup application designed to enhance your features and ensure you look your best on camera. Unlike everyday makeup, photo-ready makeup focuses on creating a balanced and polished appearance under various lighting conditions.
It takes into account factors such as flash photography, high-definition clarity, and the natural tendency of the camera to flatten details. The goal is to highlight your best features, minimize imperfections, and ensure your makeup doesn’t appear washed out or overly harsh in photographs.
Tools and Materials You’ll Need
- Foundation and Concealer
- Setting Powder
- Brow Pencil or Powder
- Eye Shadow Palette (Neutral and Accent Shades)
- Eyeliner (Gel or Liquid)
- Mascara (Waterproof Preferred)
- Blush and Bronzer
- Highlighter
- Lip Liner and Lipstick
- Makeup Brushes and Sponges
- Setting Spray
- Makeup Remover and Cotton Pads
9 Step-By-Step Guidelines on How to Do Makeup for Photos
Step 1: Prep Your Skin
The journey to flawless makeup starts with well-prepped skin. Begin by cleansing your face thoroughly with a gentle cleanser, followed by a hydrating toner to balance your skin’s pH levels.
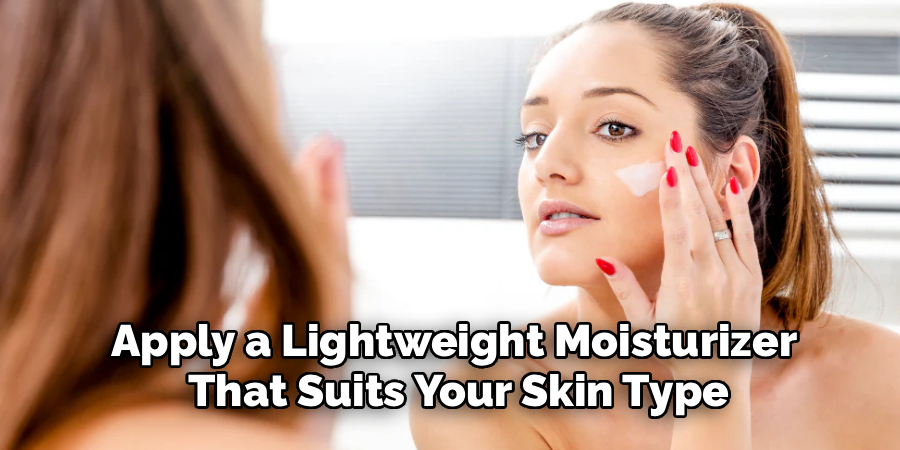
Apply a lightweight moisturizer that suits your skin type, and don’t forget to use a primer to create a smooth canvas. The primer helps to minimize the appearance of pores and keeps your makeup in place throughout the shoot.
Step 2: Apply Foundation and Concealer
Choose a high-coverage foundation that matches your skin tone perfectly. Using a damp makeup sponge or brush, blend the foundation evenly across your face, paying special attention to areas that might appear uneven on camera.
Next, use a concealer to cover any spots, dark circles, or redness. Blend seamlessly into your foundation for a natural, radiant look that hides imperfections without appearing cakey.
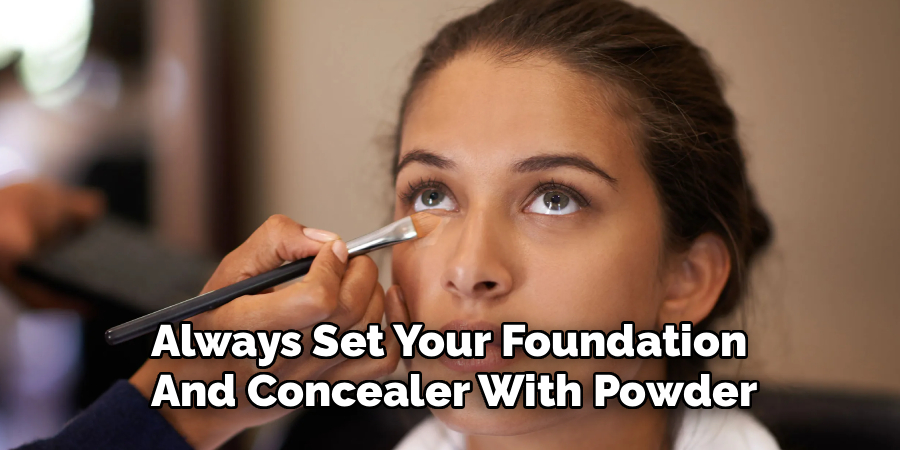
Step 3: Set With Powder
To prevent shine and increase the longevity of your makeup, use a translucent setting powder. Focus on the T-zone (forehead, nose, and chin), which tends to get oily under lights.
Gently press the powder into your skin with a puff or powder brush. Avoid overloading the skin; a light dusting will lock in your base without causing dryness or flashback in photos.
Step 4: Define Your Brows
Well-shaped brows frame your face and make a big difference in photos. Use a brow pencil or powder to fill in sparse areas, following the natural shape of your brows.
Brush through with a spoolie to soften any harsh lines, and set them in place with brow gel. Remember, brows should look defined but not overly dramatic unless you’re aiming for a specific look.
Step 5: Perfect Your Eye Makeup
Start with a neutral shadow as a base over your eyelids. Then, blend a deeper shade into the crease to add depth, and a lighter shimmery tone on the inner corners to make your eyes pop.
Use black or dark brown eyeliner to define your upper lash line, and consider a subtle wing for extra impact. Finish with two coats of waterproof mascara to add volume and length to your lashes.
Step 6: Contour and Highlight
Use a matte bronzer to contour your cheekbones, jawline, and temples, sculpting your face for definition that stands out in photos. Blend carefully to avoid harsh lines or muddy patches.
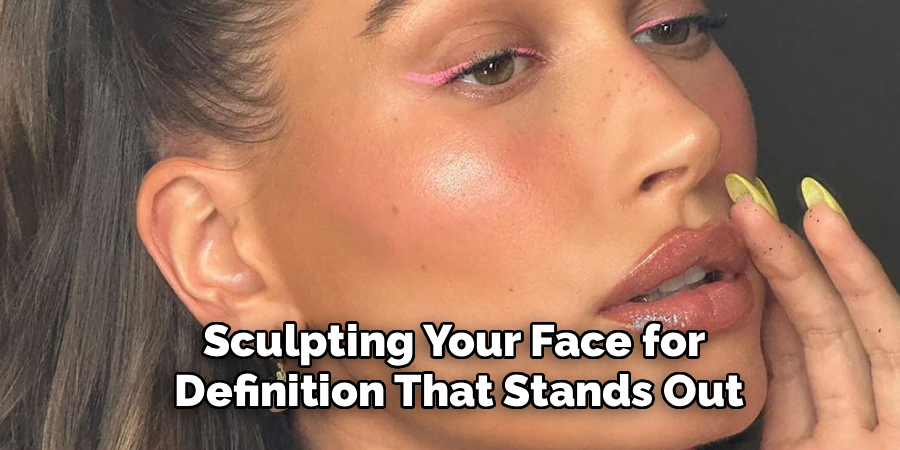
Apply highlighter on the high points of your face: tops of cheekbones, bridge of the nose, cupid’s bow, and the inner eye corners. This catches the light and gives your skin a healthy, photo-ready glow.
Step 7: Add Blush for a Healthy Glow
Smiling, apply a soft blush to the apples of your cheeks and blend it upwards towards your temples. This will create a natural and radiant flush that shows well in photographs.
Be mindful of the blush color; cool pinks or peaches generally work best. Remember to blend well to avoid any visible stripes under the camera flash.
Step 8: Define and Color Your Lips
Outline your lips with a lip liner, which helps keep your lipstick in place and prevents feathering. Choose a color that complements your makeup and outfit.
Fill in with a matte or creamy lipstick, blot with tissue, and reapply for lasting color. If you like, add a touch of gloss to the center of your lips for a fuller effect that catches light beautifully.
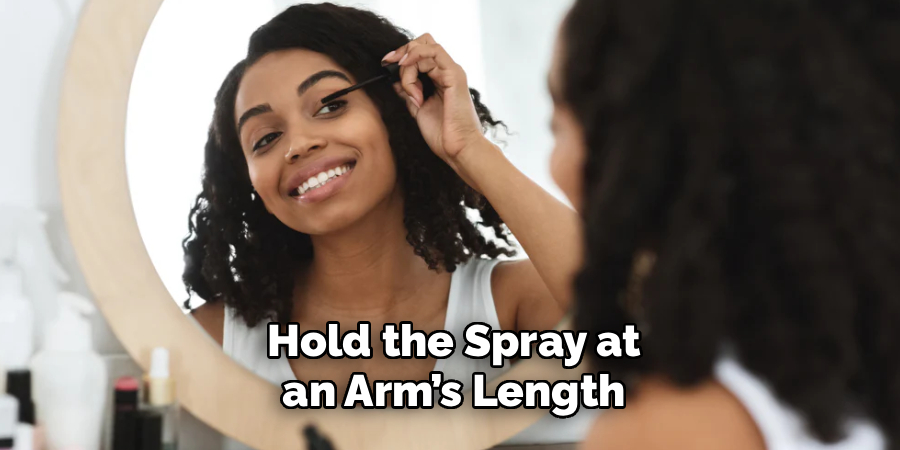
Step 9: Set and Finish
Lock your entire look with a setting spray to ensure it lasts through hours of shooting. Hold the spray at an arm’s length and mist your face lightly, letting it dry naturally.
Carry blotting papers, a compact powder, and your lipstick for touch-ups. Photographic lights and movement can affect your makeup, so quick touch-ups will keep your look fresh and flawless.
Following these steps on how to do makeup for photoshoots will ensure that you not only look stunning in your photos but also feel confident and comfortable throughout the shoot. Remember to have fun, be yourself, and let your inner beauty shine through!
Additional Tips
- Always test your makeup under similar lighting to your photoshoot environment before the main event.
- Avoid using products with SPF or high titanium dioxide, as they can cause flashback in photos and make your face appear lighter than your body.
- Neutral and matte shades photograph best; avoid too much shimmer, which can reflect light unevenly.
- Take practice selfies or photos as you do your makeup to catch any details that need adjusting.
- Make sure your foundation is blended down your neck for a seamless look, and pay attention to blending at your hairline.
- Use a setting spray to help your makeup last all night and avoid touch-ups.
- Don’t forget to prime your eyelids before applying eyeshadow, as this will prevent creasing and make the colors appear more vibrant.
- Apply false lashes for added drama, but make sure they are properly trimmed and applied close to your natural lash line.
- Keep blotting papers or powder on hand for any mid-party shine control.
- Bring a small touch-up kit with you containing essentials like lipstick, concealer, and powder for quick fixes throughout the night.
How Much Will It Cost?
The cost of achieving a professional, camera-ready makeup look can vary depending on the products and tools used, as well as whether you hire a makeup artist. If you’re doing the makeup yourself, you may need to purchase items like foundation, concealers, eyeshadows, brushes, and setting sprays, which can range from affordable drugstore options to high-end luxury brands.
On average, assembling a basic makeup kit may cost anywhere from $50 to $200 or more. Hiring a professional makeup artist typically costs between $75 and $250, depending on their experience, location, and the complexity of the look you want. Be sure to factor in these expenses when planning your budget.
Frequently Asked Questions
Q1: How Do I Prevent My Makeup from Looking Too Heavy in Photos?
A1: Less is more when it comes to makeup for the camera. Choose lightweight, buildable products and blend thoroughly. Good lighting and camera settings can help, but properly prepped skin and blending are the keys to a natural appearance that doesn’t look cakey.
Q2: What Colors Work Best for Photo Makeup?
A2: Neutral and warm tones generally flatter most skin tones and work well with camera lighting. Shimmery and bold colors can be beautiful, but stick to mattes for base shades. Test your chosen shades in photos beforehand to ensure they complement your look.
Q3: How Can I Make My Makeup Last for an All-Day Photoshoot?
A3: Prepping your skin with proper skincare and primer is essential for longevity. Always set your foundation and concealer with powder, and use waterproof or long-wear formulas for eyes and lips. Setting spray is the final step for ensuring lasting coverage.
Q4: How Do I Avoid Flashback in Photos?
A4: Flashback happens when certain ingredients in makeup reflect camera flash, leaving a white cast. Steer clear of products containing high SPF or silica powders for makeup meant for photography. Opt for setting powders labeled as “flashback-free” and test with a flash photo before the shoot.
Conclusion
Getting your makeup right for photos is a mix of preparation, the right tools, and learned technique. With these steps and tips on how to do makeup for photos, you can confidently create a look that photographs beautifully, enhances your features, and stands up to the camera’s scrutiny.
Remember, practice makes perfect—experiment, take test shots, and most importantly, have fun expressing yourself through makeup!
About the Author
Jane Hubbard is a passionate beauty expert with a wealth of experience in makeup, hair, and overall beauty techniques. After years of working as a hairdresser specialist, she followed her entrepreneurial spirit and started her own consultancy business.
Jane has always been driven by her desire to help others feel confident in their own skin, and she does this by sharing her knowledge, experiences, and practical beauty tips. Through her consultancy, she empowers individuals to embrace their unique beauty, offering tailored guidance that boosts both self-esteem and personal style.
Professional Focus
Specializes in makeup, hairstyling, and beauty consulting.
Provides personalized beauty advice, tips, and techniques to help individuals feel confident in their appearance.
Dedicated to staying up-to-date with the latest industry trends and developments.
Passionate about creating a comfortable and empowering experience for every client.
Education History
University of Craft and Design – Bachelor of Fine Arts (BFA) in Woodworking and Furniture Design
Woodworking Apprenticeships – Extensive hands-on training with skilled craftsmen to refine carpentry and furniture making techniques
Online Courses & Masterclasses – Continued education in advanced woodworking techniques, design principles, and specialized tools
Expertise:
Makeup artistry, hairstyling, and beauty consulting.
Personalized beauty techniques to enhance confidence and self-expression.
Educating clients on how to maintain their beauty routines at home.