
Are you self-conscious about your big forehead? Do you want to try a new hairstyle that can help hide it? Look no further than braids! Braids are not only stylish and versatile, but they can also be used to create different looks that can minimize the appearance of a big forehead.
How to hide a big forehead with braids is a clever and stylish way to enhance your natural beauty while embracing intricate and versatile hairstyles. Braids offer countless options, from box braids to cornrows, that can frame your face and minimize the appearance of a larger forehead.
Whether you’re looking for a subtle adjustment or a complete transformation, specific braiding techniques are designed to draw attention away from your forehead and highlight your best features. This guide will explore various braiding styles and tips to help you achieve a balanced and flattering look.
What Will You Need?
To effectively hide a big forehead with braids, you will need the following items:
- Hairbrush or comb
- Hair ties or elastic bands
- Bobby pins
- Edge control or gel (optional)
- Braiding hair extensions (optional)
Make sure to have these items ready before starting the braiding process.
10 Easy Steps on How to Hide a Big Forehead With Braids
Step 1: Choose Your Braid Style
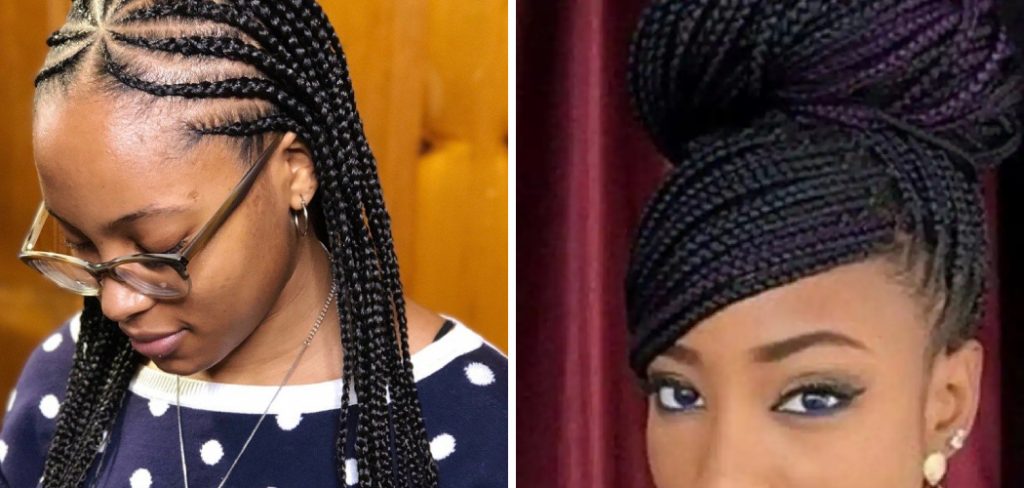
When choosing a braid style, you must consider your hair type, personal preferences, and the coverage you desire for your forehead. Some popular braid styles that are effective in concealing a larger forehead include side braids, box braids, and cornrows. Side braids, for instance, allow you to create a sweeping effect across your forehead, drawing attention away from the area you wish to minimize.
Box braids, on the other hand, provide versatility; they can be styled into various updos or left to frame the face naturally, offering ample coverage. Cornrows can be designed strategically with smaller, intricate patterns at the front to blend with your natural hairline, thus balancing out the proportions of your forehead. By thoughtfully selecting a braid style that suits your individual style and needs, you can effectively achieve a look that enhances your facial features and boosts your confidence.
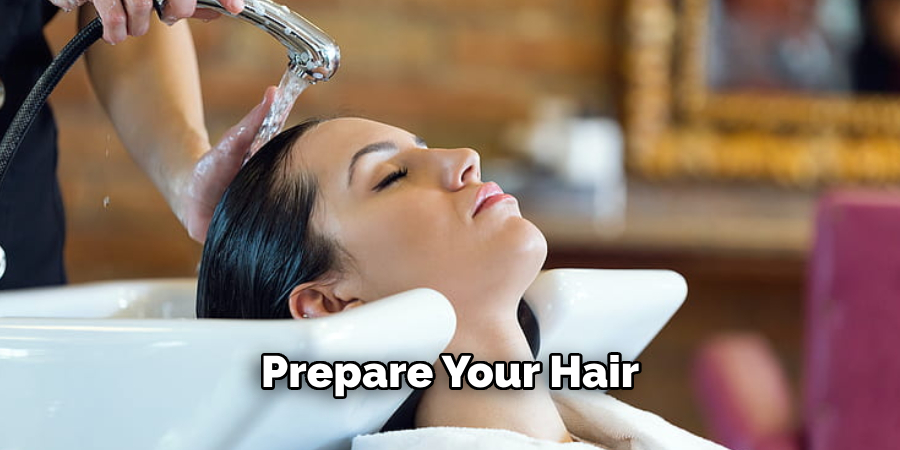
Step 2: Prepare Your Hair
Before you begin braiding, it’s important to prepare your hair to ensure it is clean, detangled, and manageable. Start by washing your hair with a gentle shampoo and conditioner, followed by a thorough rinse. Once your hair is clean, use a hairbrush or comb to remove any tangles or knots. This step is crucial as it will smooth the braiding process and prevent unnecessary breakage or discomfort.
If you choose to use braiding hair extensions, ensure they are also detangled and ready for use. Applying a small amount of leave-in conditioner or hair oil can add moisture and make your hair more pliable, which is particularly beneficial if you have dry or coarse hair. Now that your hair is prepped, you are ready to start braiding.
Step 3: Part Your Hair
Creating clean and precise parts is essential for achieving a polished braid style. Begin by using a comb to divide your hair into sections based on your chosen braid style. If you are doing side braids, part your hair to one side. For box braids, section your hair into small boxes or rectangles, ensuring that each part is even. If you opt for cornrows, create rows from the front of your hairline to the back of your head.
Use hair ties or clips to secure the sections you’re not braiding immediately, keeping them out of the way and making the process more manageable. Clean, even sections make the braids look neater and help effectively hide a larger forehead. Taking the time to part your hair accurately will lay the foundation for beautiful, well-structured braids.
Step 4: Apply Edge Control
Apply edge control or gel to achieve a sleek and polished look, especially around your hairline. This product helps to smooth down any flyaways and ensures that your edges lay flat, creating a clean base for your braids. Use a small brush or fingertips to distribute the edge control along your hairline evenly. Smoothing your edges enhances the appearance of your braids and frames your face more effectively, contributing to a balanced look. Remember not to use too much product, as a little goes a long way and will prevent build-up or flaking.
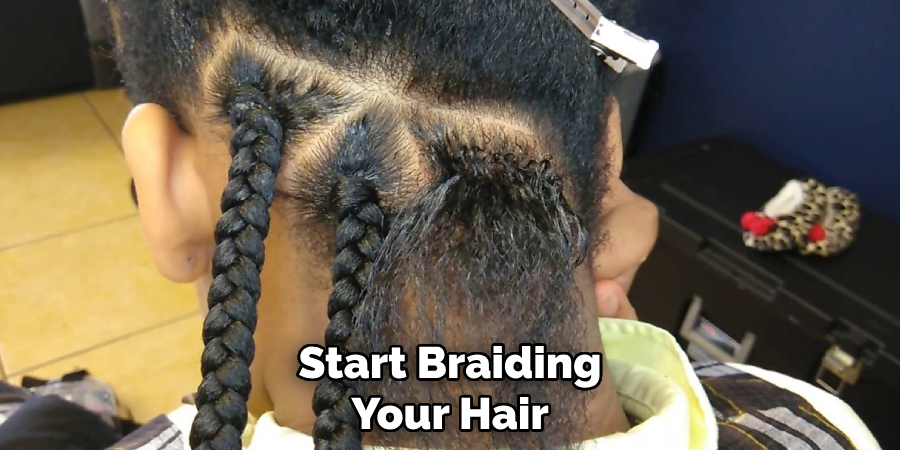
Step 5: Start Braiding
With your hair parted and prepped, it’s time to begin braiding. Start by taking a small section of hair from the first parted section and dividing it into three equal strands. Begin to braid by crossing the right strand over the center strand, then the left strand over the new center strand, and continue this pattern down to the ends of your hair. Make sure to braid tightly and evenly for a neat and secure look. If you use braiding hair extensions, integrate them into your natural hair as you braid to add length and volume. Ensure that the extensions blend seamlessly with your natural hair for the most natural appearance.
Step 6: Secure the Braids
Secure the end with a hair tie or elastic band once you have braided a section of hair to the desired length. This will prevent the braid from unraveling and ensure it stays in place. For a more polished finish, you can wrap a small piece of hair around the elastic band and tuck it underneath to hide the band. If you use braiding hair extensions, ensure they are securely tied to avoid slipping.
Step 7: Repeat the Process
Continue to part, smooth, and braid the remaining sections of your hair. Maintain consistency with the size and tightness of each braid to ensure a uniform and professional look. Patience and attention to detail are key during this step, as uniform braids contribute significantly to the overall success of the style. For intricate styles like cornrows, take your time to create clean and precise rows.
Step 8: Style the Braids
Once all your braids are complete, you can style them in various ways to further conceal a larger forehead. Options include wearing your braids down to frame your face or styling them into an updo, ponytail, or bun. Experiment with different looks to find the one that makes you feel most confident and comfortable. Using accessories like scarves, headbands, or hair pins can also enhance your style and provide additional coverage.
Step 9: Final Touches
After styling your braids, add any final touches to perfect your look. This may include applying additional edge control, adding hair accessories, or using a light hairspray to set your style. Ensure all braids are secure and that there are no loose strands. Double-check that your edges and any visible parts of your scalp are smooth and clean.
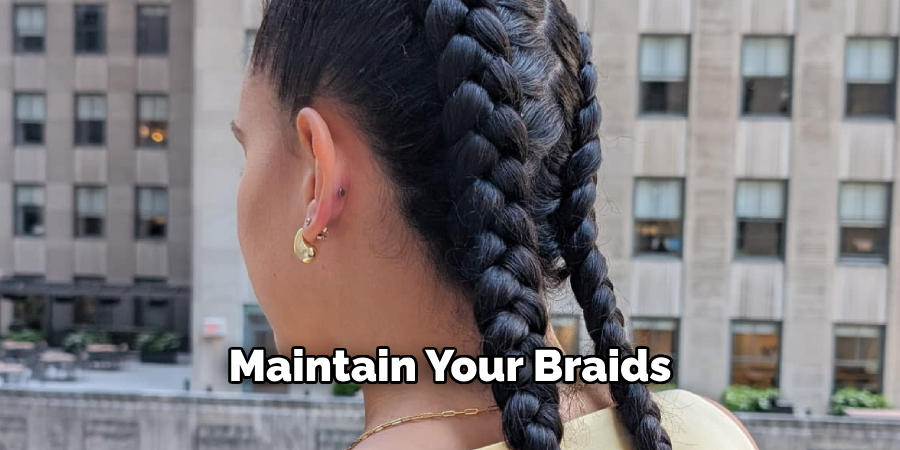
Step 10: Maintain Your Braids
To keep your braids looking fresh and to maintain the concealment of your forehead, take care of them daily. Wear a satin or silk scarf or bonnet at night to reduce frizz and preserve the shape of the braids. Moisturize your scalp regularly to prevent dryness and itchiness. If needed, reapply the edge control to smooth any new flyaways. Proper maintenance will prolong the wear of your braids and keep your style looking neat and tidy.
By following these steps, you can effectively hide a larger forehead with braids while achieving a stylish and confident look.
5 Additional Tips and Tricks
- Add a Fringe or Bangs:
Incorporating a fringe or bangs into your braid style can significantly help hide a larger forehead. You can opt for braided bangs, loose tendrils, or a faux fringe using braiding hair to draw attention away from your forehead and towards your eyes.
- Use Headbands or Scarves:
Headbands and scarves are excellent accessories for concealing a larger forehead. Choose a headband that complements your braid style and place it across your forehead at the hairline. Alternatively, you can wrap a stylish scarf around your head, positioning it to cover part of your forehead while adding a vibrant flair to your braids.
- Try a Side Part:
A deep side part can create an asymmetrical look that breaks up the expanse of the forehead. By parting your hair to one side and braiding accordingly, you create a visual distraction that makes the forehead appear smaller.
- Opt for Voluminous Braids:
Creating voluminous braids or extensions can add dimension and bulk around your face, making your forehead appear proportionally smaller. Volume can be achieved by using thicker braiding hair or by gently pulling and loosening the braids once braided, a technique known as “pancaking”.
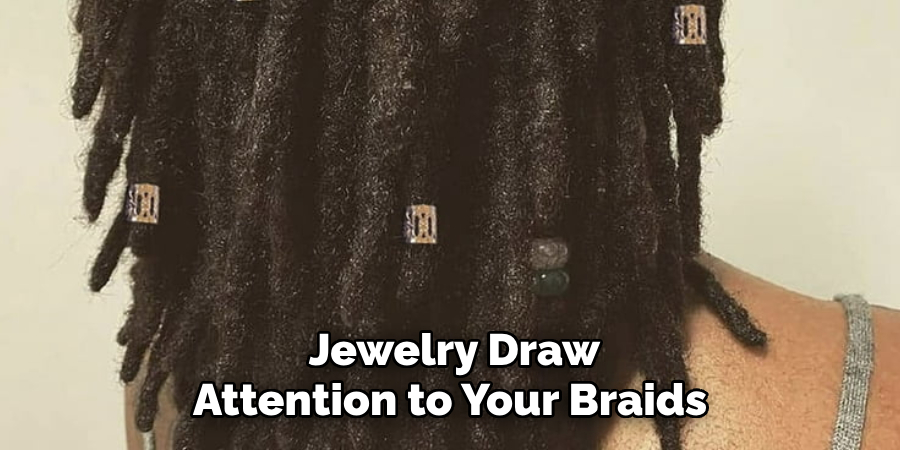
- Accessorize with Hair Jewelry:
Hair jewelry such as beads, rings, and cuffs can draw attention to your braids rather than your forehead. These accessories add a decorative element that enhances your braids’ aesthetic while cleverly diverting focus.
Utilizing these additional tips and tricks can further enhance your braid style while effectively concealing a larger forehead.
Conclusion
How to hide a big forehead with braids is an effective and stylish approach that combines technique, creativity, and maintenance.
By carefully selecting and executing your braid style, you can beautifully frame your face and draw attention away from your forehead. Steps such as properly prepping your hair, choosing the right braid style, and incorporating accessories can make a significant difference. Additionally, following maintenance tips ensures that your braids remain sleek and stunning over time.
With these comprehensive steps and tips, you can confidently achieve a look that highlights your best features and enhances your overall appearance.
About the Author
Jane Hubbard is a passionate beauty expert with a wealth of experience in makeup, hair, and overall beauty techniques. After years of working as a hairdresser specialist, she followed her entrepreneurial spirit and started her own consultancy business.
Jane has always been driven by her desire to help others feel confident in their own skin, and she does this by sharing her knowledge, experiences, and practical beauty tips. Through her consultancy, she empowers individuals to embrace their unique beauty, offering tailored guidance that boosts both self-esteem and personal style.
Professional Focus
Specializes in makeup, hairstyling, and beauty consulting.
Provides personalized beauty advice, tips, and techniques to help individuals feel confident in their appearance.
Dedicated to staying up-to-date with the latest industry trends and developments.
Passionate about creating a comfortable and empowering experience for every client.
Education History
University of Craft and Design – Bachelor of Fine Arts (BFA) in Woodworking and Furniture Design
Woodworking Apprenticeships – Extensive hands-on training with skilled craftsmen to refine carpentry and furniture making techniques
Online Courses & Masterclasses – Continued education in advanced woodworking techniques, design principles, and specialized tools
Expertise:
Makeup artistry, hairstyling, and beauty consulting.
Personalized beauty techniques to enhance confidence and self-expression.
Educating clients on how to maintain their beauty routines at home.