
Waxing is a popular method for removing hair from the face, legs, and arms. It’s a relatively quick process that offers long-lasting results compared to shaving. Many find it to be less irritating and more precise than other methods like depilatory creams or using razors—especially when using hard wax.
Hard wax doesn’t require strips or cloth strips in order to remove the wax itself from the skin, making it simple yet effective for those who want smoother skin without any irritation! If you’re looking to learn how to use hard wax correctly, this blog post will have you covered with all of the information you need.
The Benefits of Using Hard Wax
Hard wax has many benefits when compared to other methods of hair removal. It offers a more precise application, leaving skin smoother and with less irritation than soft or strip waxes. It’s less likely to cause ingrown hairs and can be used on sensitive areas like the face and bikini line. It also tends to last longer, with results lasting up to 6 weeks.
What You’ll Need
Using hard wax for hair removal requires a few key supplies:
- Hard wax beads
- A wax heater (or a microwave-safe container)
- Spatulas or applicator sticks
- Petroleum jelly or talcum powder
- Cotton strips
- Aftercare lotion or butter
10 Steps on How to Use Hard Wax
Step 1: Make Your Skin Dry
Gather all the necessary supplies you’ll need and ensure that the area of skin is clean and dry. Clean skin will help the wax better adhere to the hairs, while dry skin will prevent any moisture from being trapped under the wax.

Step 2: Apply Petroleum Jelly or Talcum Powder
In order to make sure that the hard wax doesn’t stick to your skin, it is important to apply either petroleum jelly or talcum powder on the area you’re waxing. This will help create a barrier between the hard wax and your skin.
Step 3: Heat Up the Wax
Heat up the hard wax beads in either a wax heater or by microwaving them in a microwave-safe container, according to package instructions. Be sure not to overheat it, as this can lead to burns on the skin.
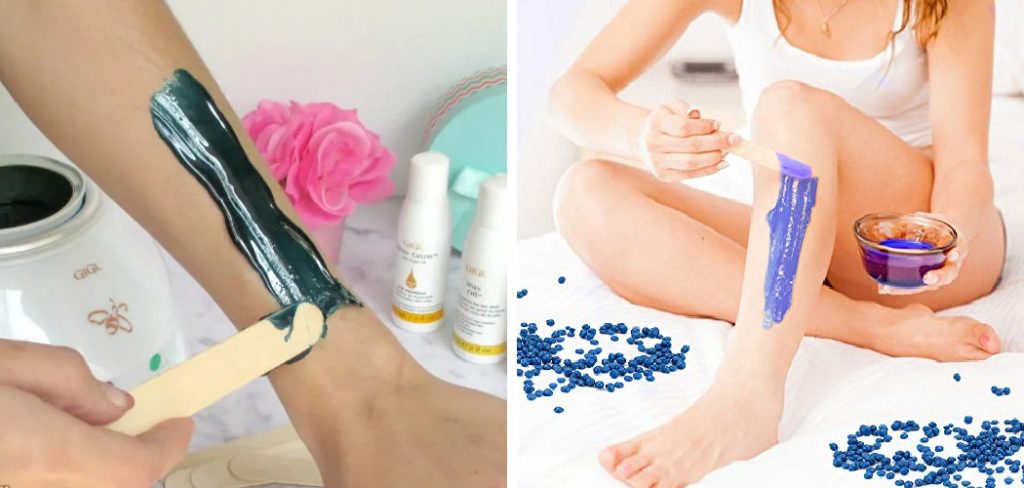
Step 4: Apply the Wax
Once it has reached a temperature of approximately 105F, use a spatula or applicator stick to apply a thin layer of wax in the direction of hair growth. Wait until it dries and becomes transparent before moving on to step 5.
Step 5: Pull Off the Wax
Once it is dry, use your fingers to firmly grasp a portion of the wax and quickly pull it off in the opposite direction of hair growth. Make sure that you pull the wax away from your skin as quickly as possible in order to minimize any discomfort or irritation.
Step 6: Apply Cotton Strips
After you have removed the wax, use a cotton strip to press down on the area and remove any remaining hairs. Wait until it cools before pulling it off in the opposite direction of hair growth.
Step 7: Clean Up After Waxing
Once all of your waxing is complete, make sure to clean up after yourself. Wipe down the area with a damp cloth and dispose of any used wax or cotton strips properly. Wiping down the area will also help to remove any excess wax or hair that may have been left behind.
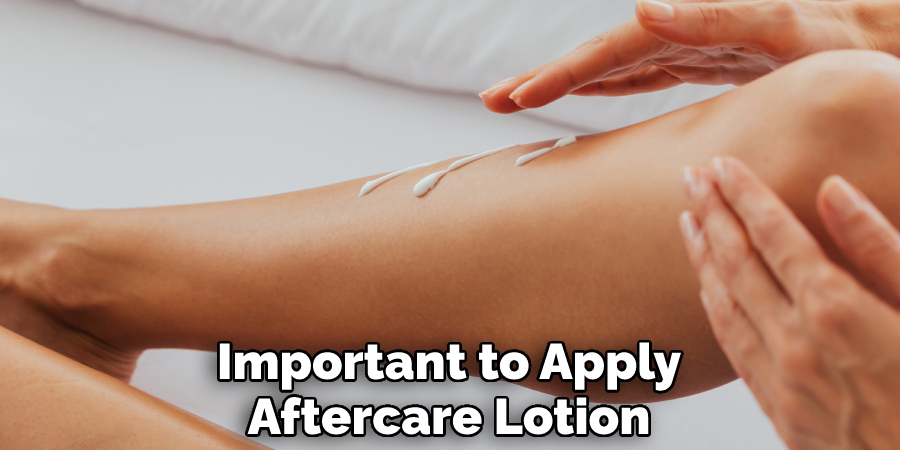
Step 8: Apply Aftercare Lotion or Butter
After all of the waxing is done, it’s important to apply aftercare lotion or butter in order to soothe and moisturize your skin. This will help prevent the skin from drying out and will also help to prevent any ingrown hairs. It will also help to reduce redness and irritation.
Step 9: Wait for the Results
Once you’ve completed all of the steps, you can wait for the results! Depending on your hair type, results can take anywhere from 3-8 weeks before you begin to see a noticeable difference in hair growth.
Step 10: Stay Consistent
In order to maintain long-lasting results, it is important to stay consistent with waxing. How often you’ll need to wax will depend on your hair type and the area you are waxing, so be sure to speak with a professional if you have any questions.
Following these 10 steps on how to use hard wax should help you to achieve smooth, hairless skin without too much time and effort. With consistency and proper aftercare, you can say goodbye to painful razor bumps and unwanted hair!
8 Tips for Pain-Free Hard Waxing
- Choose the Right Hard Wax. Be sure to only use hard wax specifically designed for intimate areas. This type of wax is specially formulated with ingredients that are safe and effective on sensitive skin.
- Clean the Area Before Waxing. Make sure to wash the area you will be waxing before starting. This helps remove any dirt or oils that might prevent the wax from sticking properly and get a good grip on the hair.
- Heat Wax to the Right Temperature. Hard wax needs to be heated to the correct temperature in order for it to work properly. If it’s too hot, it can burn your skin; if it’s not hot enough, it won’t grip onto the hair.
- Apply Thin Layers. When applying the wax, spread it on thin layers rather than thick ones. This will help ensure that the wax is evenly distributed and covers all of the areas you want to remove hair from.
- Let the Wax Cool Before Removing It. Once you’ve applied the wax, allow it to cool for several minutes before attempting to pull it off. This will ensure that the wax has had time to harden enough to grip onto the hairs properly and make removal easier.
- Pull in the Direction of Hair Growth. When removing the wax, be sure to do so in the same direction as your hair’s natural growth. This will help minimize the amount of discomfort and skin irritation that can occur when waxing.
- Clean Up After Waxing. After you’ve finished waxing, use a wet cloth or baby wipes to clean any remaining wax residue off your skin. Don’t forget to moisturize as well. It will reduce irritation and help soothe any redness from the waxing process.
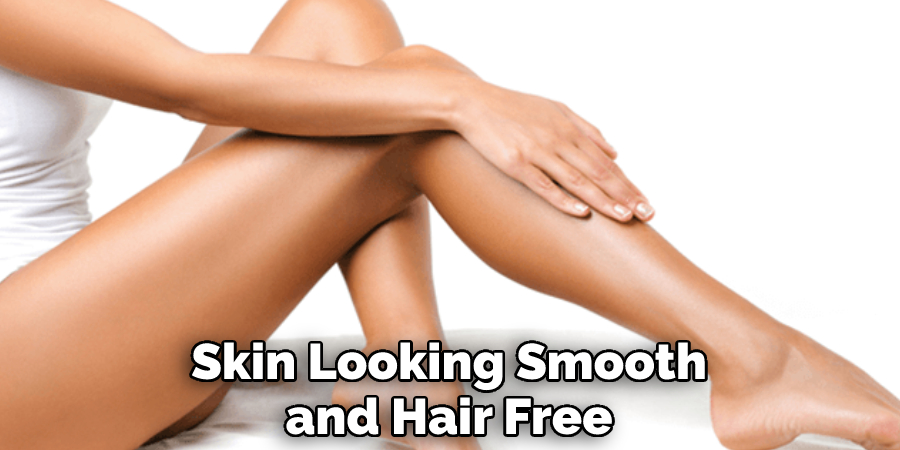
- Follow Up Regularly. Regular waxing sessions every 4-6 weeks will keep your skin looking smooth and hair free for longer. Just make sure to wait at least 24 hours before exposing your skin to hot showers, saunas, or other things that can cause irritation. Follow these tips to make your next waxing session as pain-free and effective as possible.
Frequently Asked Questions
Do You Need to Choose Hard Wax Depending on Your Skin Type?
Yes, it’s important to choose a hard wax specifically designed for your skin type. This will help minimize any irritation that can occur during the waxing process. Choosing the right wax can also help give you the best results. It also ensures that your skin is not damaged by the waxing process.
How Long Should the Wax Cool Before Removing?
It’s important to let the wax cool for several minutes before attempting to pull it off. This will ensure that the wax has had time to harden enough to grip onto the hairs properly and make removal easier.
Can Hard Wax Irritate Your Skin?
Yes, hard wax can irritate your skin if it’s not applied correctly or heated to the wrong temperature. Make sure to always follow instructions and practice proper technique when using hard wax. If you experience any irritation after waxing, always seek medical advice right away.
How Often Should You Wax?
It’s recommended to wax every 4-6 weeks in order to keep your skin looking smooth and hair free for longer. This will also make each waxing session more effective since the hair will be shorter when you go in for a session. You may need to adjust this schedule depending on how fast your hair grows.
Can You Reuse Hard Wax?
No, you should never reuse hard wax, as this could lead to bacterial contamination and other health risks. Always use fresh wax each time to ensure that you get the best results and your skin is safe.
By following these tips, you can make sure that your next waxing session with hard wax is as smooth and pain-free as possible. With regular maintenance, you’ll have smooth, hair-free skin in no time!

Conclusion
Now that you know about hard waxing give it a try the next time you need to remove hair from your body! If you’re not sure which product to buy, we recommend checking out our list of the best hard waxes on the market.
Follow these tips on how to use hard wax to have a smooth, painless finish. And if you have any questions about using hard wax properly, leave us a comment below, and we’ll be happy to help.
About the Author
Jane Hubbard is a passionate beauty expert with a wealth of experience in makeup, hair, and overall beauty techniques. After years of working as a hairdresser specialist, she followed her entrepreneurial spirit and started her own consultancy business.
Jane has always been driven by her desire to help others feel confident in their own skin, and she does this by sharing her knowledge, experiences, and practical beauty tips. Through her consultancy, she empowers individuals to embrace their unique beauty, offering tailored guidance that boosts both self-esteem and personal style.
Professional Focus
Specializes in makeup, hairstyling, and beauty consulting.
Provides personalized beauty advice, tips, and techniques to help individuals feel confident in their appearance.
Dedicated to staying up-to-date with the latest industry trends and developments.
Passionate about creating a comfortable and empowering experience for every client.
Education History
University of Craft and Design – Bachelor of Fine Arts (BFA) in Woodworking and Furniture Design
Woodworking Apprenticeships – Extensive hands-on training with skilled craftsmen to refine carpentry and furniture making techniques
Online Courses & Masterclasses – Continued education in advanced woodworking techniques, design principles, and specialized tools
Expertise:
Makeup artistry, hairstyling, and beauty consulting.
Personalized beauty techniques to enhance confidence and self-expression.
Educating clients on how to maintain their beauty routines at home.